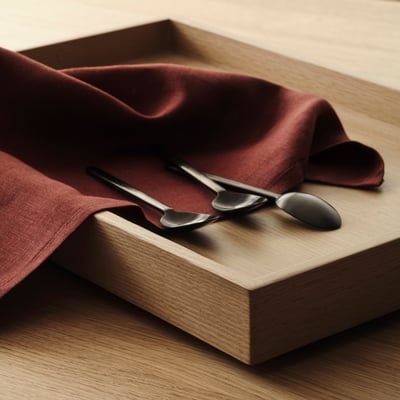
DIY Easter decorations: 3 charming ideas for your Easter table
Easter is just around the corner – the perfect opportunity to decorate your home for the festive season. Here, we’ll show you three simple DIY ideas using napkins to decorate your Easter table and create a cheerful atmosphere. Have fun giving them a go!
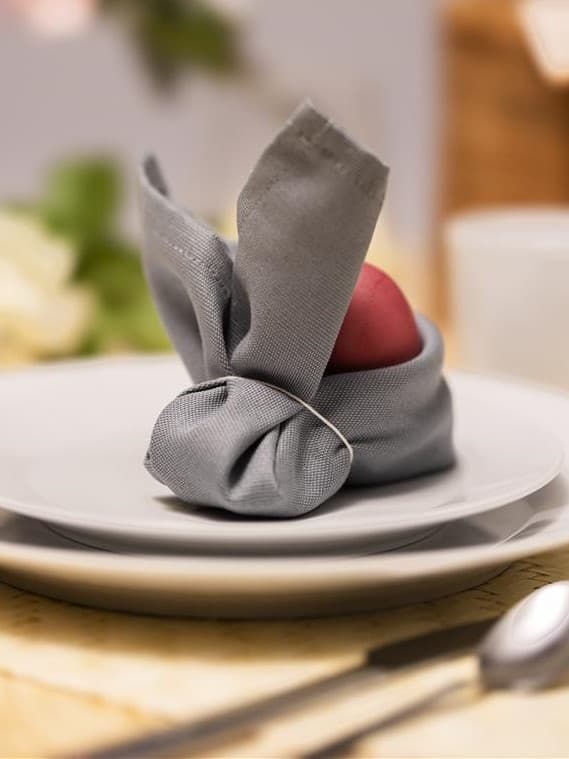
1. Folding a napkin bunny – Method 1:
Here's how:
Step 1:

Spread the napkin out in front of you with the pretty side facing down, and roll two opposite corners up towards the centre. You now have two rolls.
Tip:
Once you have rolled up one side, weigh it down with an object until you have finished the second side. You now have two rolls.
Step 2:
Fold the napkin in half.
Step 3:
Next, fold the two ends upwards to form two ears. Now secure the front section with a rubber band or a piece of string so that the ears stand upright.
Your napkin Easter bunny is ready!
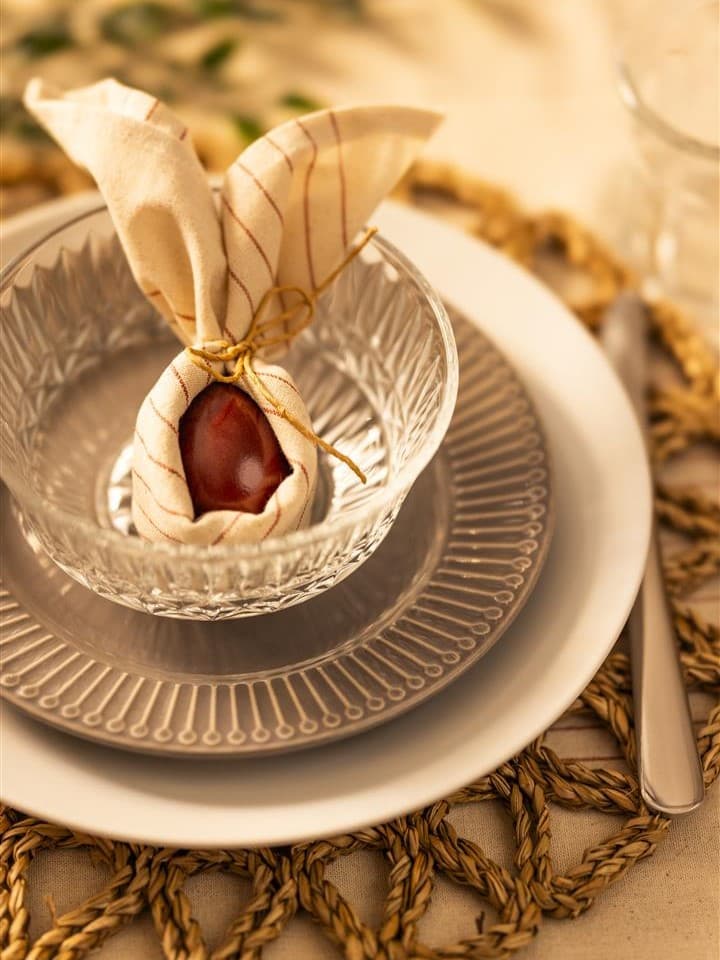
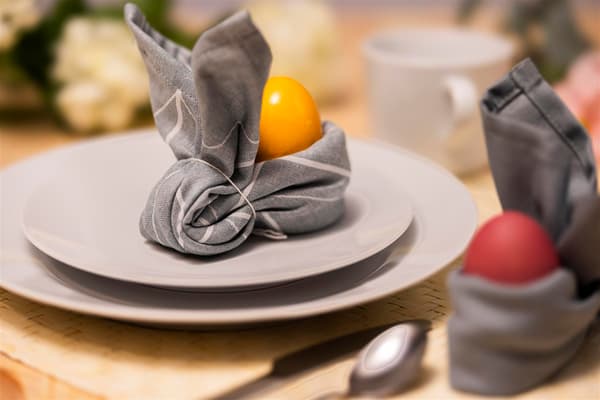
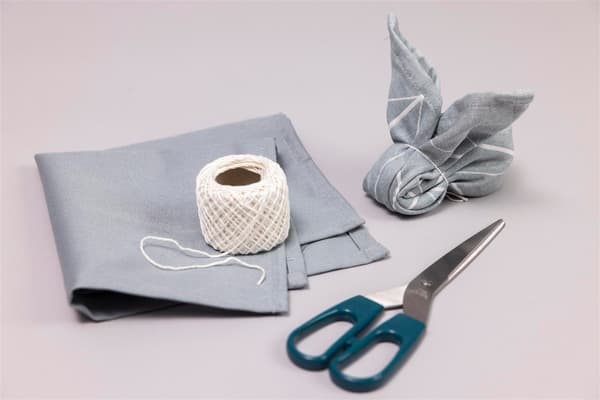
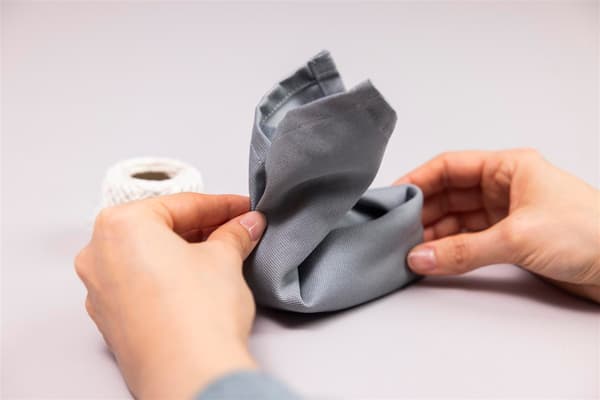
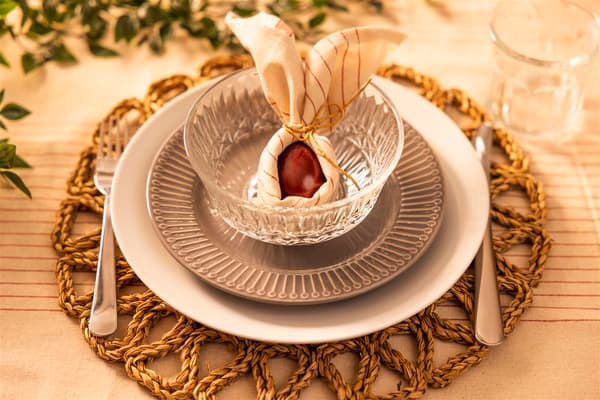
2. Folding a napkin rabbit – Variation 2:
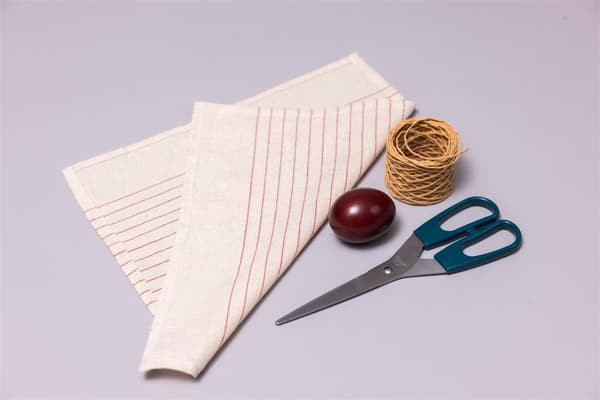
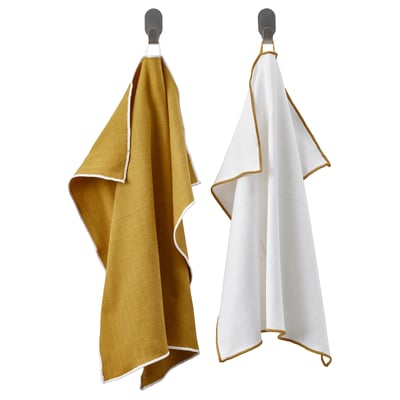
You will need:
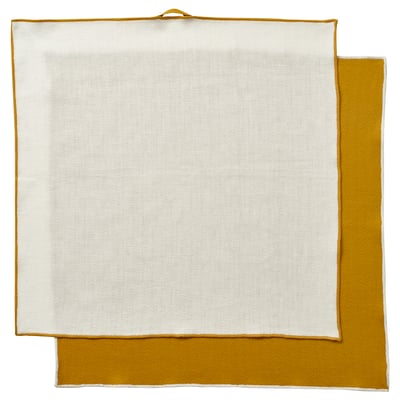
- a cloth napkin(We used the VIPPSTARR napkin here.)
- an Easter egg
- a piece of string to match the napkin
Here's how:
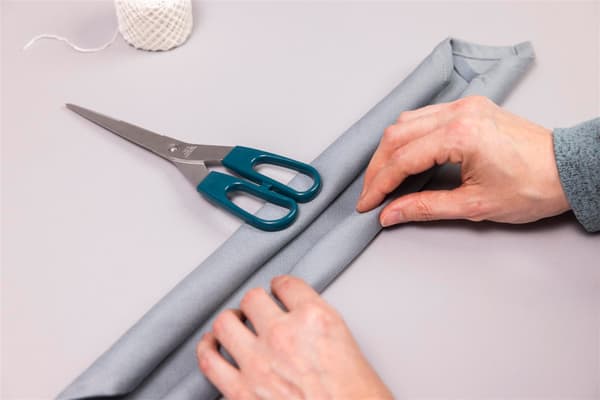
Step 1:
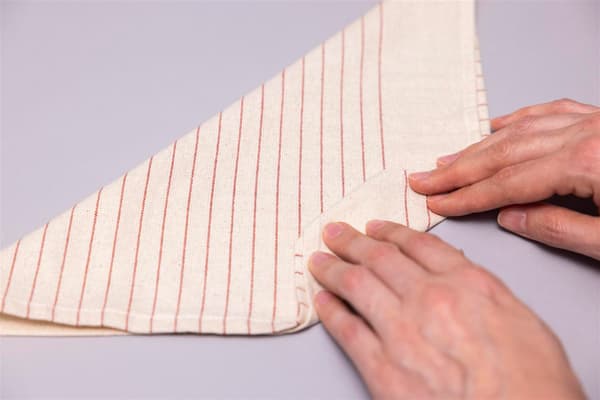
First fold the napkin diagonally, then – starting from the open side – fold it into a strip about 4 cm wide.
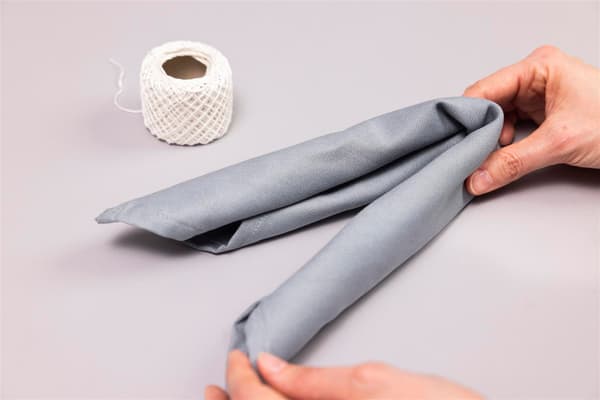
Step 2:
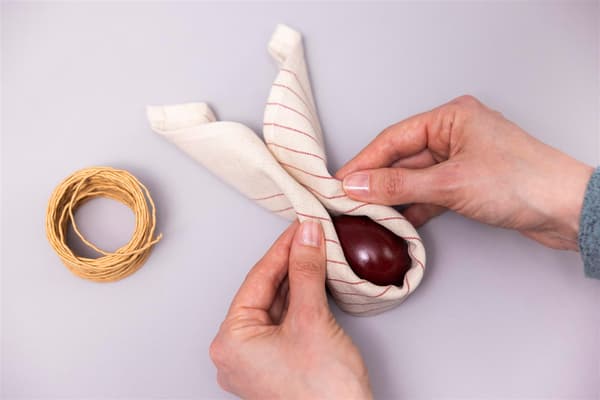
Now wrap the ribbon around the egg and tie it with a piece of string so that rabbit ears form at the top.
Step 3:
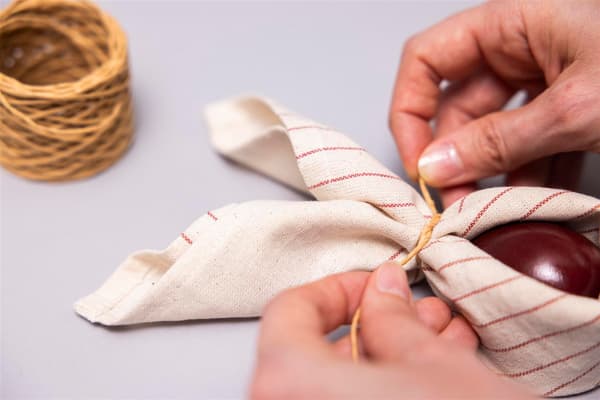
Finally, shape the ears.
And there you have it – your napkin Easter bunny!
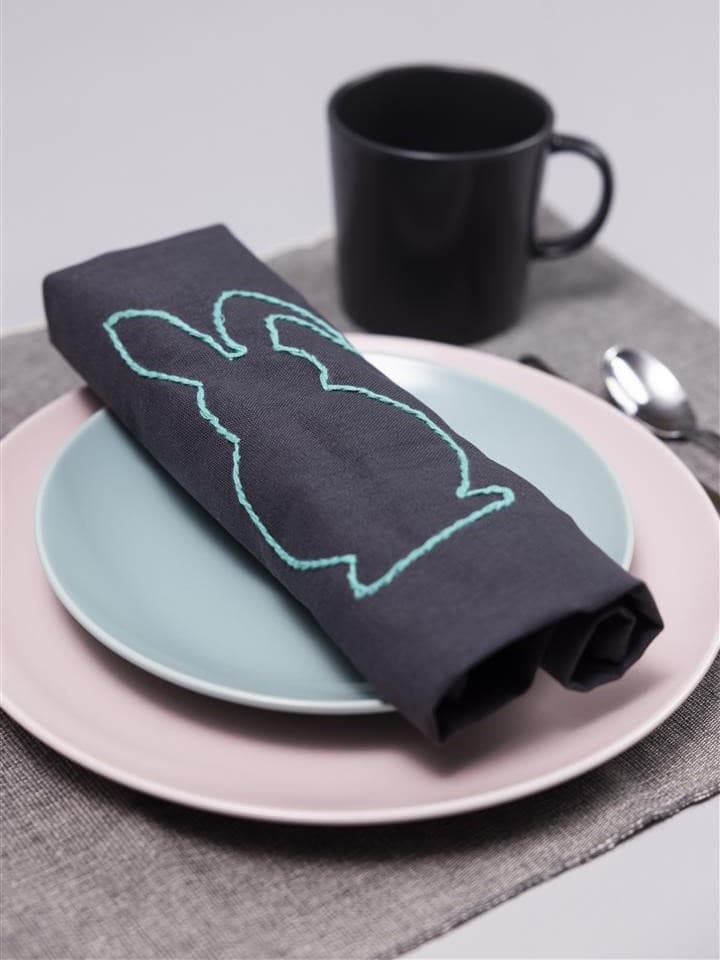
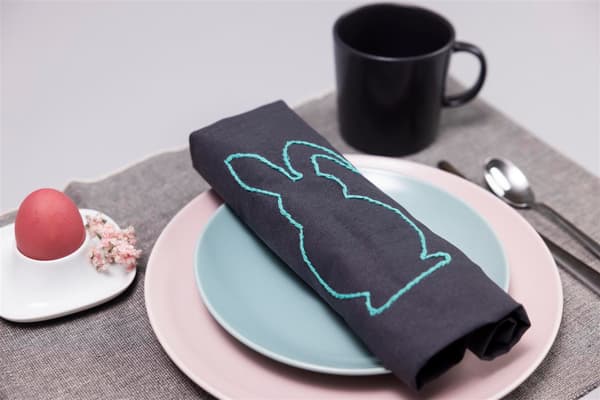
3. Embroidered Easter napkin
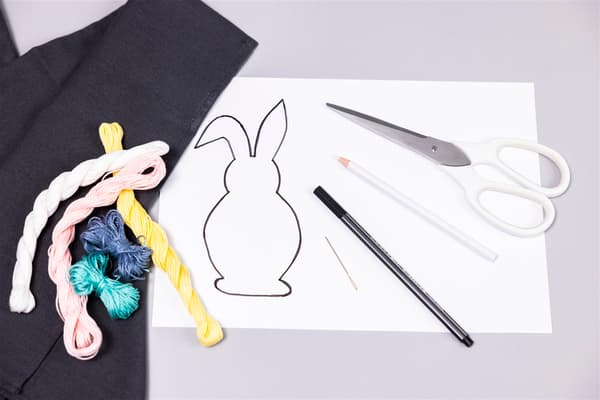
You will need:
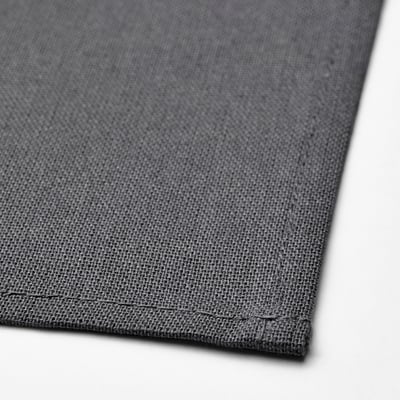
- Cloth napkins (We’ve chosen the SVARTSENAP napkin in dark grey.)
- MÅLA pens
- Embroidery thread
- an embroidery needle
- a pattern
Here's how:
Step 1:
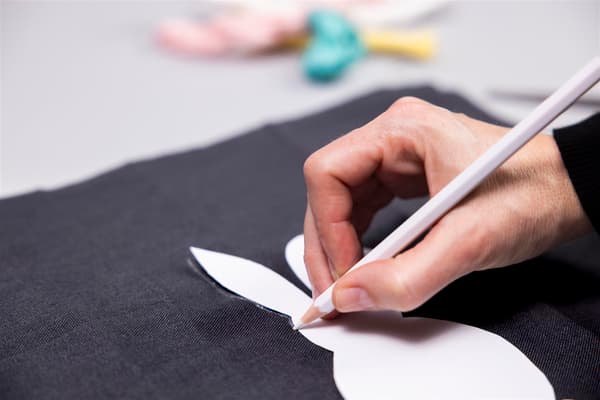
Think of a design and cut out the outline. Place the template on the napkin and trace the design.
Need some inspiration? Why not try our bunny template?
Step 2:
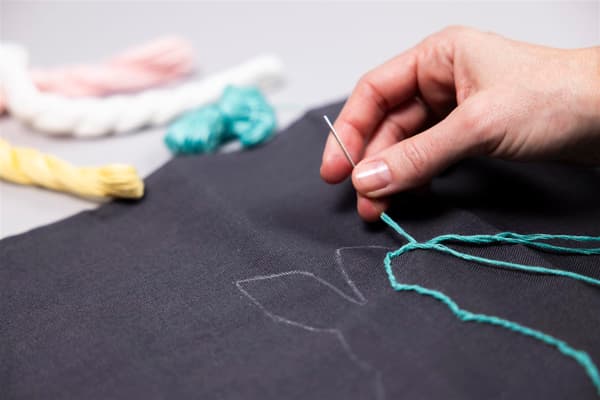
Choose a suitable colour of thread and embroider the design along the line. The stem stitch has been used here.
Backstitch: Pierce the fabric from the inside. Bring the thread up in an arc, pierce approx. 8 fabric threads along the mark and back down 4 fabric threads. The result is a twisted line.
Alternatively, you can also use the chain stitch.
Chain stitch: Insert the needle into the fabric from the inside. Form a loop with the thread and insert the needle at the point where the thread emerges. Count down approx. 4 fabric threads, bring the needle out and catch the loop as you do so. Work from top to bottom.
Step 3:
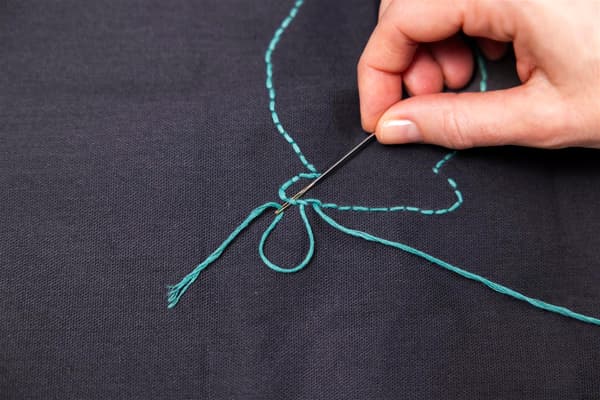
Finally, sew the threads together at the back.
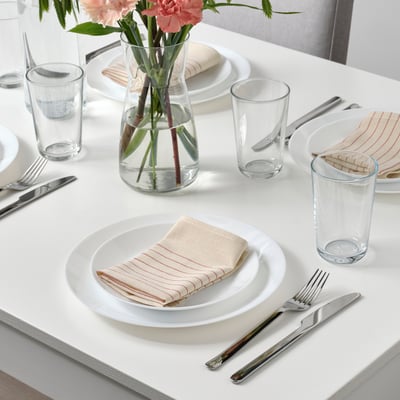
And there you have it: your Easter napkin for your Easter breakfast or Easter snack.
Tips for embroidering your napkin:
When embroidering, it’s best to choose the fabric and thread together. Here, pearl cotton/mouline thread has been used.
A thin, blunt embroidery needle is best suited for this cotton fabric.


Discover even more DIY ideas and tips for your home
We love seeing our products used in creative ways. There are (almost) no limits to your imagination! Safety should always come first. Please note, however, that the IKEA guarantee and the right to return IKEA products will lapse if they have been altered in such a way that they can no longer be resold or used for their original purpose.