Kitchen lighting install guide
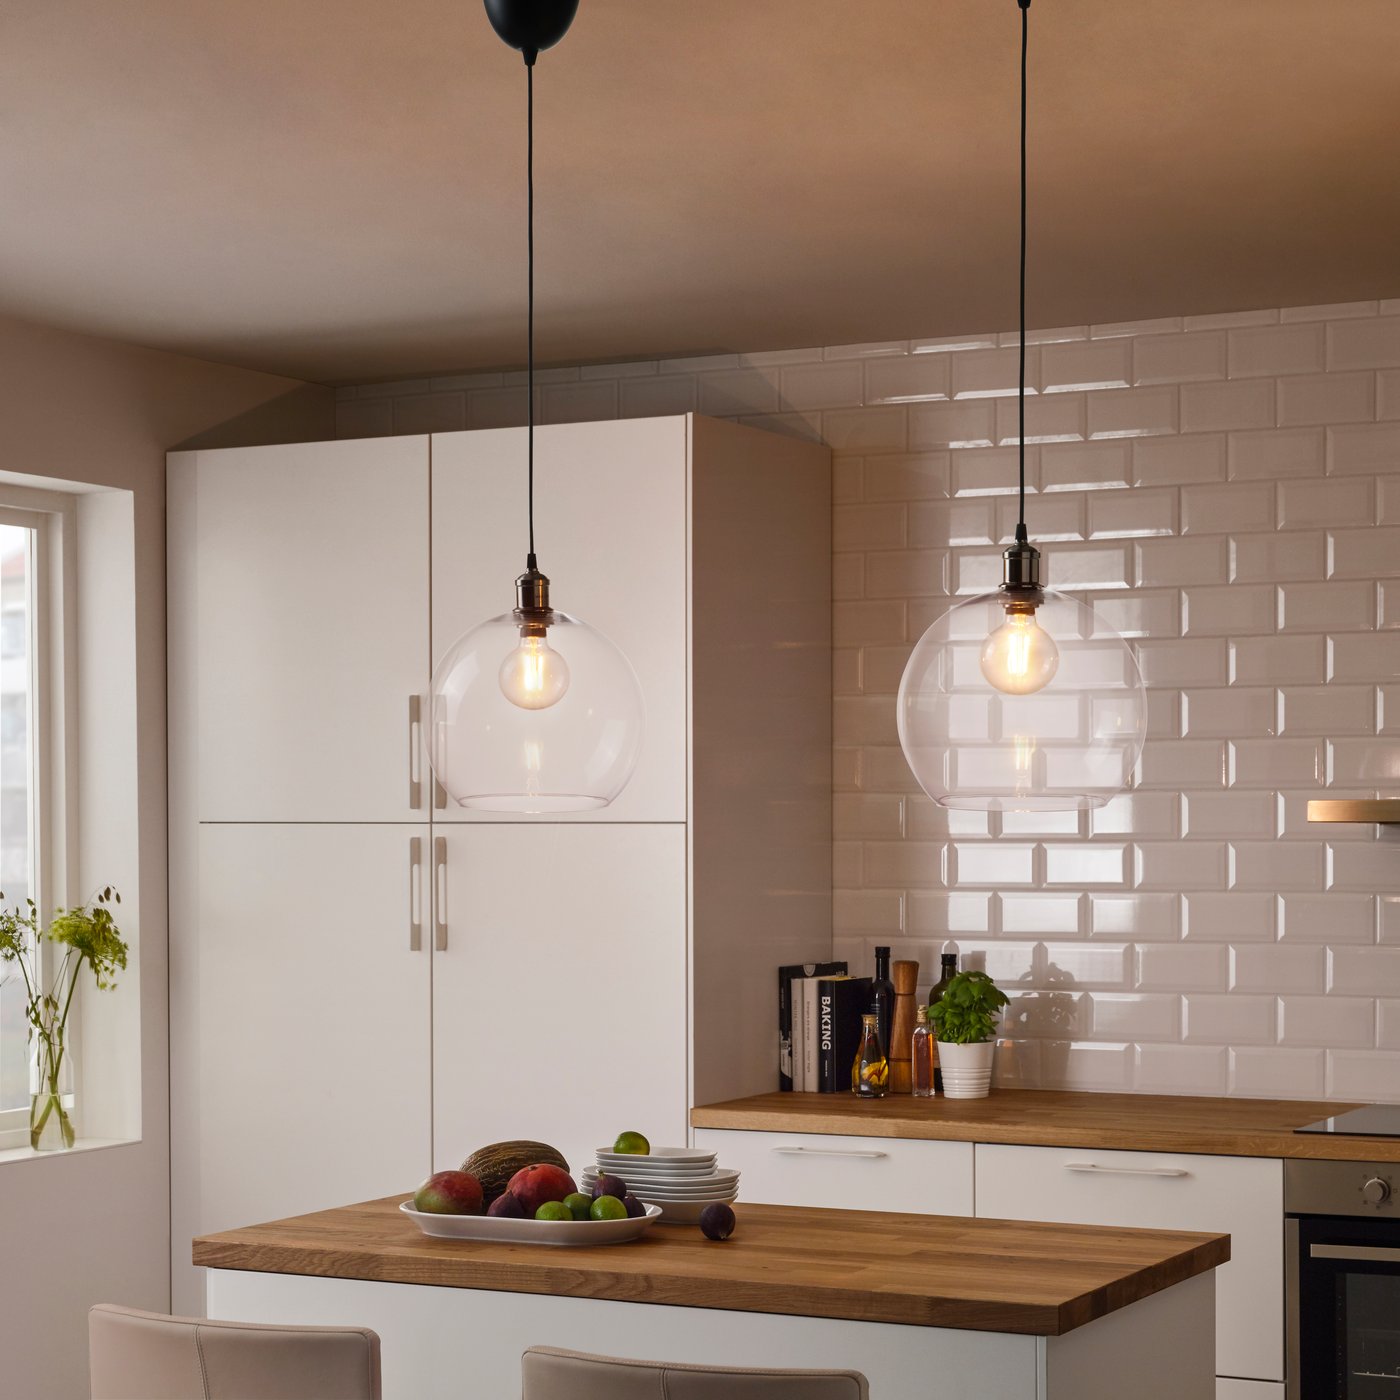
Good, functional lighting is important in every kitchen, both for safety and look. The right lighting on your countertop makes cooking and other kitchen tasks safer, easier, and more manageable. Spotlights, cabinet lighting, and drawer lighting not only help you find what you’re looking for, but also make your kitchen much more attractive.
Directly go to:
Countertop lighting | Spotlights and cabinet lighting | Drawer lighting
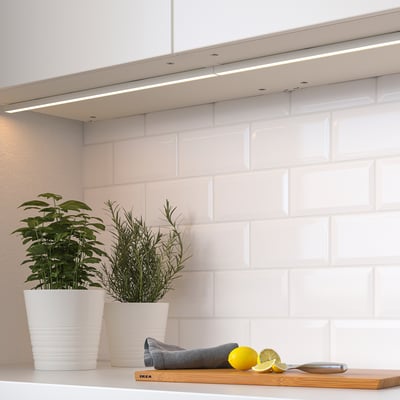
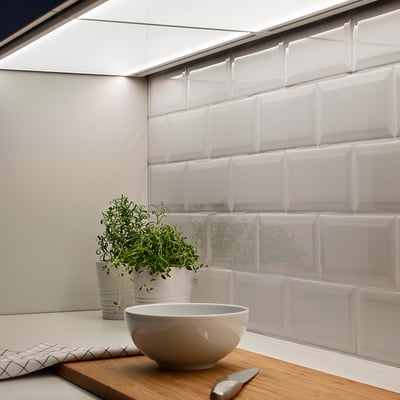
1. Installing countertop lighting
Countertop lighting is easy to install yourself. Follow these steps to build in kitchen lighting.
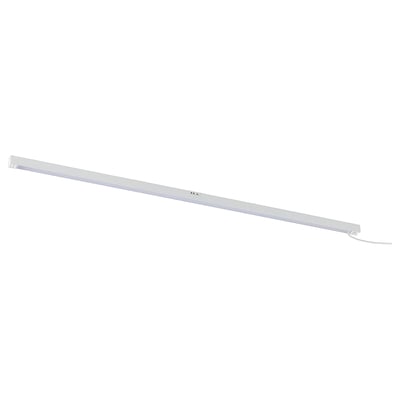
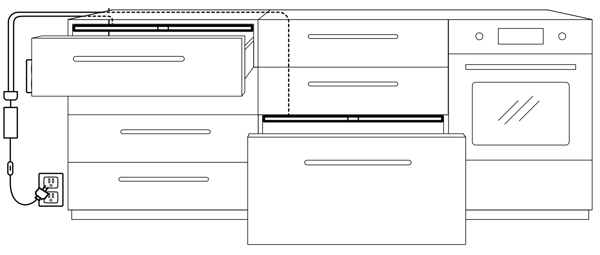
- Start by installing the countertop lighting. This could be, for example, MITTLED, IRSTA, or SKYDRAG. Place these under the kitchen cabinets. Refer to the assembly instructions of the lighting products to see how to install them.
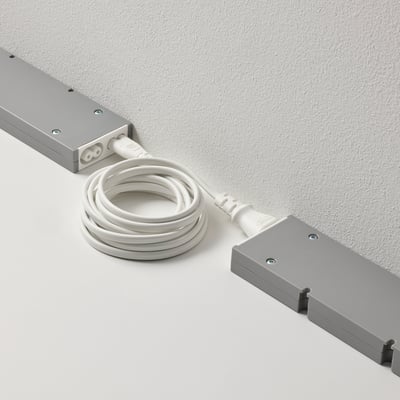
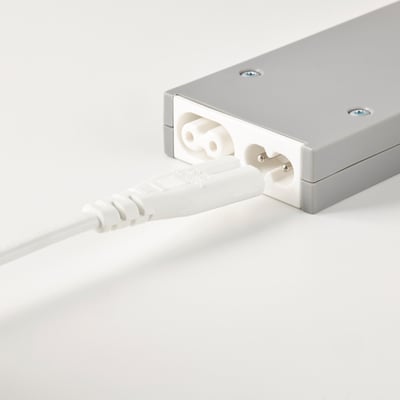
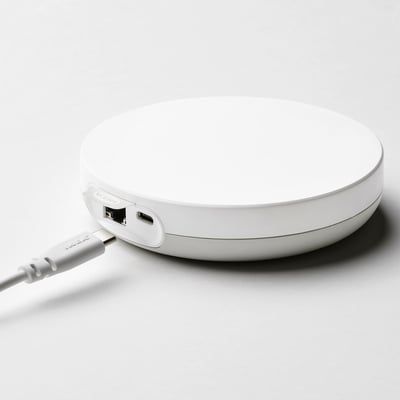
- Add the correct TRADFRI driver, making sure you have enough wattage. If necessary, you can connect multiple TRADFRI drivers together with the FORNIMMA connection cord. Place these drivers on top of the kitchen cabinets.
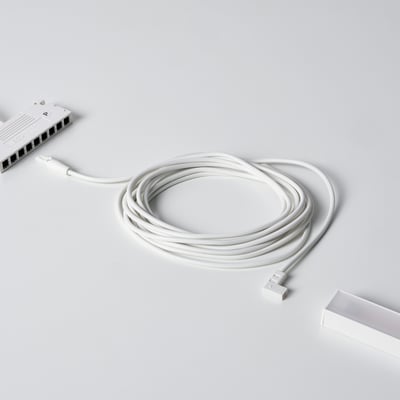
- If you have purchased MITTLED LED strips, you must use the VAGDAL cord to connect the lighting to the TRADFRI driver.
- Connect the TRADFRI driver to the mains using the FORNIMMA connection cord.
- Add the RODRET remote control to operate your lights. You must pair this RODRET remote control with the TRADFRI driver as follows:
- Make sure the kitchen lighting you want to use is installed and turned on.
- Keep your remote control close to the TRADFRI driver (less than 5 cm away).
- Press and hold the pairing button, a paperclip symbol, for at least 10 seconds. When you press the pairing button, the lighting will also start to pulse; when the lighting stops pulsing, the pairing is successful.
- Place the remote control in a convenient location where you can easily reach it.
- If you want to control the lighting via your phone, you will need the DIRIGERA hub and the IKEA Home smart app.


2. Installing spotlights and cabinet lighting
- Start by installing the countertop lighting. This could be, for example, MITTLED LED spots or YTBERG cabinet lighting.
- Add the correct TRADFRI driver, ensuring you have enough wattage. If necessary, you can connect multiple TRADFRI drivers together with the FORNIMMA connection cord. Place these drivers on top of the kitchen cabinets.
- Connect the TRADFRI driver to the power supply using the FORNIMMA connection cord.
- Add the RODRET remote control to operate your lights. You must pair this RODRET remote control with the TRADFRI driver as follows:
- Ensure that the kitchen lighting you want to use is installed and turned on. Keep your remote control close to the TRADFRI driver (less than 5 cm away).
- Press and hold the pairing button, a paperclip symbol, for at least 10 seconds. When you press the pairing button, the lighting will also start to pulse; when the lighting stops pulsing, the pairing is successful.
- Place the remote control in a convenient location where you can easily access it.
- If you want to control the lighting via your phone, you will need the DIRIGERA hub and the IKEA Home smart app.


Directly go to:
Countertop lighting | Spotlights and cabinet lighting | Drawer lighting
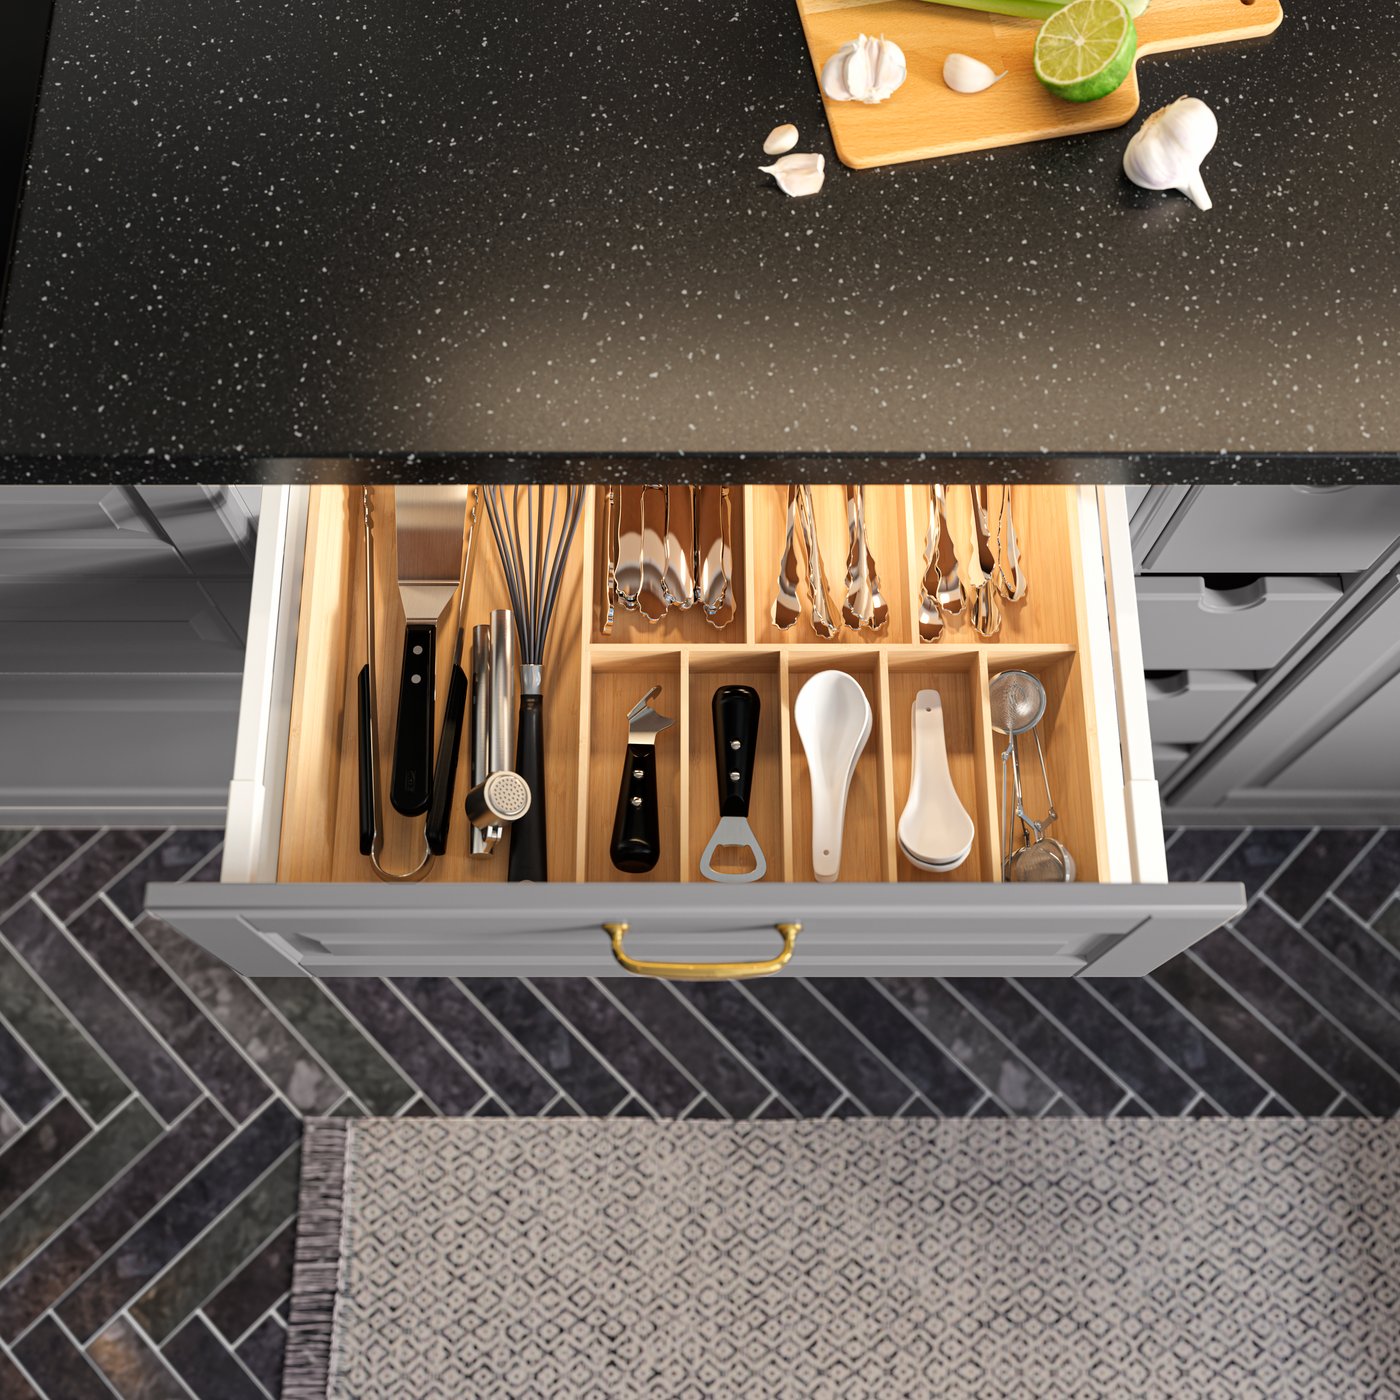
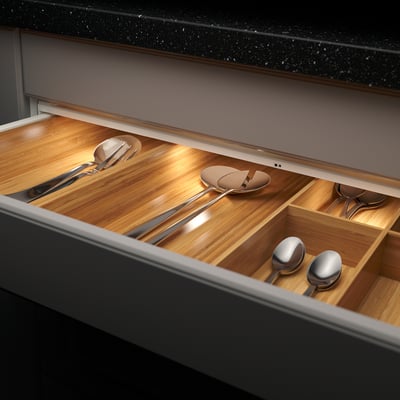
3. Installing drawer lighting
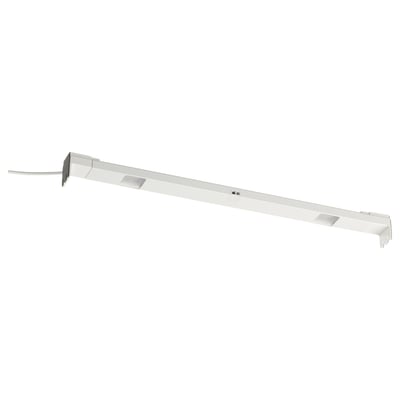
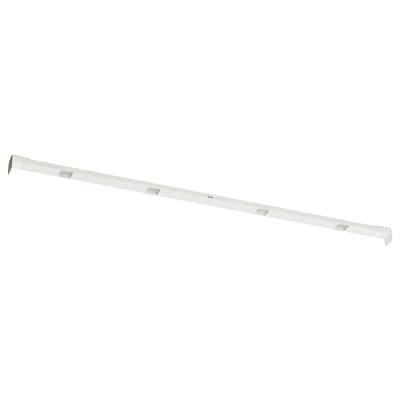
- Start by installing the drawer lighting. This could be, for example, the MITTLED LED strip for kitchen drawers with a sensor.
- Add the ANSLUTA driver and connect it to the power supply. You can connect up to 6 units to the LED driver, and the total wattage should not exceed 19W.
- Connect the drawer lighting to the ANSLUTA driver.
- The drawer lighting has a motion sensor, so the light automatically turns on and off as you open and close the drawer.


Ready to tackle kitchen lighting installation yourself?
Then it’s time to get started. If you would like to see what it looks like to install kitchen lighting, then watch this video.

Directly go to:
Countertop lighting | Spotlights and cabinet lighting | Drawer lighting