Replacing old screws
Screws are the backbone of your furniture. But what if one gets loose or goes missing? No worries! With these simple steps, you'll learn how to replace screws and make your furniture sturdy and reliable again. That way, you can enjoy your favourite pieces for even longer. Let’s get started!
- Product information page
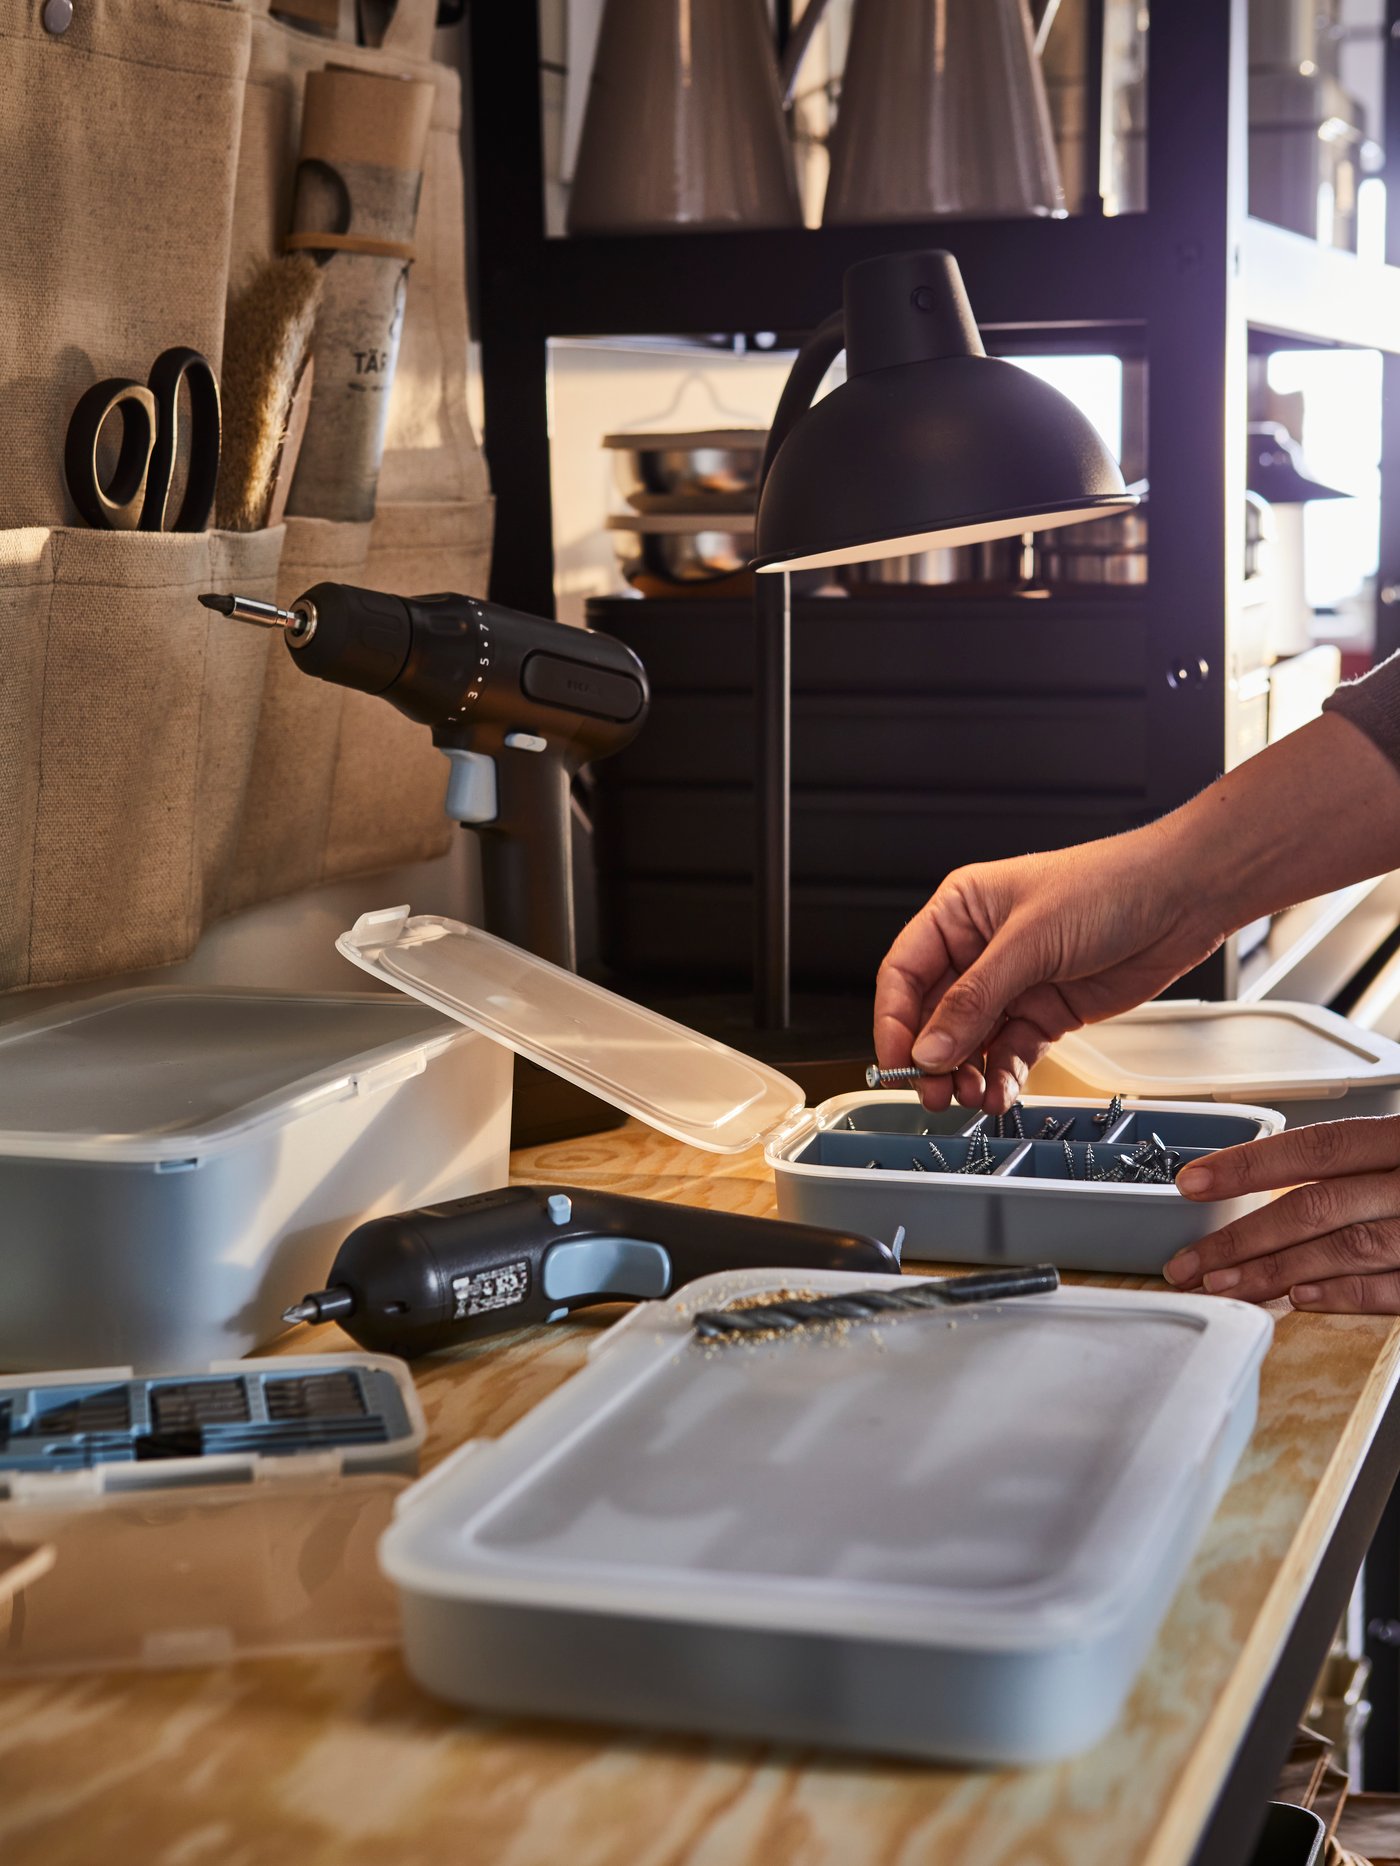
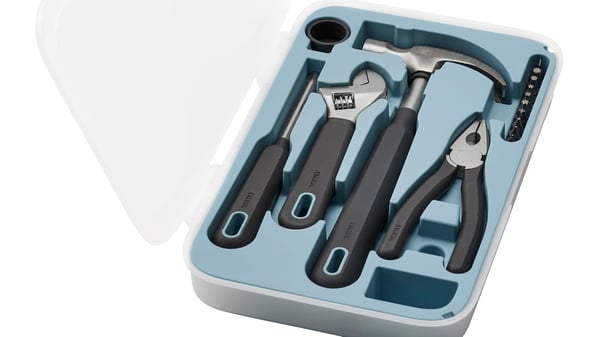
Step 1: Gather Your Tools
Before you begin, make sure you have the right tools. You’ll typically need a screwdriver that matches the screw head (Phillips, flathead, or hex), replacement screws (same size and type as the original). Having everything ready will save you time and make the process smoother!

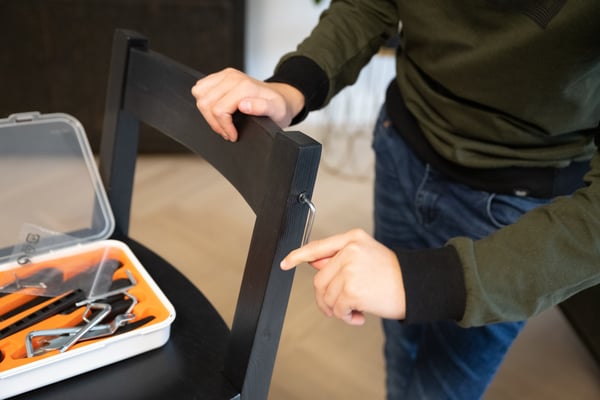
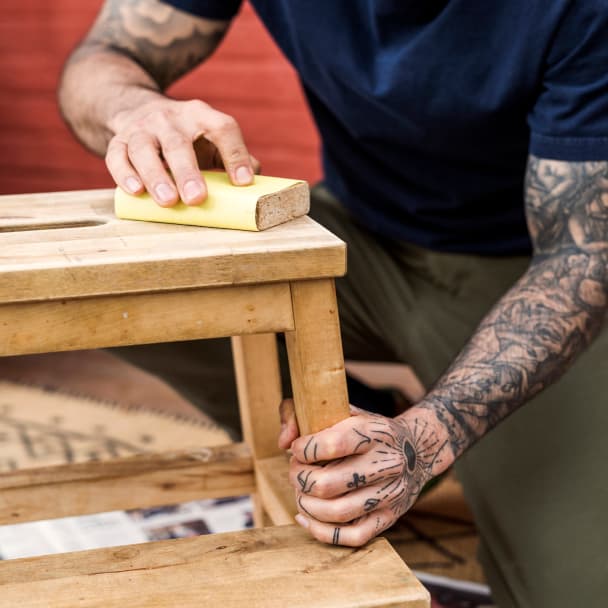
Step 2: Take out the old screw
Grab your screwdriver and gently turn the old screw counterclockwise to remove it. Is it a bit stubborn? No worries—try pliers or a screw extractor for extra grip. Once the screw is out, check the hole to make sure it’s clean and ready for the new one. A quick clean-up now makes all the difference later!
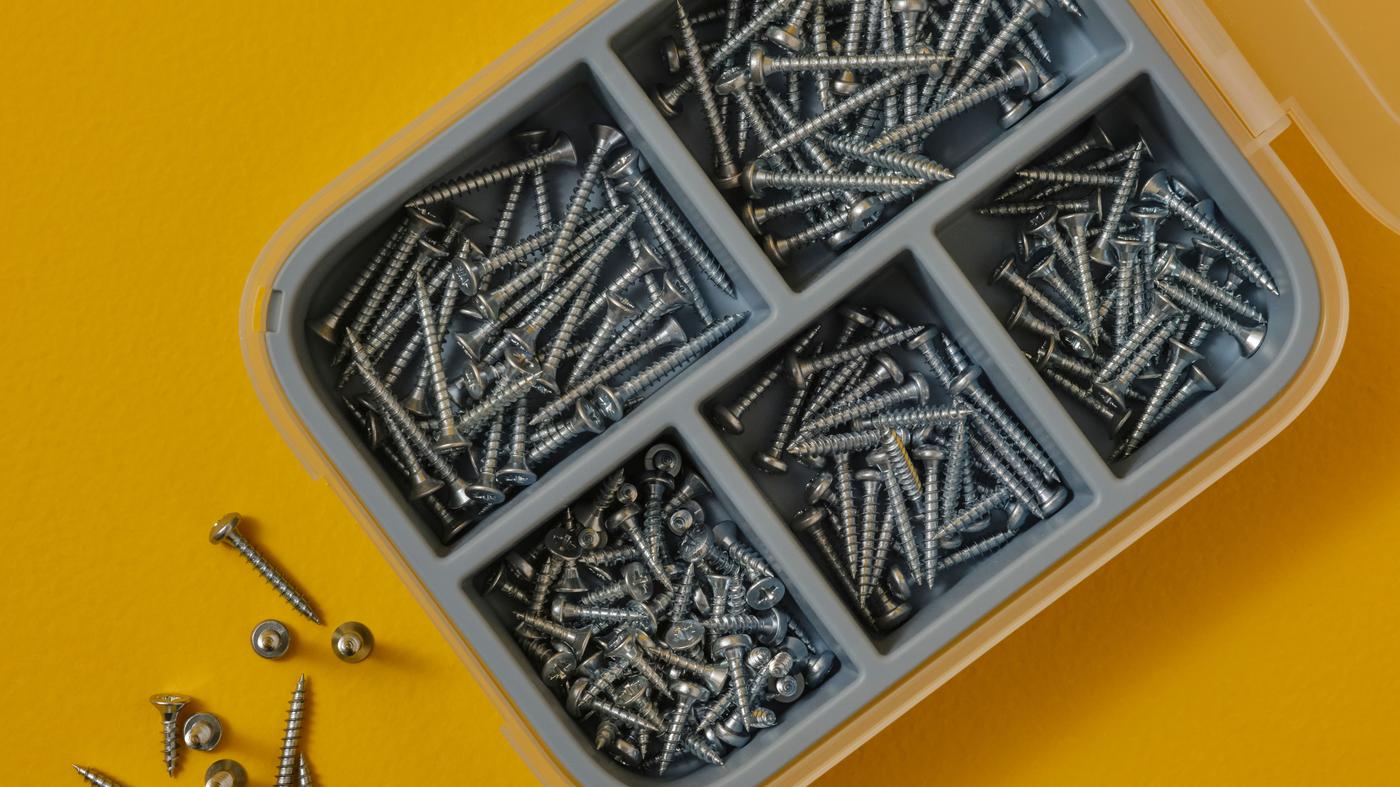
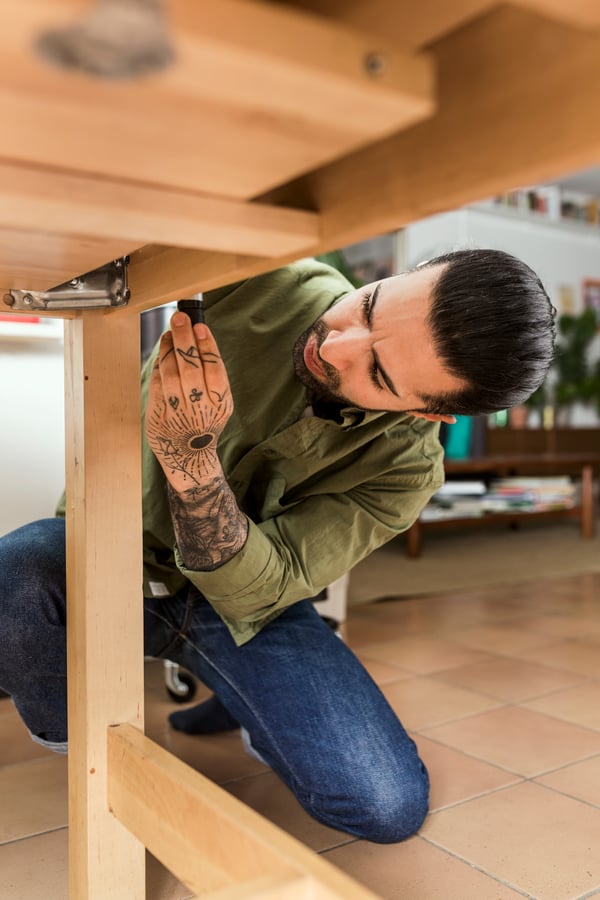
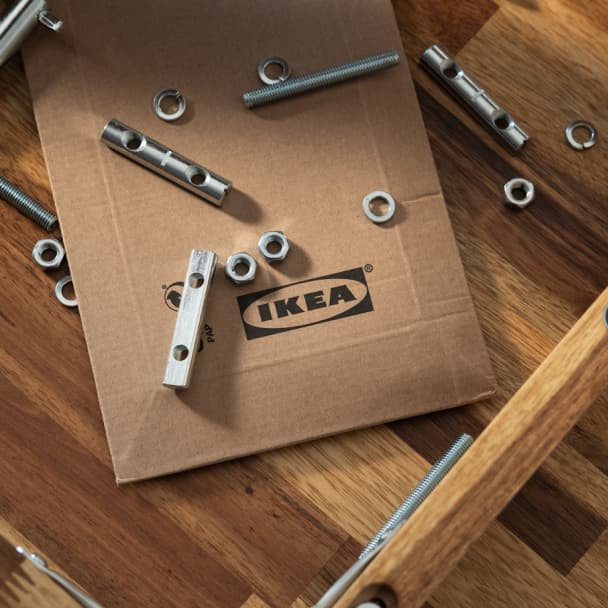
Step 3: Pick the right replacement screw
To find the correct screw that matches the size and type of the old one, check for the component number of your screw and order the correct one to replace it via our spare parts service!. Check the assembly guide (online) if you have it. The right screw will fit perfectly and keep your furniture as solid as new. If you don’t have the guide, take the old screw to the store for a perfect match or order via our spare parts service!

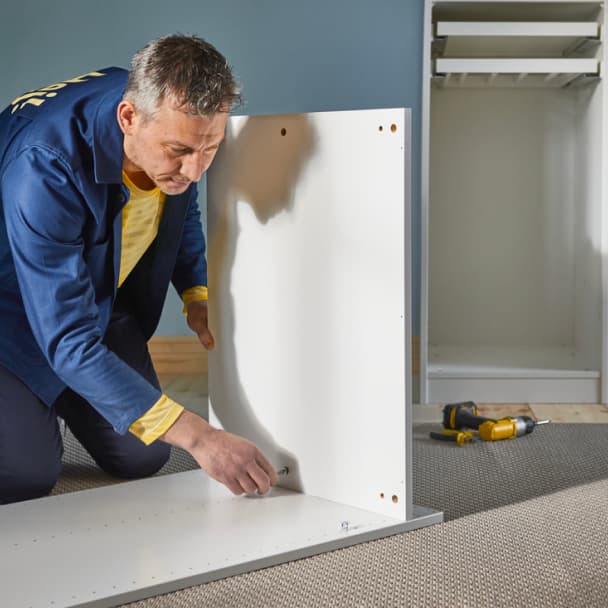
Step 4: Insert and tighten the new screw
Now, simply align the new screw with the hole and twist it in clockwise. Use your screwdriver to tighten it firmly, but don’t overdo it—just enough to keep it secure. Once it’s in place, give it a quick check to make sure everything’s nice and tight. Your furniture is good to go, looking as good as new!