Repairing an IKEA cabinet
A well-maintained cabinet can elevate the look and function of any room. Over time, an IKEA cabinet can become wobbly, scratched, or have loose hinges from daily use, this guide will help you tackle those problems and restore your cabinet to its full potential for you and potentially for next generations. Follow these simple steps to repair and restore your IKEA cabinet. Let’s get started!

What else do you need?
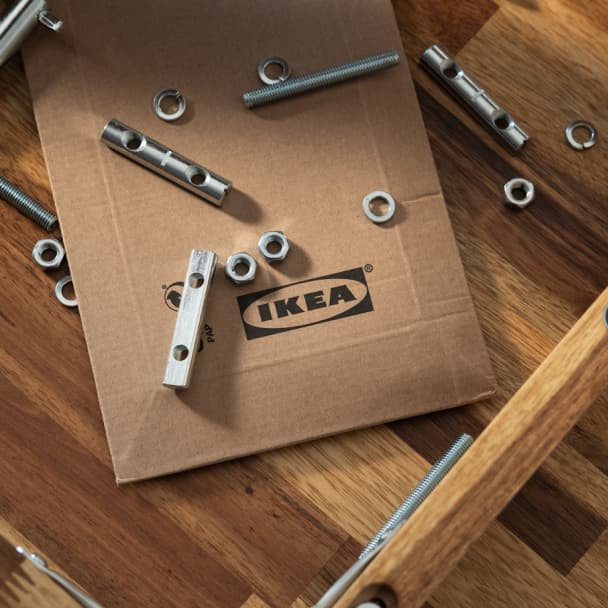
- Spare part for the broken part (contact your local store or go here)
- Free Spare parts small (screws and plugs)
- Sandpaper
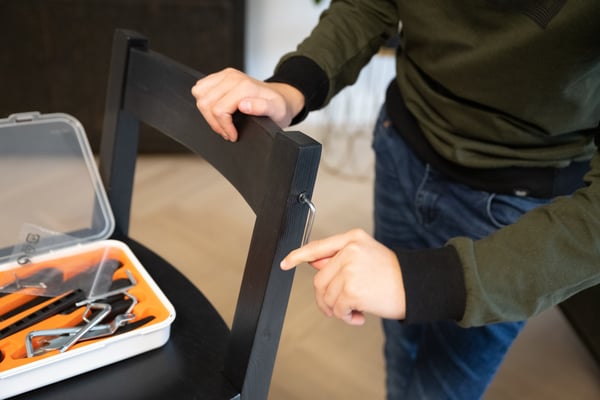
Step 1: Inspect the cabinet
Take a close look at your cabinet. Are there any loose joints, cracks, or broken parts? Make a note of anything that needs fixing, so you know exactly what to tackle. Check if you have the right supplies to repair the faults you find and if you can find suitable replacement parts. A quick inspection now will make the repair process much smoother!
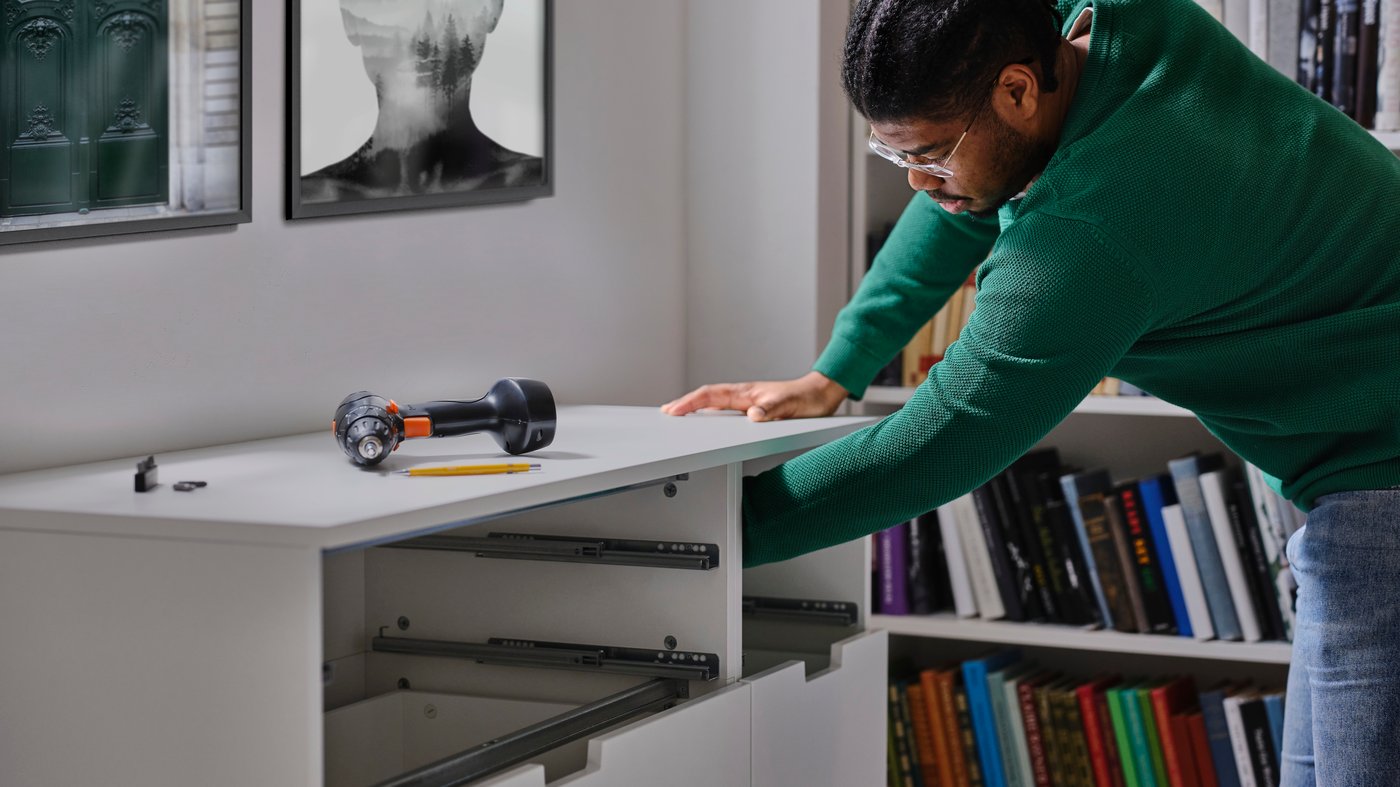
Step 2: Tighten any loose screws and hinges or replace missing ones
Get your allen keys or, if necessary, a screwdriver and tighten any and all screws and hinges. Remember, tightening a screw goes like this: 'righty tighty, lefty loosey'.
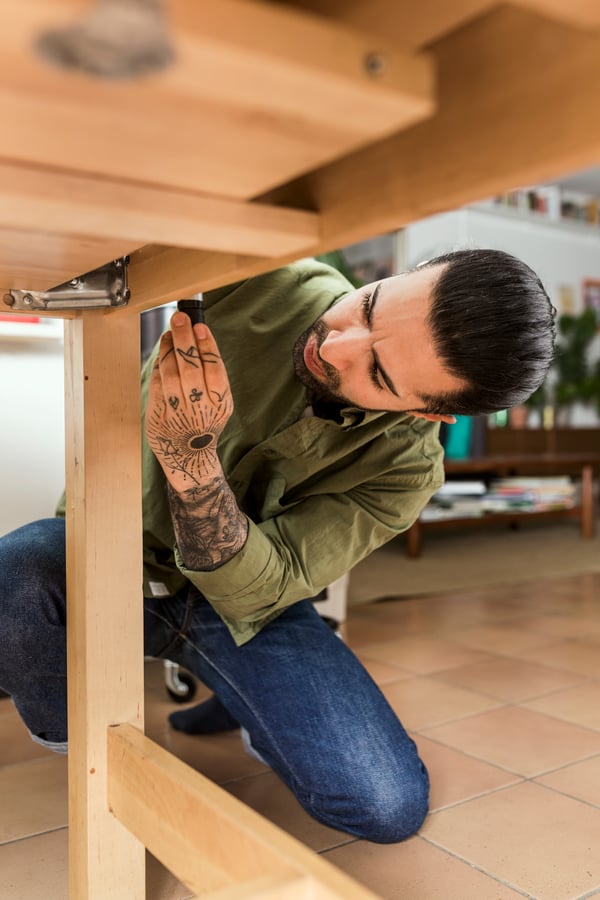
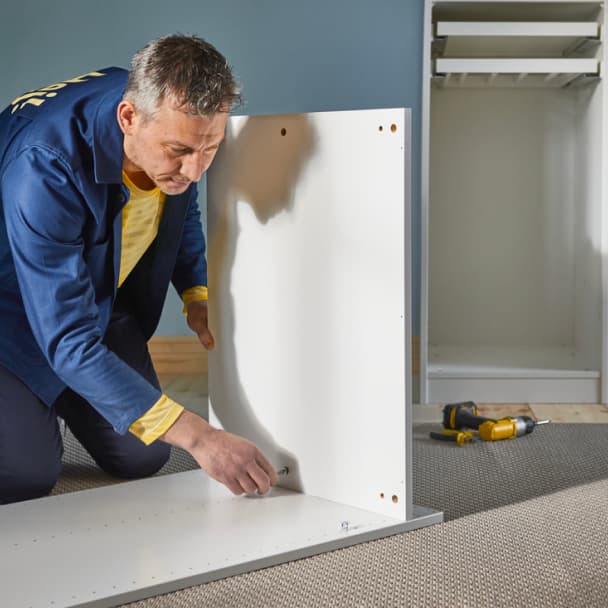
Step 3: Remove the broken hinge
When a hinge is broken and cannot be tightened anymore, carefully remove the hinge of the cabinet. Use a tool like a screwdriver or your allen keys to detach it without causing further damage to the cabinet.
Step 4: Replace broken or missing hinges
Find a spare part for the hinge and replace it according to the assembly instructions. This includes replacing any broken hinges. Make sure to tighten all screws again properly.
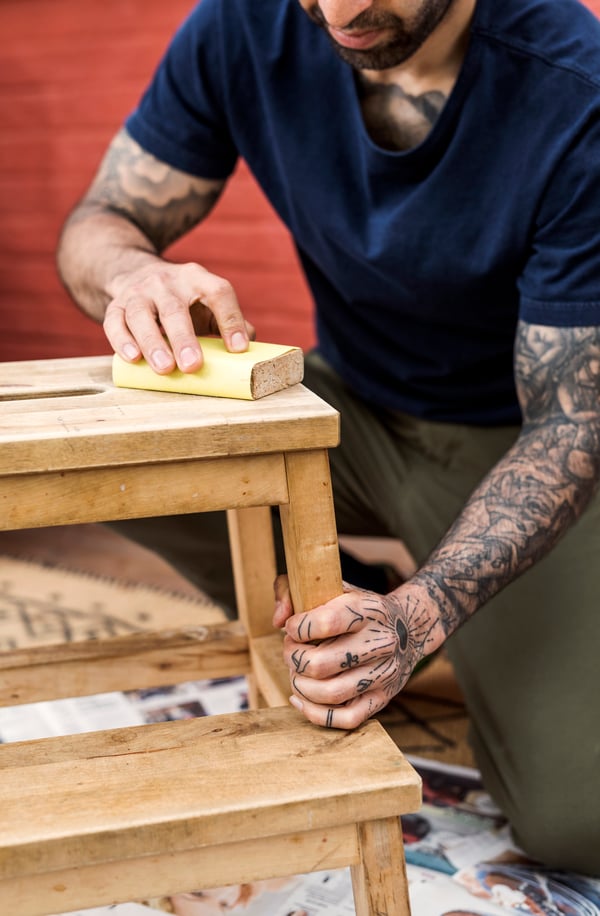
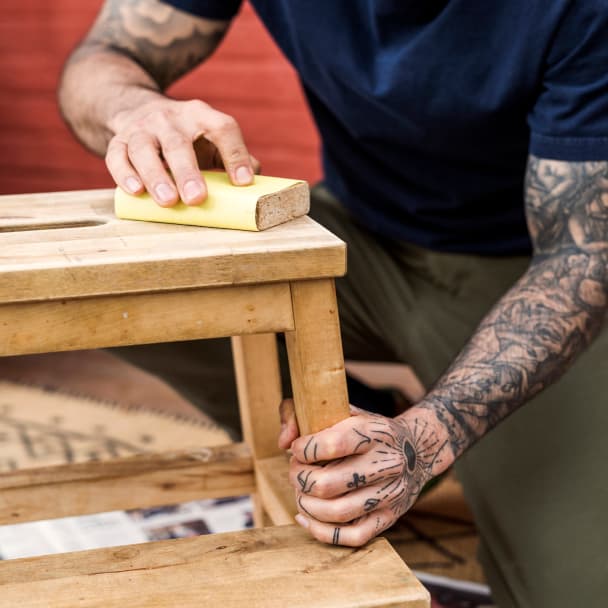
Step 5: Sand and finish (optional)
Now for the final touch! Take out the sandpaper, paint or stain. Smooth out rough spots with sandpaper, clean, then apply paint or stain to blend the repairs with the rest of the cabinet. Let it dry completely, and voilà—your cabinet is refreshed and ready to use again!