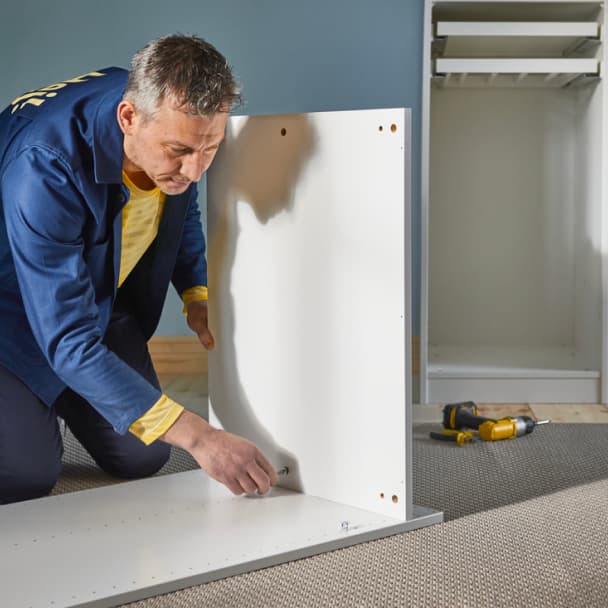
Repair a dent or scratch in a wooden table or worktop
Over time, your wooden table or worktop can get scratches, cracks, or dents from daily use. These can perhaps make your table look worn out. But don't worry! With a few simple steps, you can fix it and make it look new again. This guide will help you restore your table. Let’s get started.

What else do you need?
- Wood filler
- Wood treatment oil
- Paint (if needed)
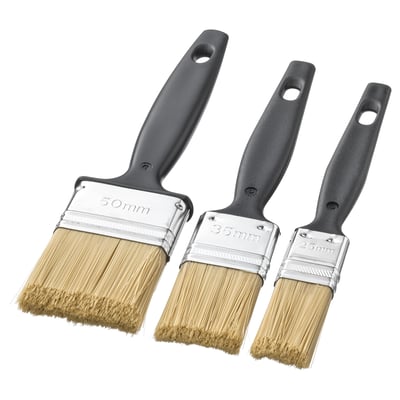
- Putty knife (or plastic card/butter knife if you don't have this)
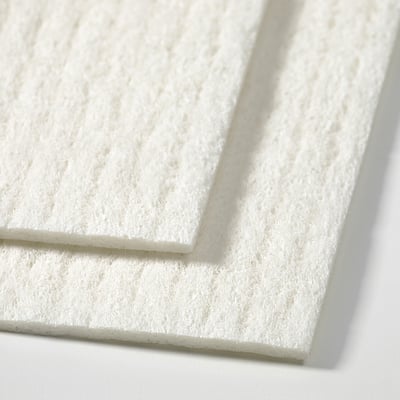
- Fine-grit sandpaper (around 280 grit)
Step 1: Clean the area
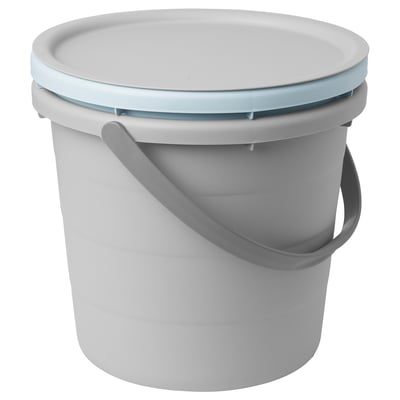
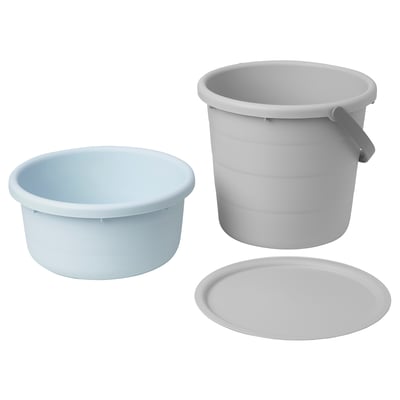
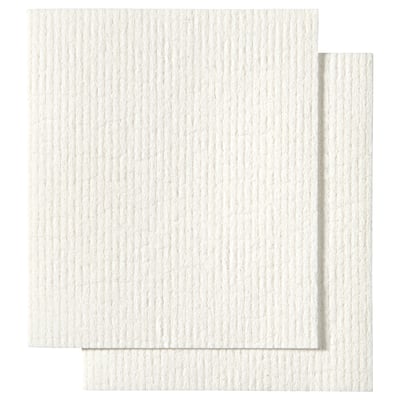
Get a bucket with soapy water and a cloth. Wipe the damaged area with a soapy and damp cloth to remove any dirt or debris. Let it dry completely.
Step 2: Fill the gaps
Grab the wood filler and a putty knife (or plastic card or butter knife if you do not have a putty knife) and follow the instructions that come with your hole repair filler. Make sure to smooth it out so it's levelled with the surface of the table. Allow the filler to dry according to the instructions of the wood filler packaging (usually for a few hours). And follow the instructions that come with TRIXIG hole repair filler Advice and Instructions
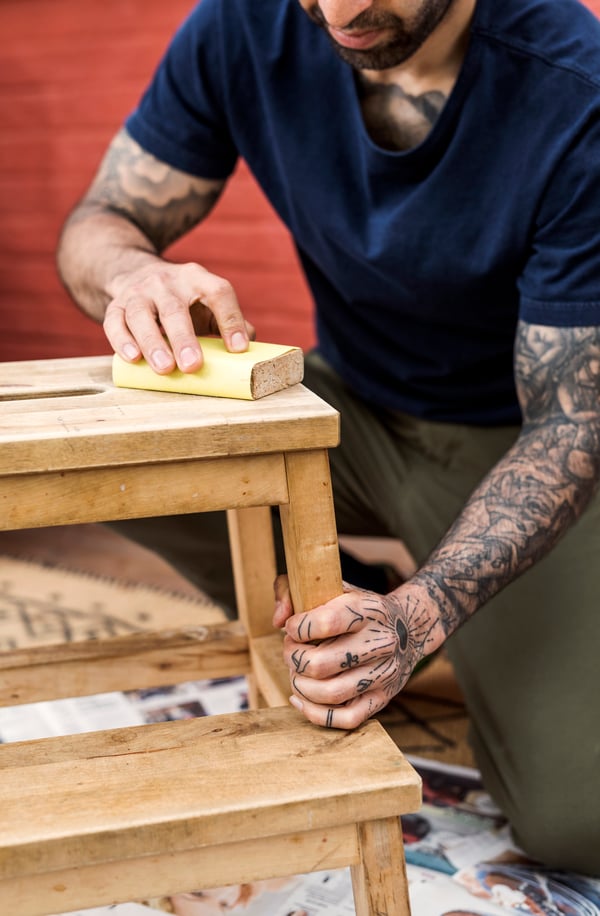
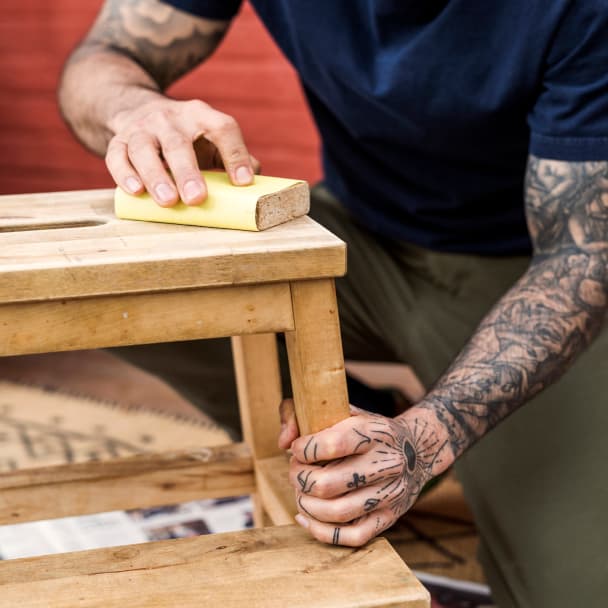
Step 3: Sand smooth
You can now grab some fine-grit sandpaper (around 280 grit) and a cloth. Sand the filled area until it is smooth and level with the rest of the table. Feel if there are any uneven areas left. Move the sandpaper back and forth in the direction of the wood grain. Wipe away any dust with a clean, dry cloth.
Step 4: Apply finish
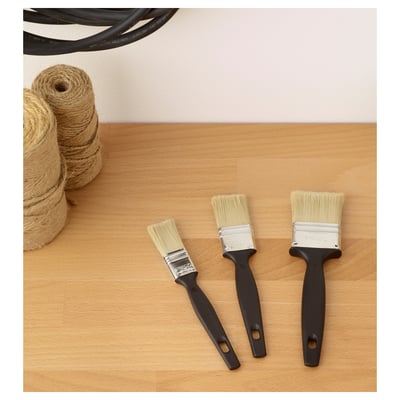
Lastly get the wood treatment oil and a cloth or paint* and brush. Follow the instructions on the packaging of the wood oil precisely. Apply the matching finish and/or oil with a clean cloth, rubbing it in the direction of the wood grain. Make sure to cover the repaired area evenly. When you are going to paint, make sure that the tabletop is clean before you start painting away. Let it dry completely.
* Painting is only advised for untreated wooden products.