Mending ripped textiles
Rips and tears in your favourite textiles can be frustrating, but don't worry there is no need to throw them away. With a little care and some simple steps, you can mend those rips and extend the life of your beloved fabrics. This guide will help you fix those tears and keep your textiles looking good as new. Let’s get started!
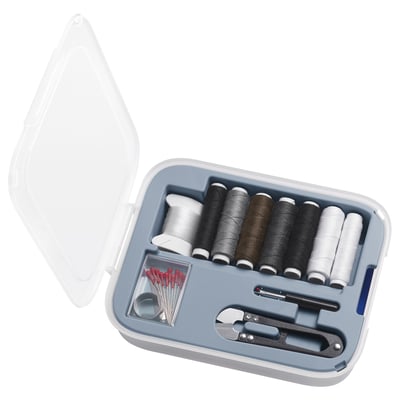
Wat heb je nog meer nodig?
- Matching thread if the correct colour is not in our kit
- Iron-on patches (optional)
Step 1: Prepare the textile
First, find a large, clean, flat surface to work on. Lay your ripped textile out and smooth it down. If the fabric is wrinkled, give it a quick iron to make the repair easier. This will help you see the rip clearly and make the stitching process smoother.
Step 2: Thread the needle
Choose a thread that matches the color of your textile. Cut a long piece of thread about five times the length of the rip. Make sure you have enough thread to complete the repair without needing to thread another one. Thread it through the needle and tie a small knot at the end of the thread to make sure it will not get loose.
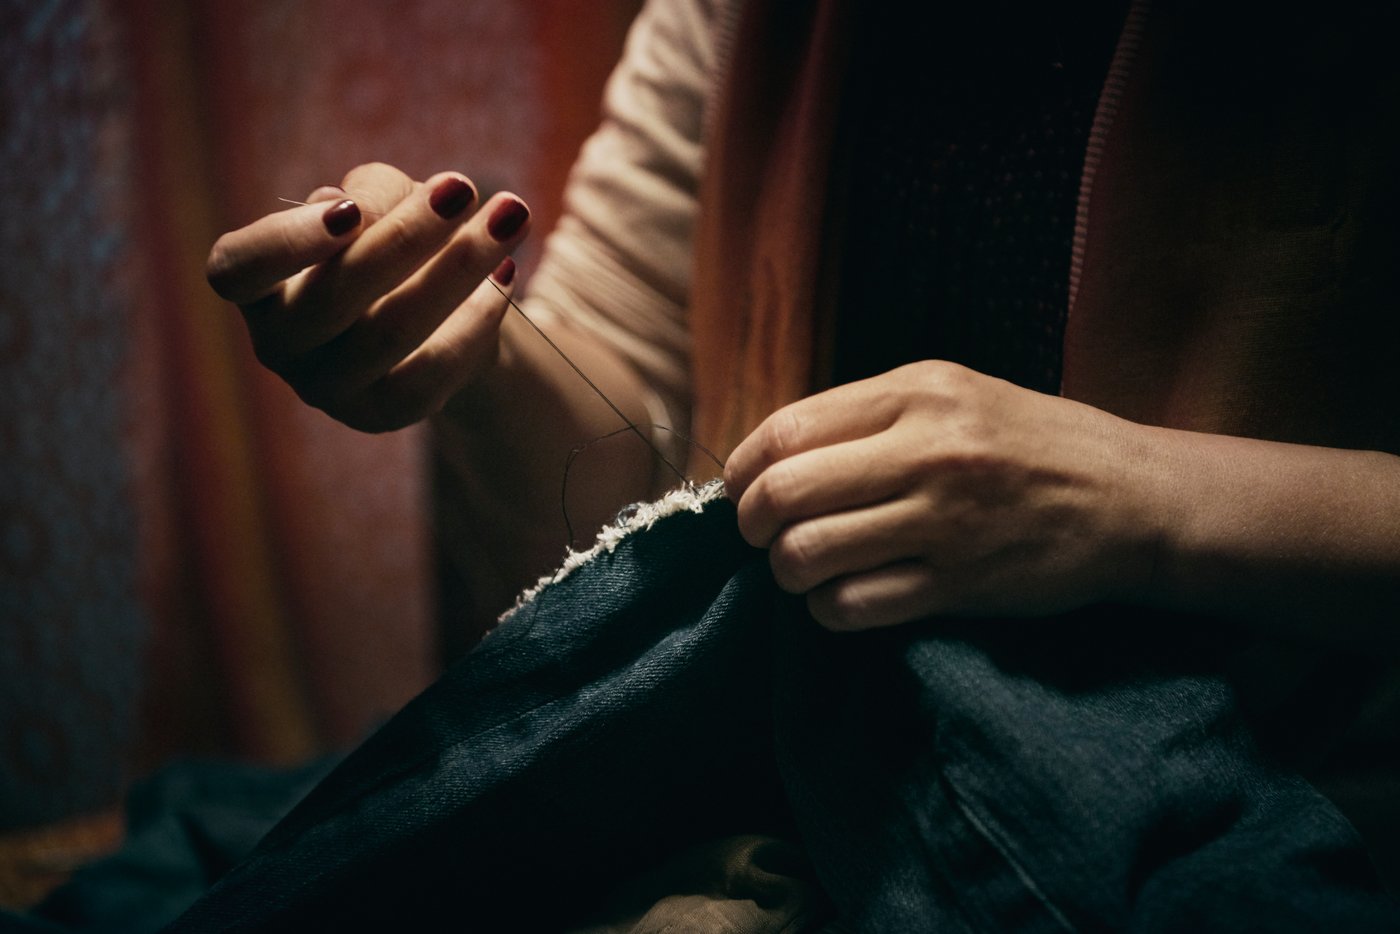
Step 3: Stitch the rip
Now, let's start stitching the rip closed. Here’s how to sew:
1. Start a little before the rip: Insert the needle into the back of the fabric a bit before the rip starts. Pull the thread all the way through until the knot stops it. This helps secure the beginning of your stitch..
2. Make small, even stitches: Push the needle through the fabric to the other side, then bring it back up through the fabric close to where you started. Continue making small stitches in a circular motion along the rip, keeping them close to the edge of the tear. Small stitches will make the repair stronger and less noticeable.
3. Keep the stitches tight: Make sure each stitch pulls the fabric together snugly but not too tight to avoid puckering. This will help the fabric lay flat and look smooth.
4. Finish the stitch: When you reach the end of the rip, make a few extra stitches in the same spot to secure the thread.
Step 4: Secure the Thread
Once you have stitched the rip closed, tie a knot closely on the backside of the fabric to secure the thread. Trim any excess thread with scissors. This will keep your stitches from coming undone and ensure a strong repair.
Step 5: Reinforce with an Iron-On Patch (Optional)
For extra strength, you can use an iron-on patch. Cut the patch to size and place it over the repaired area on the inside of the fabric. Follow the instructions on the patch packaging to iron it in place. This will help prevent the rip from reopening and add extra durability to your repair.
Step 6: Finish Up
Give the repaired area a final check to make sure the stitches are secure, and the fabric is smooth. Your textile is now mended and ready to use again! Enjoy the satisfaction of knowing you've saved your favorite fabric from the trash and given it a new lease on life.