Bring your wooden surfaces back to life
Over time, wooden surfaces can lose their shine, looking dull and worn out. But with a little care, you can protect your wood from moisture, UV rays, and everyday wear—while bringing out its natural beauty. Follow these simple steps to refresh and protect your wooden table. This guide is for untreated or previously oiled wooden worktops and pieces of furniture. For indoor use only. Let’s get started

What else do you need?
- Fine-grit sandpaper (around 220 grit)
- Wood treatment oil
Step 1: Clean the surface
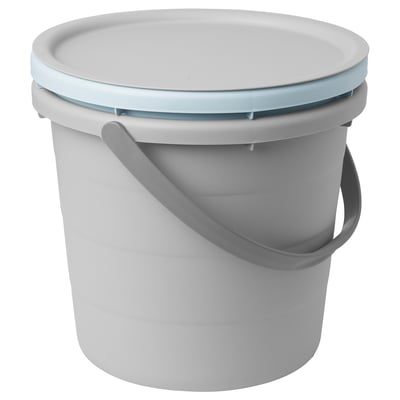
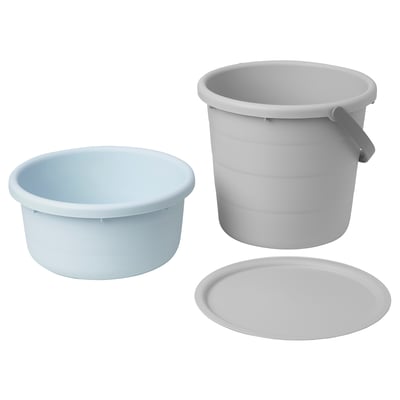
Get a bucket with soapy water and a cloth. Start by giving your table a good wipe-down. Dip a cloth in soapy water and clean the entire surface, making sure to remove dust, dirt, and any sticky spots. Let the table dry completely before moving on to the next step. A clean surface ensures the best results.
Step 2: Sand the surface
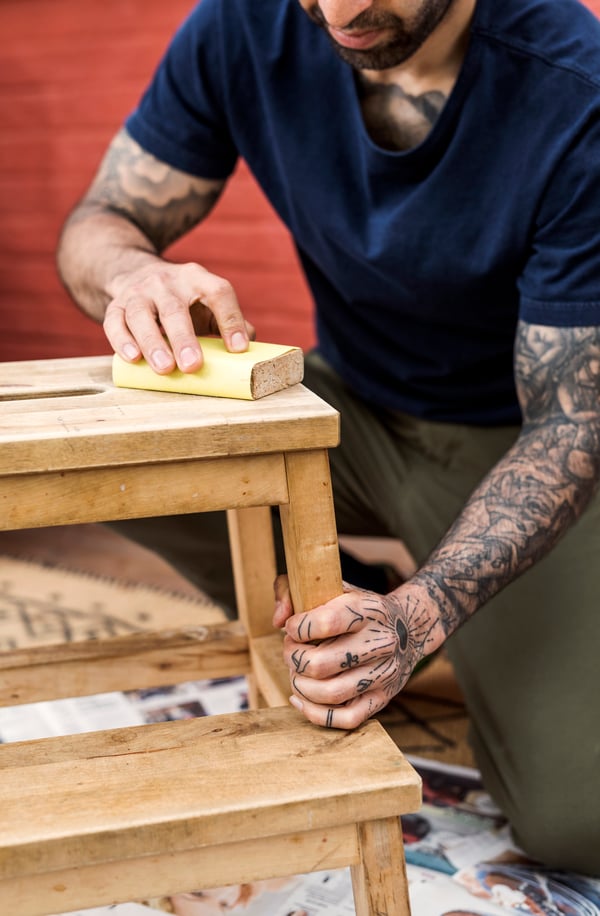
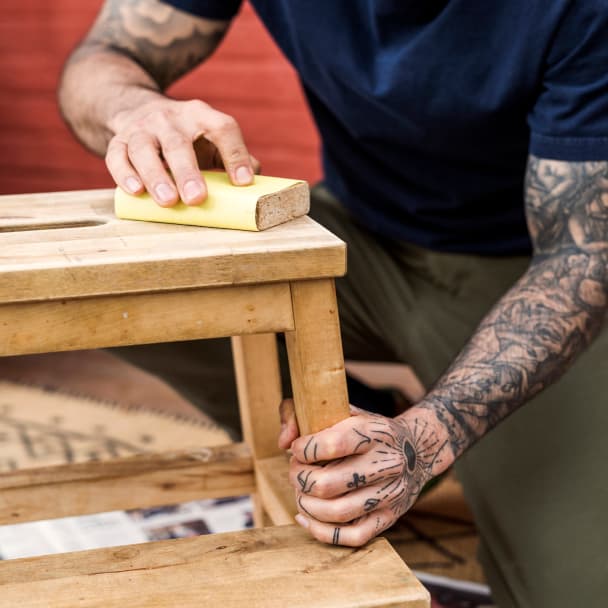
Get a piece of fine-grit sandpaper (around 220 grit) and a cloth. Lightly sand the table with the sandpaper, moving in the direction of the wood grain. This helps to smooth out any rough areas and prepares the wood for treatment. Wipe away any dust with a clean, dry cloth.

Step 3: Apply wood treatment oil or paint
Pull out the wood treatment oil and a clean cloth. Time to bring back that rich, natural look. Follow the instructions that come with the product. Make sure to cover the entire surface evenly. Make sure to let it dry before use.
Step 4: Let it Dry
Patience is key here. Let the oil fully absorb and dry for at least 24 hours before using the table. Make sure that when you have used paint the paint is dry as well.
