See how easy it is to make – and hang – your own curtains!
Hobby project, personal expression, unusual measures – whatever the reason, making curtains is simple with the right tools and guidance. Here are two ways to do it, shown step by step. For the second, you don’t even need a sewing machine.
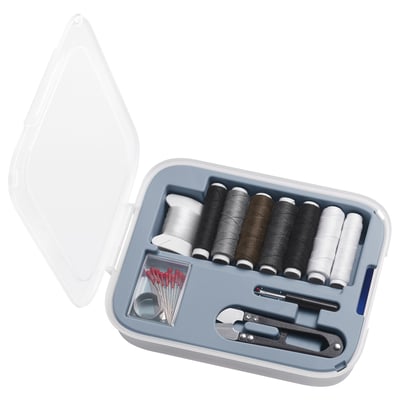
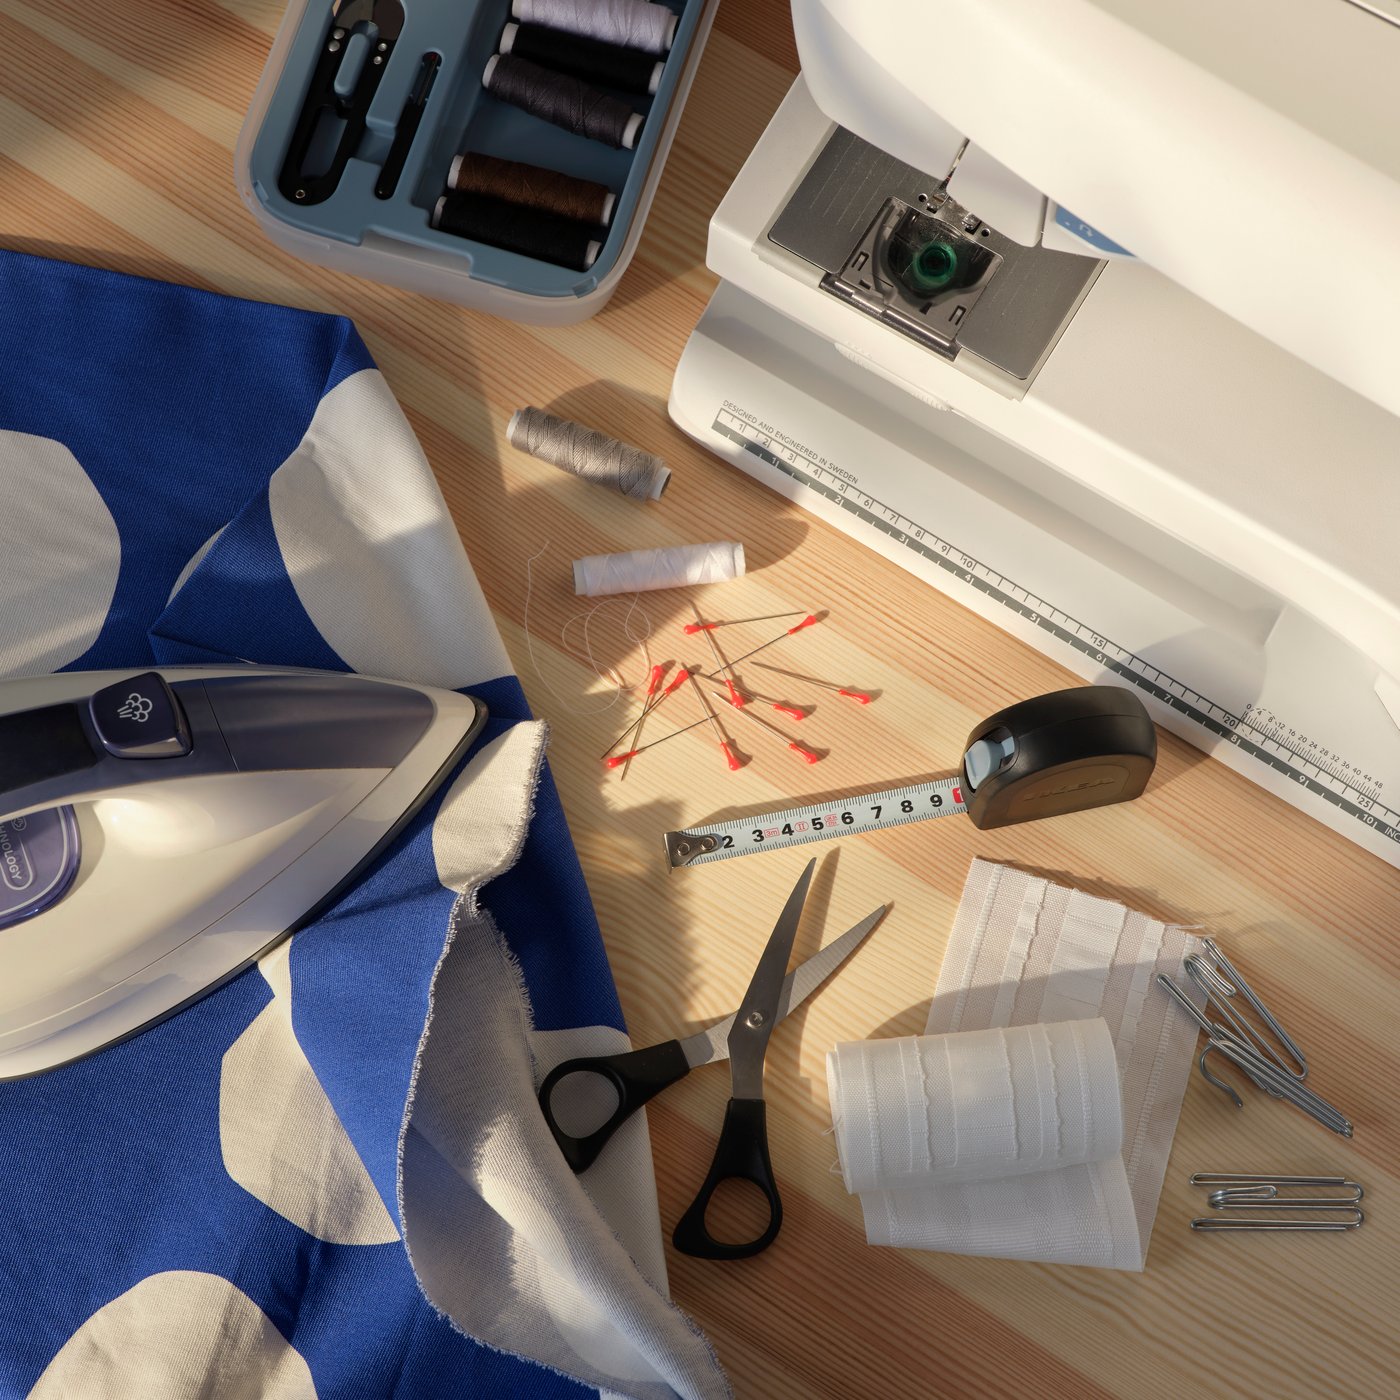
Know your tools
The first is the slightly more advanced way. While we recommend a sewing machine, you can get great results with hand-stitching also. If you use metre fabric, a good tip is to launder it beforehand to avoid unwanted shrinkage later. Whether adjusting existing curtains or making new ones from scratch, here’s what you need to get started.
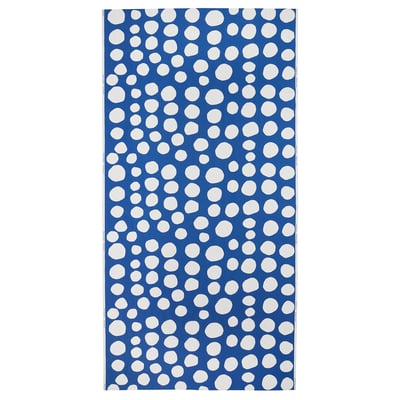
- Fabric (we chose blue-and-white RAKLOSTA
- Sewing machine
- KRONILL pleating tape
- RIKTIG curtain hooks
- SYRLIG curtain rings
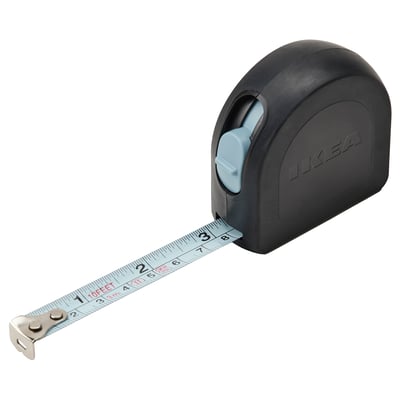
- Measuring tape
- Scissors
- Iron
- Thread, pins
Know your tools
The first is the slightly more advanced way. While we recommend a sewing machine, you can get great results with hand-stitching also. If you use metre fabric, a good tip is to launder it beforehand to avoid unwanted shrinkage later. Whether adjusting existing curtains or making new ones from scratch, here’s what you need to get started.
- Fabric (we chose blue-and-white RAKLOSTA
- Sewing machine
- KRONILL pleating tape
- RIKTIG curtain hooks
- SYRLIG curtain rings
- Measuring tape
- Scissors
- Iron
- Thread, pins
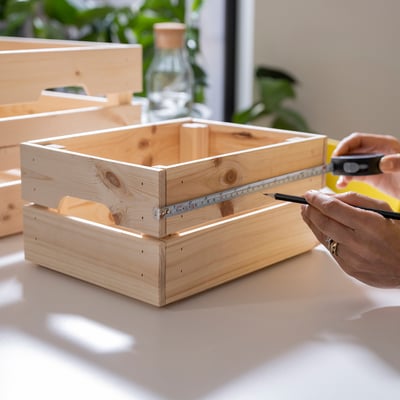
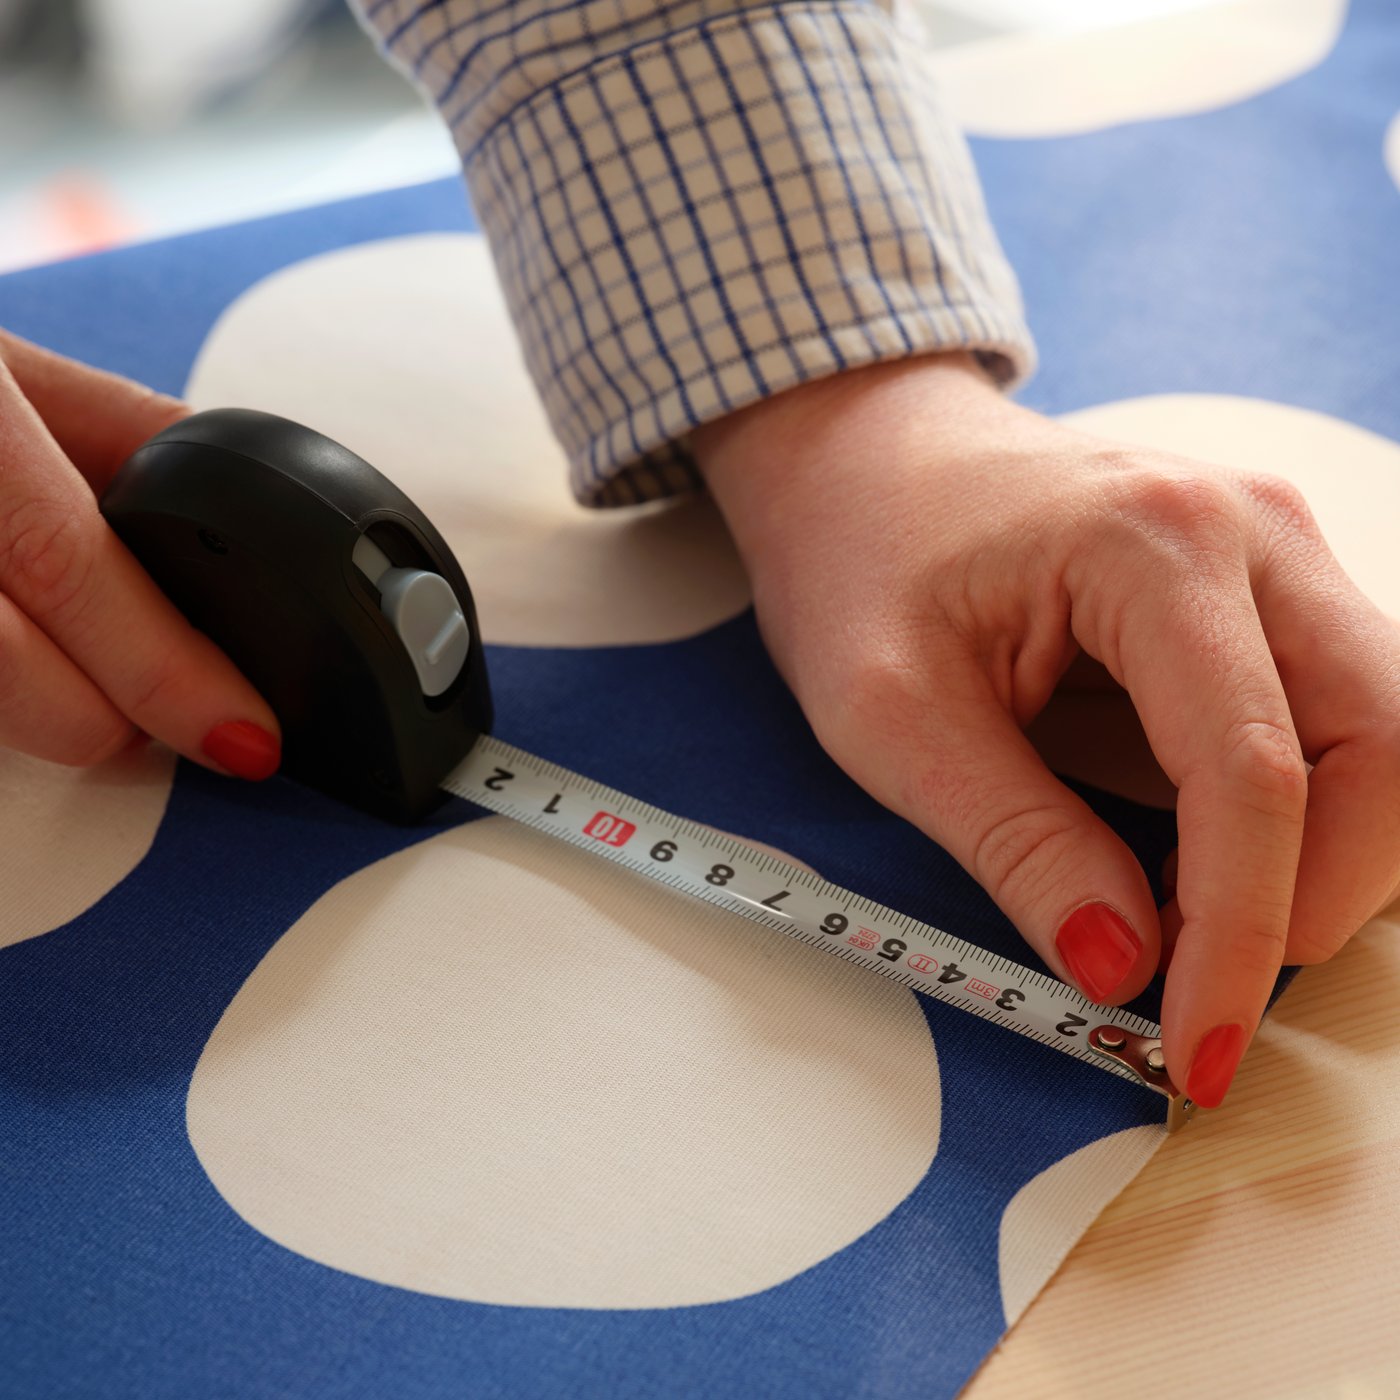
Measure twice, cut once
Got all measures taken, including allowing for double folds and enough length to reach all the way down (to wherever you want it)? Great! After all, careful measuring is an excellent way to minimise trial and error.
Measure twice, cut once
Got all measures taken, including allowing for double folds and enough length to reach all the way down (to wherever you want it)? Great! After all, careful measuring is an excellent way to minimise trial and error.
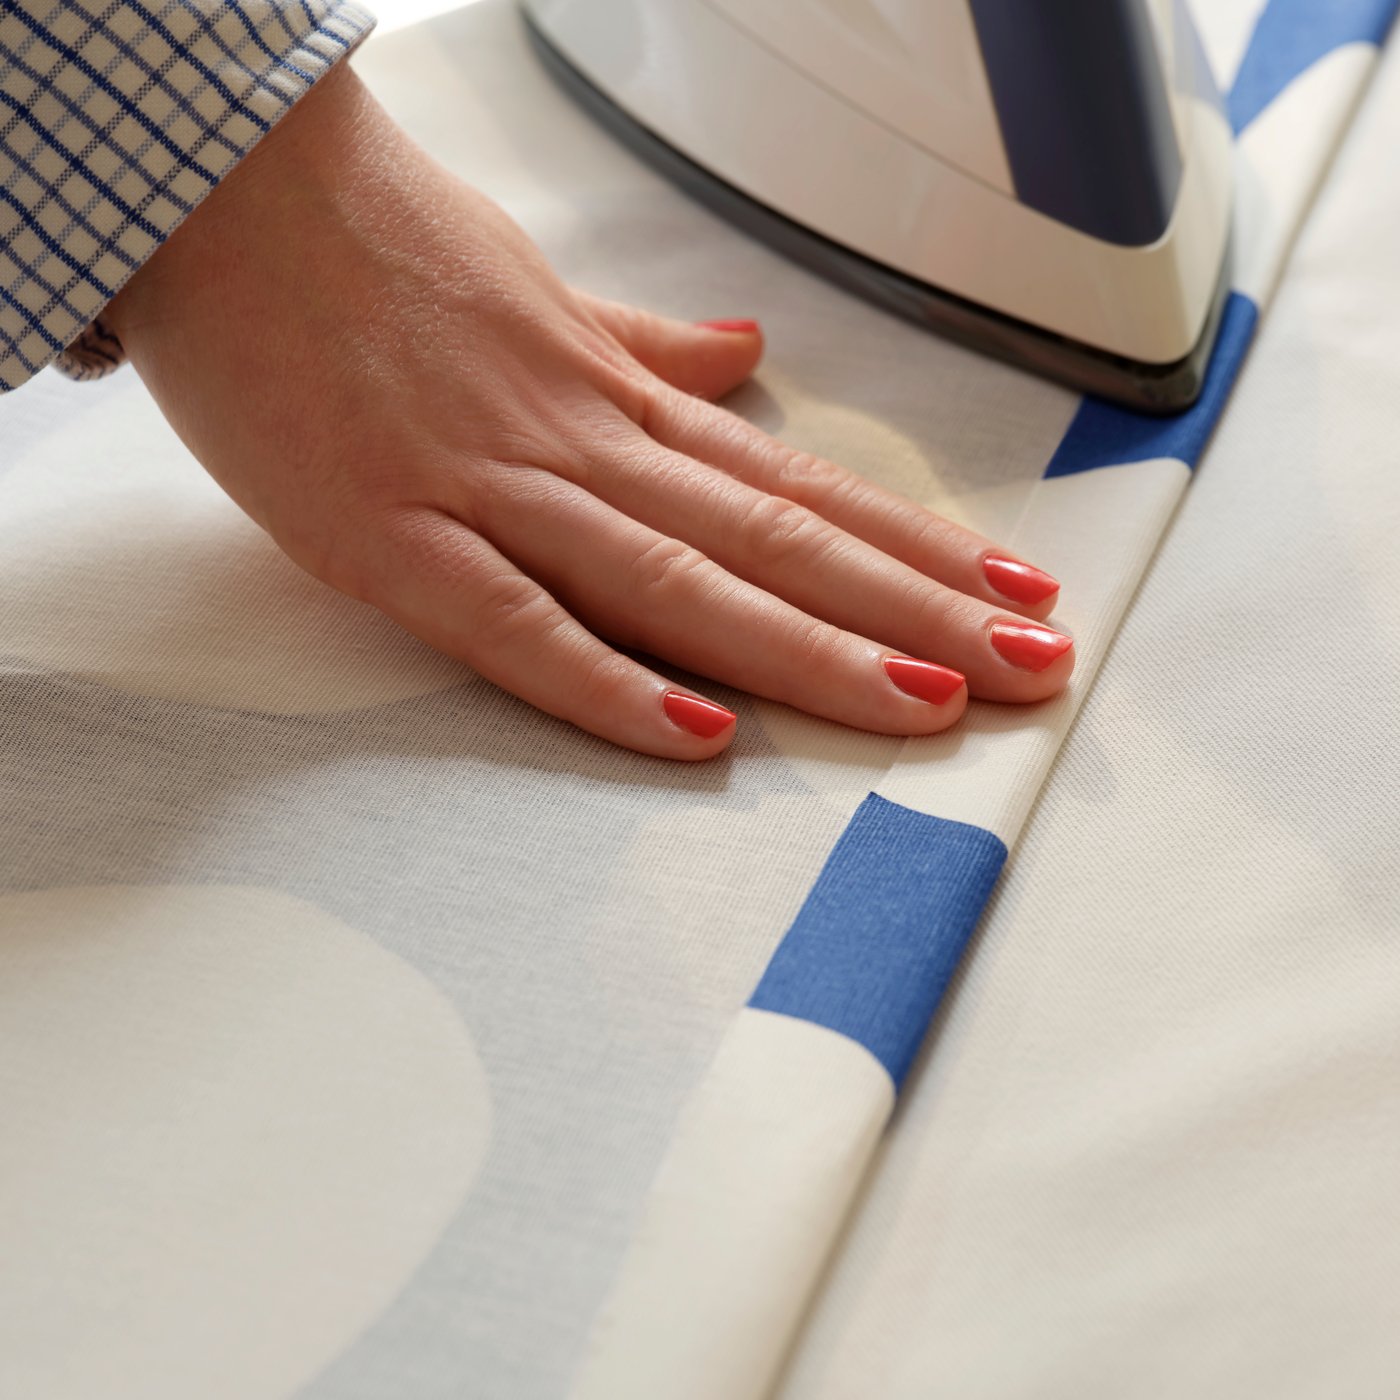
Fold and fold again for a clean edge
Double-fold the side edges, then press with an iron for a nice finish.
Fold and fold again for a clean edge
Double-fold the side edges, then press with an iron for a nice finish.
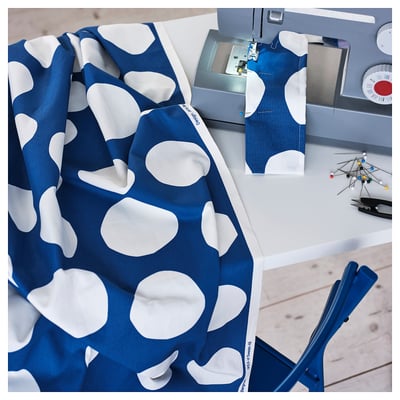
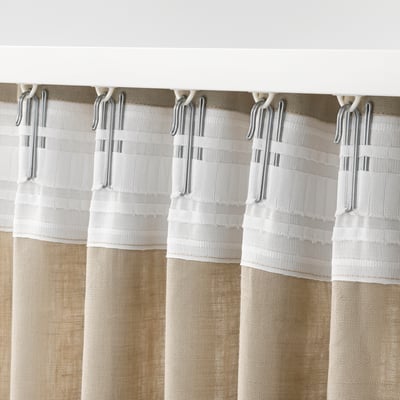
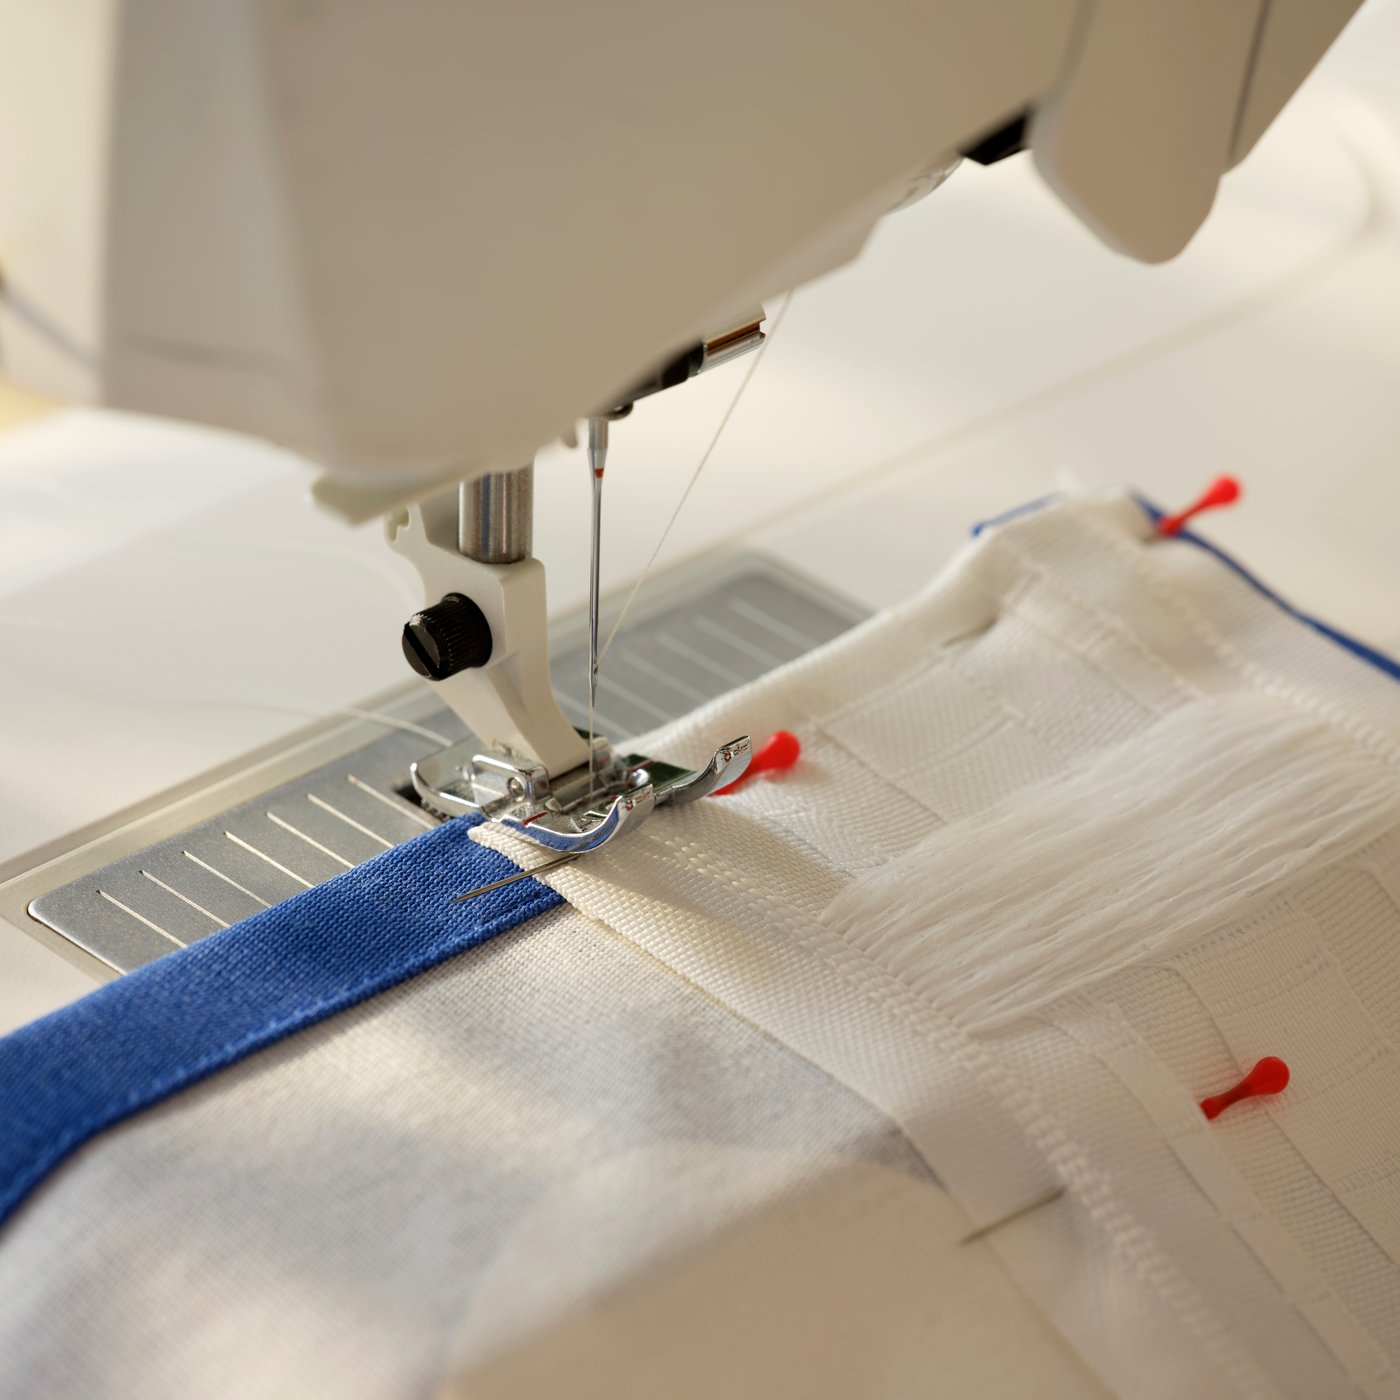
Pin and stitch the top of your curtain
Align KRONILL pleating tape at the intended top edge, pin it in place, and sew (or stitch) along the sides.
Pin and stitch the top of your curtain
Align KRONILL pleating tape at the intended top edge, pin it in place, and sew (or stitch) along the sides.
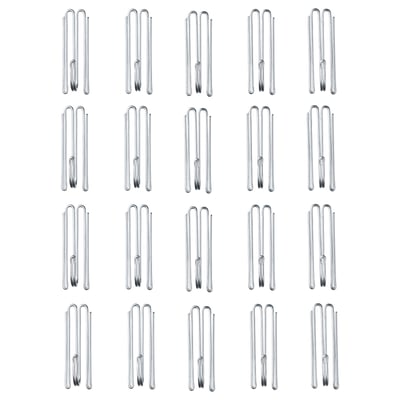
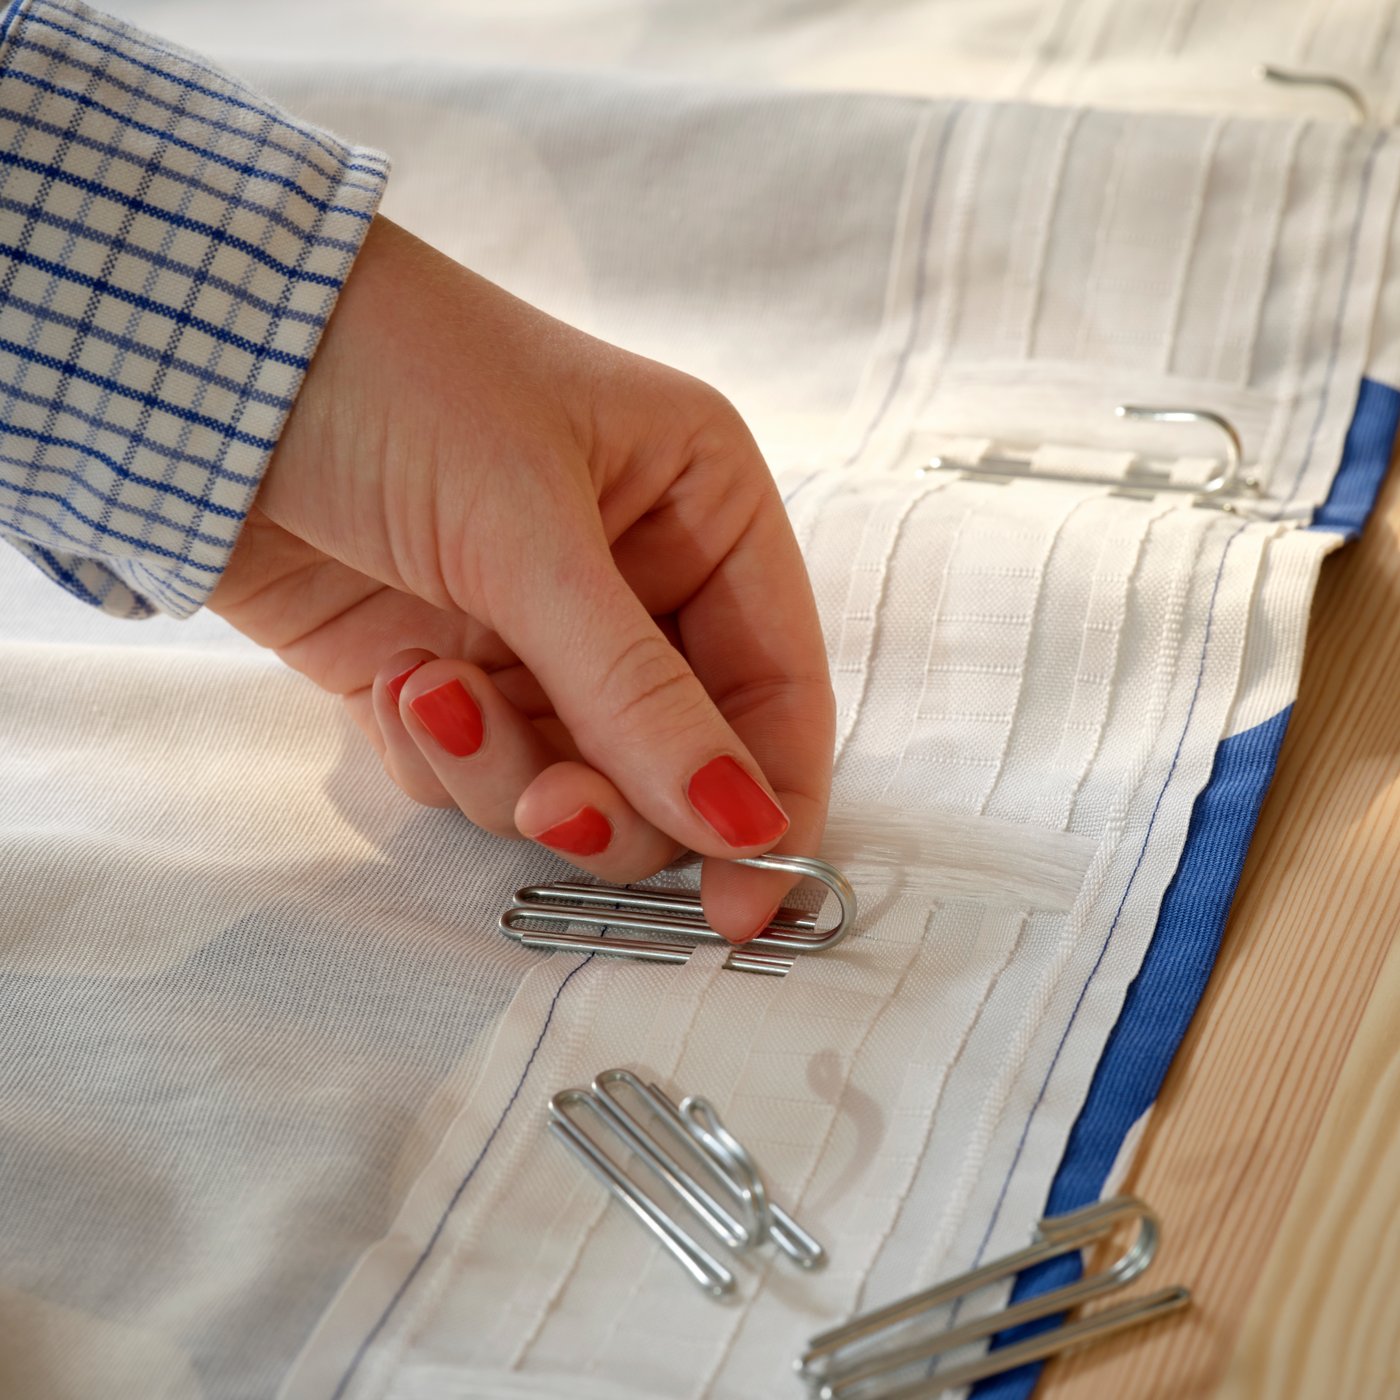
Insert curtain hooks
Distribute and fasten RIKTIG curtain hooks evenly along the pleating tape. The shorter the intervals, the smaller the pleats will be once your curtains are in place.
Insert curtain hooks
Distribute and fasten RIKTIG curtain hooks evenly along the pleating tape. The shorter the intervals, the smaller the pleats will be once your curtains are in place.
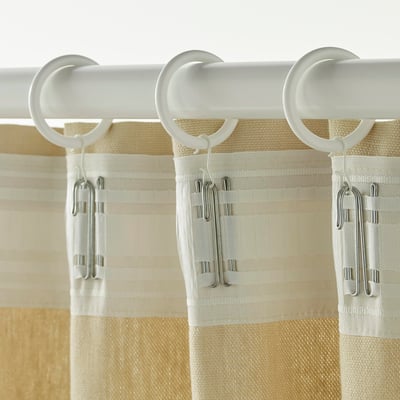
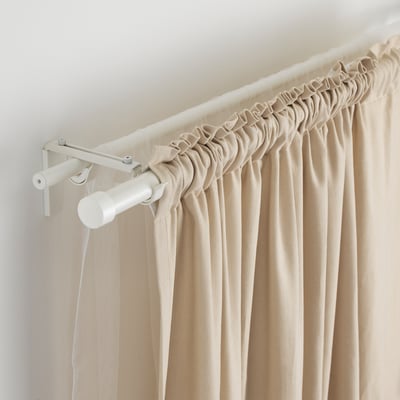
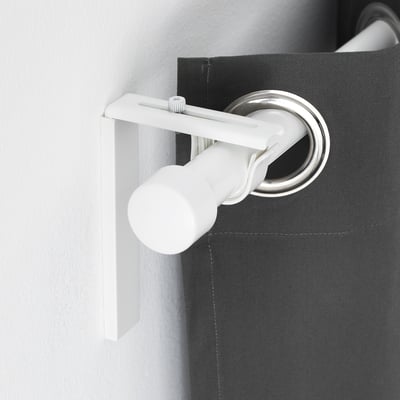
Hang proud
All done! Hook the fabric onto the rod or track – here we use a wall-mounted rod and SYRLIG curtain rings – step back and admire your handmade curtains.

Hang proud
All done! Hook the fabric onto the rod or track – here we use a wall-mounted rod and SYRLIG curtain rings – step back and admire your handmade curtains.
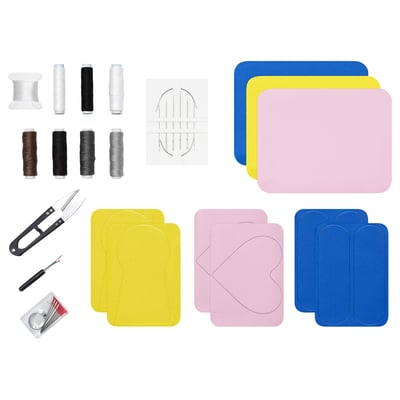
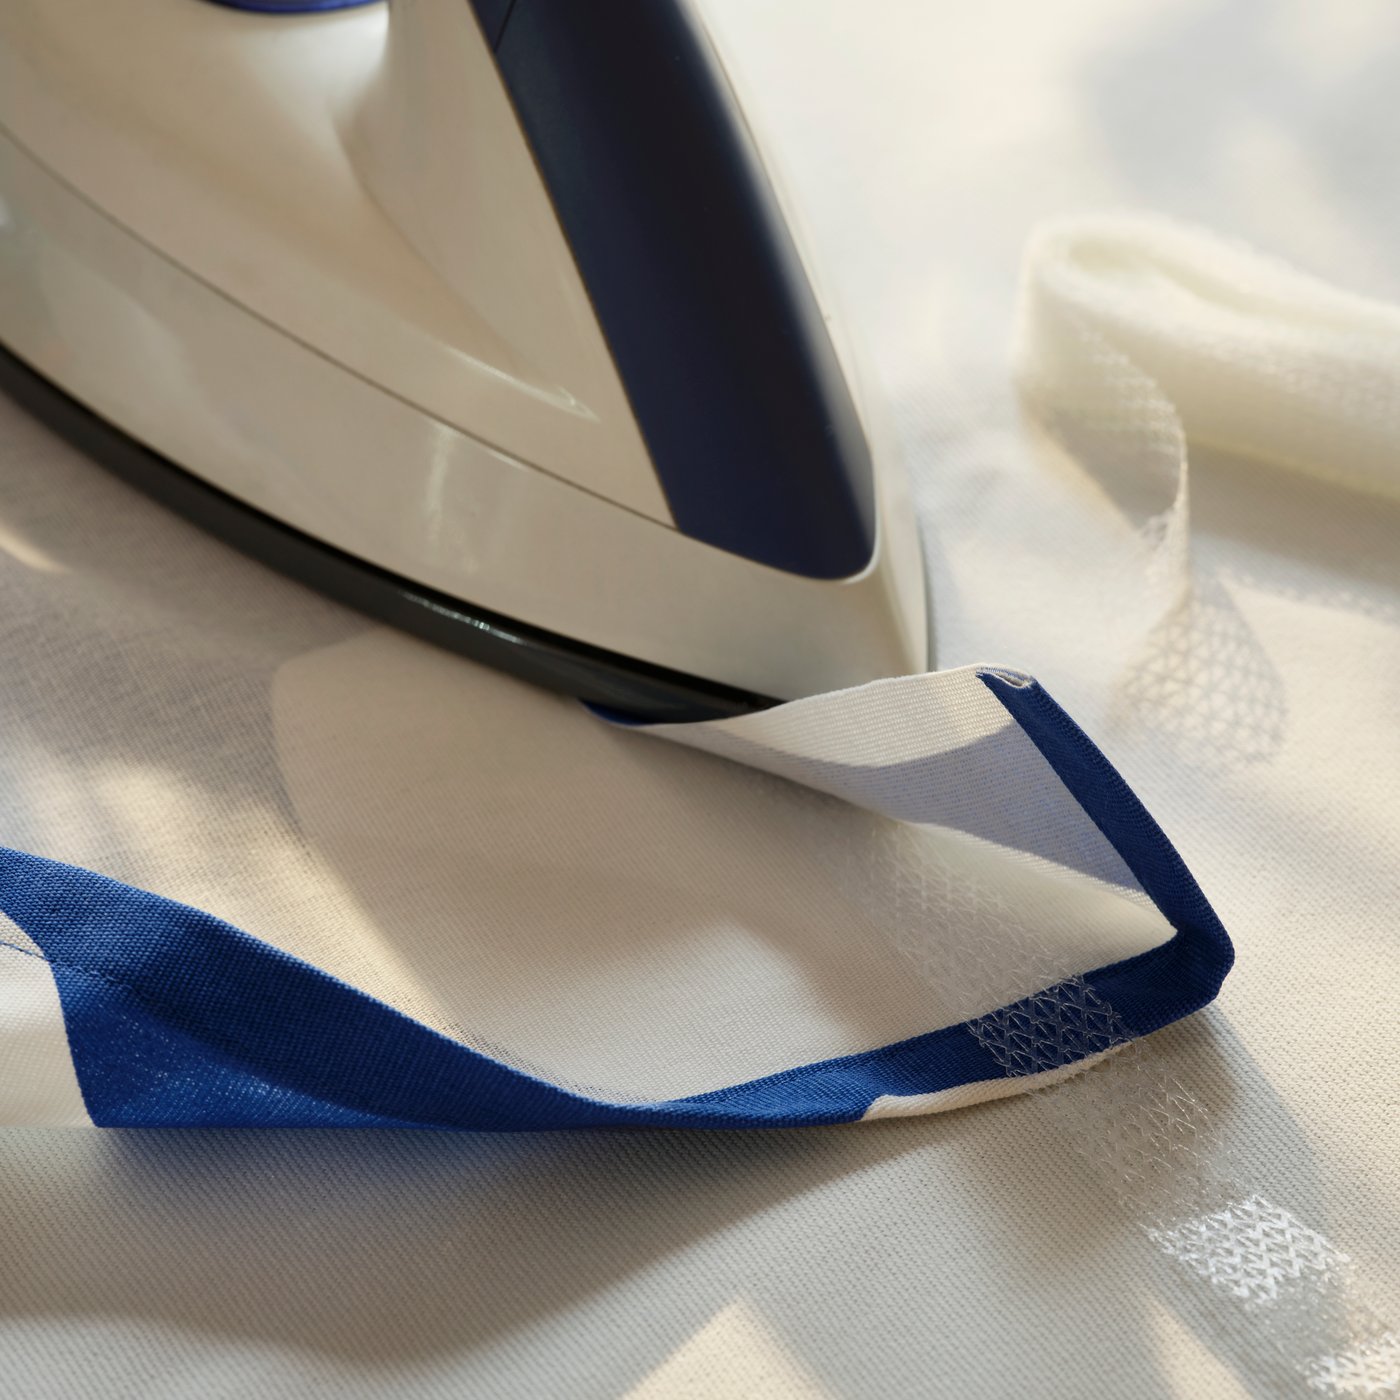
Or – you can do like this
No machine? No worries! With SY iron-on hemming strip, you can achieve a quick, clean, no-stitch fold – perfect for light fabrics, quick makeovers, or temporary solutions. Simply apply hemming strip, fold, iron and voilà!
Or – you can do like this
No machine? No worries! With SY iron-on hemming strip, you can achieve a quick, clean, no-stitch fold – perfect for light fabrics, quick makeovers, or temporary solutions. Simply apply hemming strip, fold, iron and voilà!
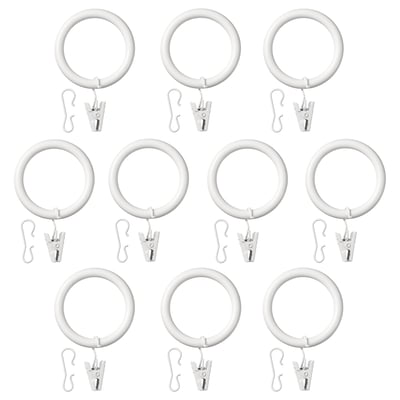
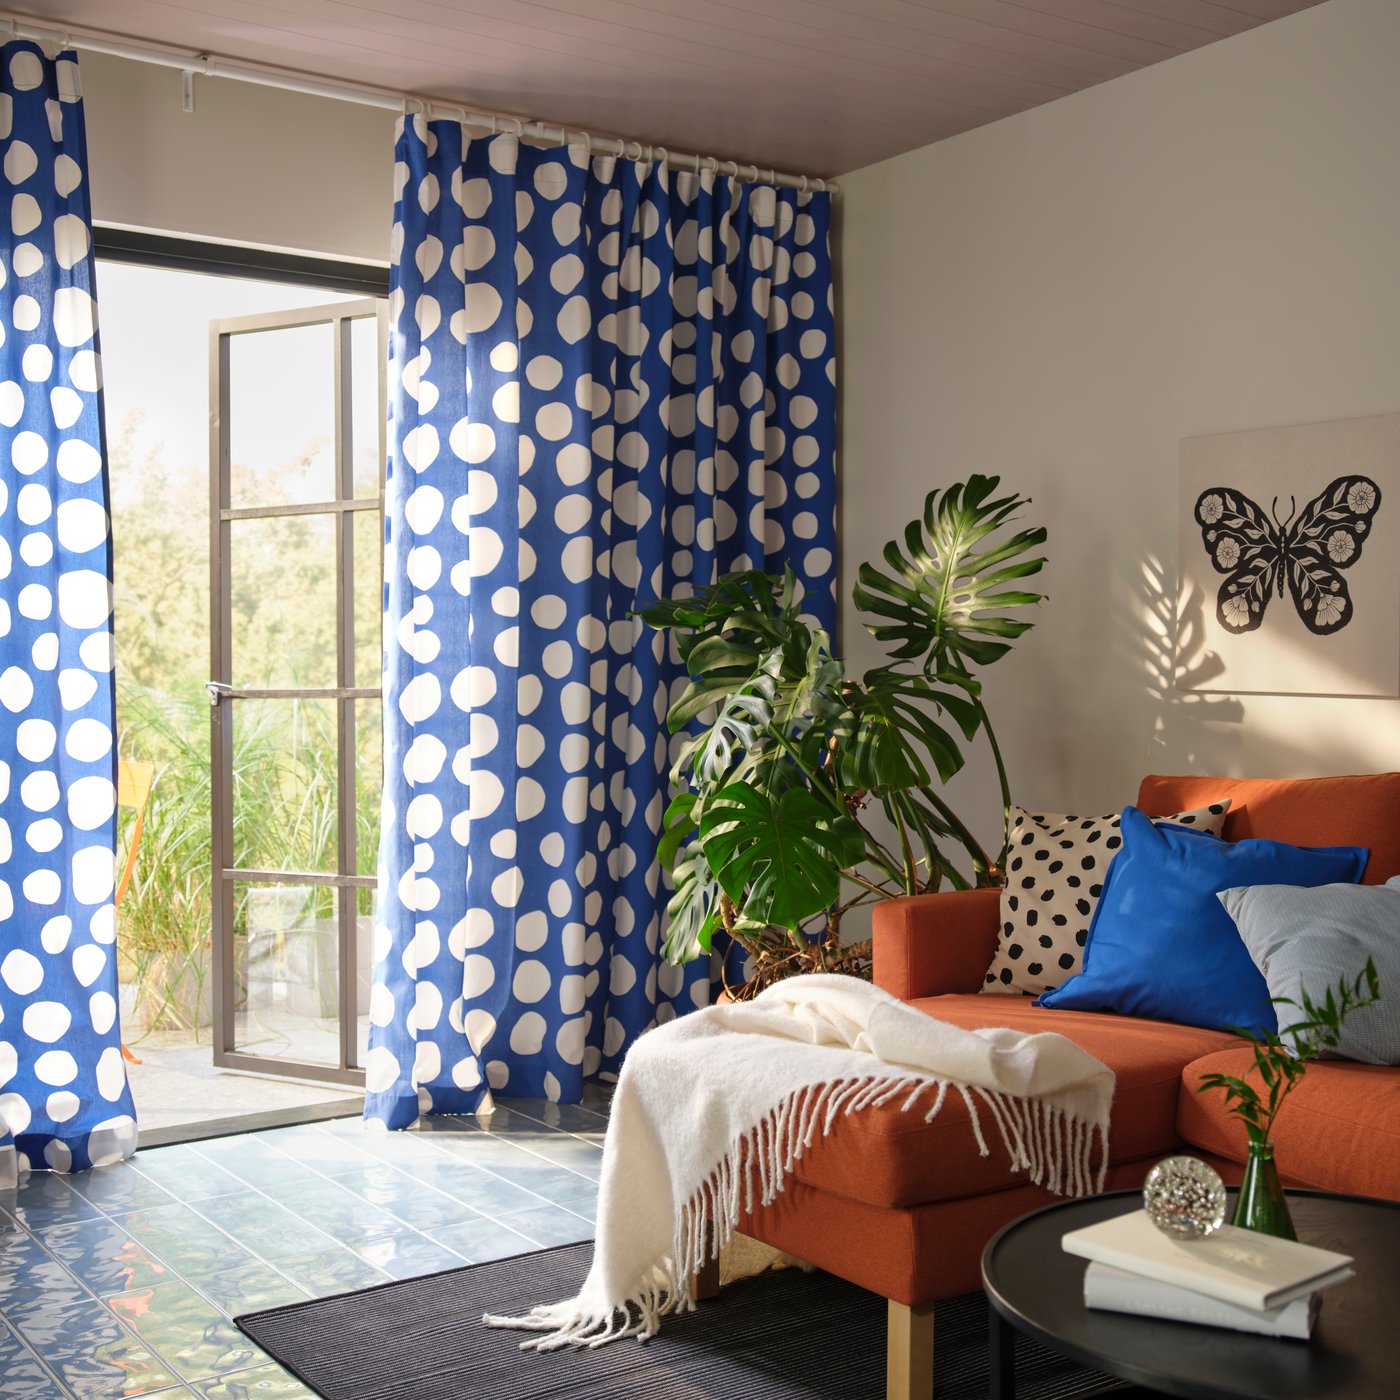
The results are in
That’s it? Yes, it is! Once you have the folds done, SYRLIG curtain rings do the rest. Hang them, clip on to the fabric and take in the view. Is that a smile on your face?

The results are in
That’s it? Yes, it is! Once you have the folds done, SYRLIG curtain rings do the rest. Hang them, clip on to the fabric and take in the view. Is that a smile on your face?