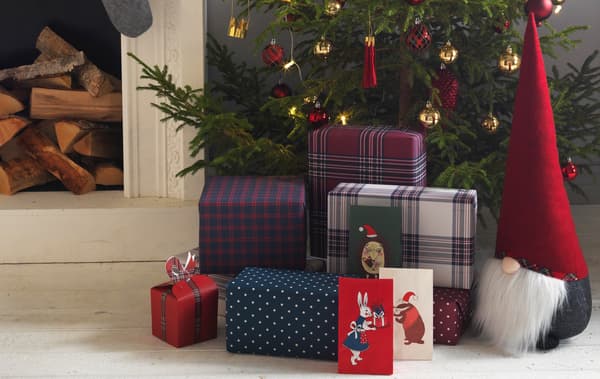
Five 5 DIY gifts to make with kids without spending a fortune
Would you like to make personalised gifts for the person you love so much? Make sure that you check out these DIY ideas to make beautiful, affordable Christmas gifts filled with love together with your kids.
Handmade or personalised gifts are always a hit, especially if you want that item to be unique. That's why, this year especially, we encourage you to make DIY gifts, not only because they can be affordable (you can never save too much), but because you will have the opportunity to gift soulful pieces, which show that person even more how much you care about them. Fancy this idea? Take inspiration from this list of affordable, customisable Christmas presents and create unforgettable holiday gifts with your little ones.
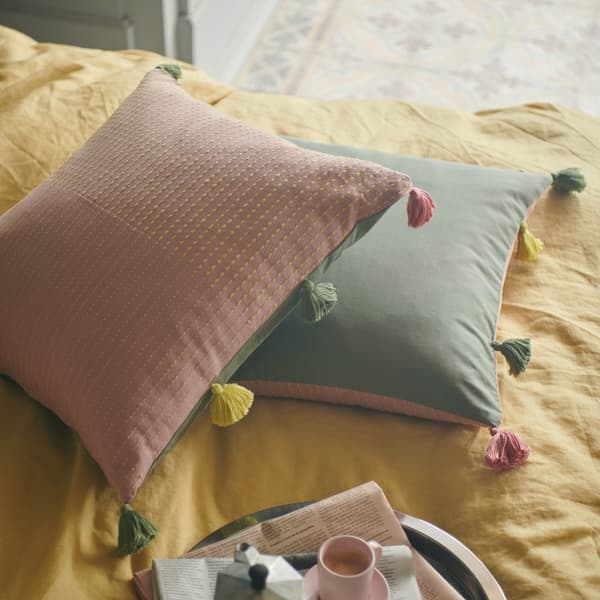
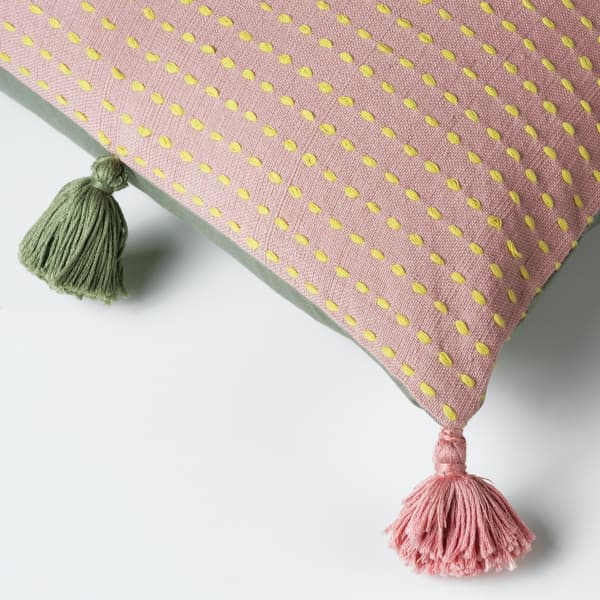
1. A custom cushion with tassels
Our list starts with a lovely, affordable gift to decorate any bedroom or living room: cushion covers with colourful tassels. For this idea, your little ones might not know how to sew (or maybe they can!) so this task is down to you—but don't worry, they can get involved too.
How do you like it? Here, we've taken our KLARAFINA cover as inspiration, but to add tassels to any cushion cover (or another textile, like a blanket), all you'll need is yarn (or wool), cardboard, scissors and a pencil or pen.
Here's how to do it:
- With a piece of cardboard folded in half, wrap the yarn around a small section of the cardboard until the desired thickness is achieved, then cut off the excess yarn. This loop we have formed will be the tassel. Remember that the more you wrap the yarn, the thicker the tassel will be.
- Cut another piece of yarn (around 20 cm) and use it to make a knot to firmly secure the loop that we have made. Don't cut off the excess strands.
- Carefully remove the loop from the cardboard so it doesn't come undone.
- Now, place a pencil just under the knot that secures the entire loop and wrap around one of the excess strands just under the pencil. About 5-6 times will be enough.
- Without letting go, tie it in a knot and bring it together with the other excess strand.
- Pull out the pencil and cut the loop underneath to open the tassel.
- Repeat the process with the other colours.
- Sew the tassels onto the cushion cover and you're ready to go!
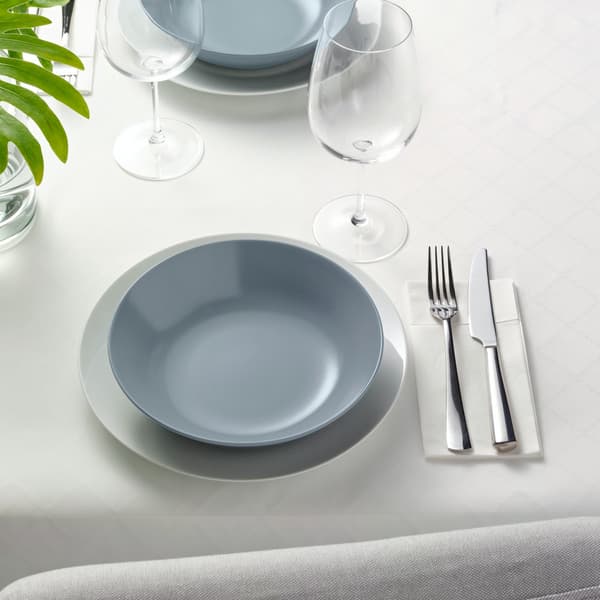
2. A colourful tablecloth to brighten up any table
If your little one is a budding artist and spends the whole day painting and drawing, they'll most likely want to gift one of their works of art. In this case, something as simple as a personalised tablecloth or runner will brighten up any family meal. What do you think? The grandparents are sure to love it!
For this gift, all you need is a tablecloth (we recommend a white one so you don't have any problems with colours), fabric paint and a pencil.
- Put the tablecloth or the runner on the table to work more easily. Tip: use a plastic sheet or protector underneath to avoid damaging the table.
- Using a pencil, gently draw the outline of what you want to paint so that you have a guide. You can add a few flowers in the corners, a design in the centre… Let your imagination run wild!
- Once drawn, it's time to add some colour, so get painting! You can use brushes of different sizes for precision.
- Let it dry thoroughly (if it can be left overnight, even better) and make sure that there are no tacky or wet areas left.
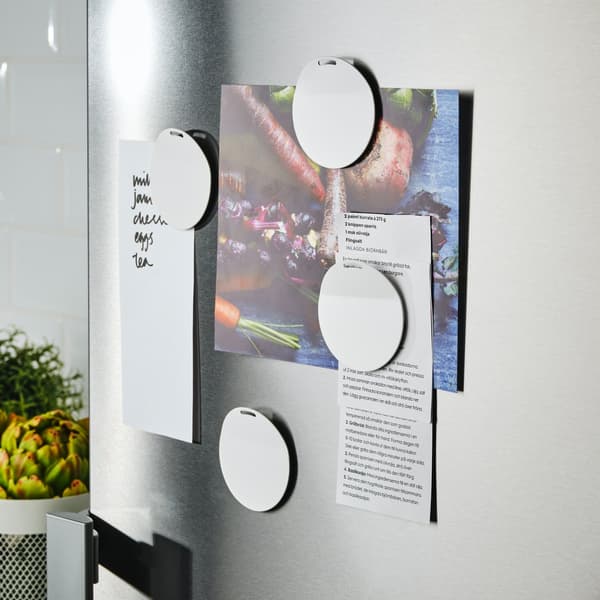
3. A magnet for family memories
There's nothing like a gift that takes us back to a pleasant memory, like a trip. Maybe that's why we see traditional fridge magnets in so many houses, right? Somehow, they are a way to revisit that entire journey. So why not take those souvenirs and make them even more memorable?
We recommend making some photo fridge magnets. How? It's really simple. Take a look:
- Take a piece of cardboard and draw two squares (a little bit larger than the photos we want to use) and then cut them out.
- In one square, cut out the inside, creating the edge you like most, like a photo frame. It can be a thin border, or in the style of instant photos.
- Paint the cardboard in your favourite colour. When they are dry, place the photo between the two parts and seal it with a little glue.
- Once assembled and sealed, stick a magnet onto the back and allow it to dry properly.
- Repeat the process with as many photos as you like.
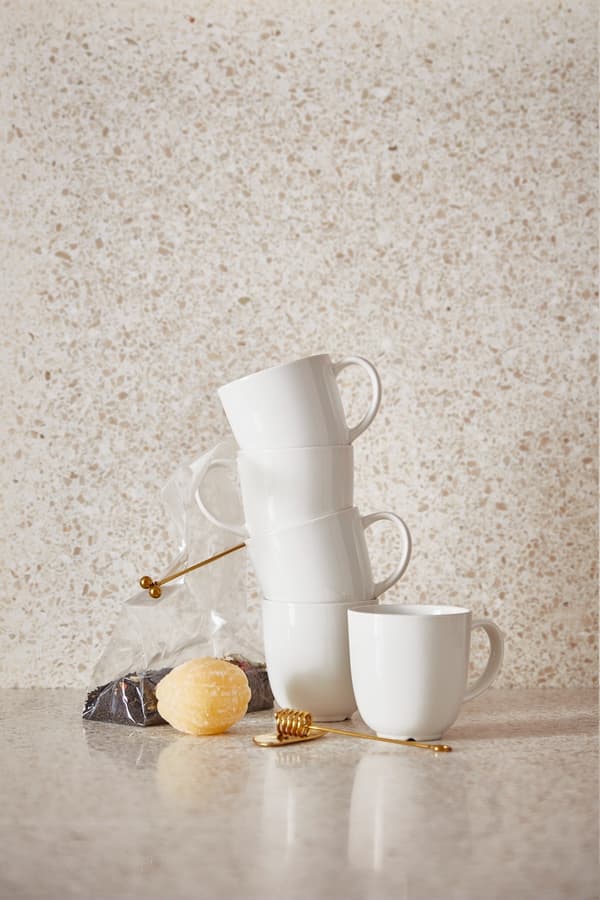
4. A mug with a message that will never fail to put a smile on their face
A perfect, affordable gift for all ages. This year, there has undoubtedly been one memorable phrase or another that deserves to be remembered, or someone is simply so charismatic that they must somehow be immortalised. Why not put that phrase on their own mug?
Customising a mug is easy, affordable and tremendously fun! Take note of all the steps so that it's just perfect:
- Choose a smooth mug in a solid colour.
- Think about the design for that phrase and practise drawing it on paper. The more you practise, the better and easier it will come to you later.
- Lay the mug on its side and hold the handle with one hand so it doesn't move while you draw with your other hand.
- Use a ceramic marker to help you write the sentence you have practised. Tip: use a wet cotton bud to erase small mistakes.
- Allow to dry for at least 24 hours.
- Place the mugs in the oven for an hour and a half at about 160ºC.
- An adult must always supervise during this step. Now enjoy your unique mug!
Did you like this technique? You can apply it to different objects other than a mug. For example, on glass jars for the pantry or for a unique money jar, a large biscuit jar, a bowl etc. You can use whatever you like as long as it's made of ceramic or glass.
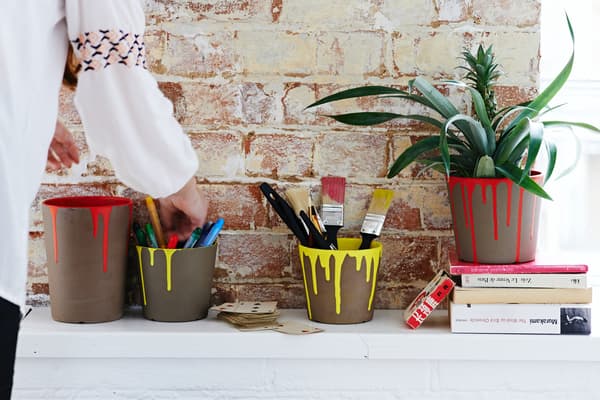
5. A decorated planter
Finally, we're rounding out our list of DIY gifts with a beautiful decorated planter! It's great for both decorating house plants and adding a new, unique planter to your home And best of all, it's super affordable.
Don't have any planters? Take a look at our special section and choose the one you like most. We have a wide variety of styles and sizes.
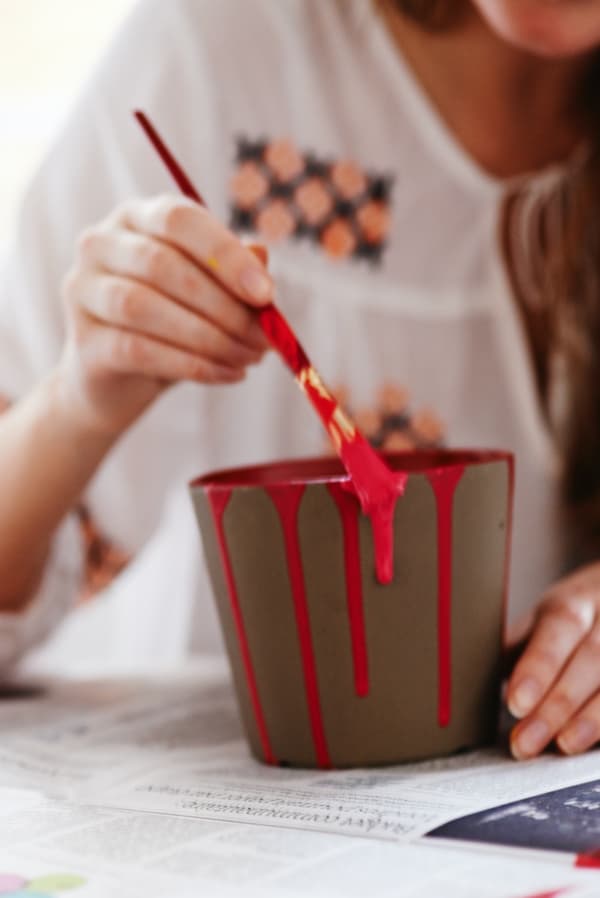
You can decorate it however you like. However, this is how we did it:
- Cover the workspace with newspaper or protectors.
- Saturate the paint brush and, from the top of the planter, let a drop of paint drip down the side.
- Repeat the process on different parts of the planter, varying the amount of paint.
- Once you've made the "drips", paint the rest of the outside and add more drips until you have the design you want.
- Leave it to dry completely.
- If you like, you can let the coat of paint dry and repeat the process with a different colour to combine several tones on one planter.
What did you think? We hope these ideas have inspired you for your next gifts. Don't miss out on more tips and suggestions for making original, affordable gifts and saving a little money.

We love it when customers use our products in a creative way. Why not try to do something new with them yourself? But do remember, any modifications or changes that you make to IKEA products will prevent them from being resold or used for their original purpose, thus invalidating IKEA product warranties and your right to return them.