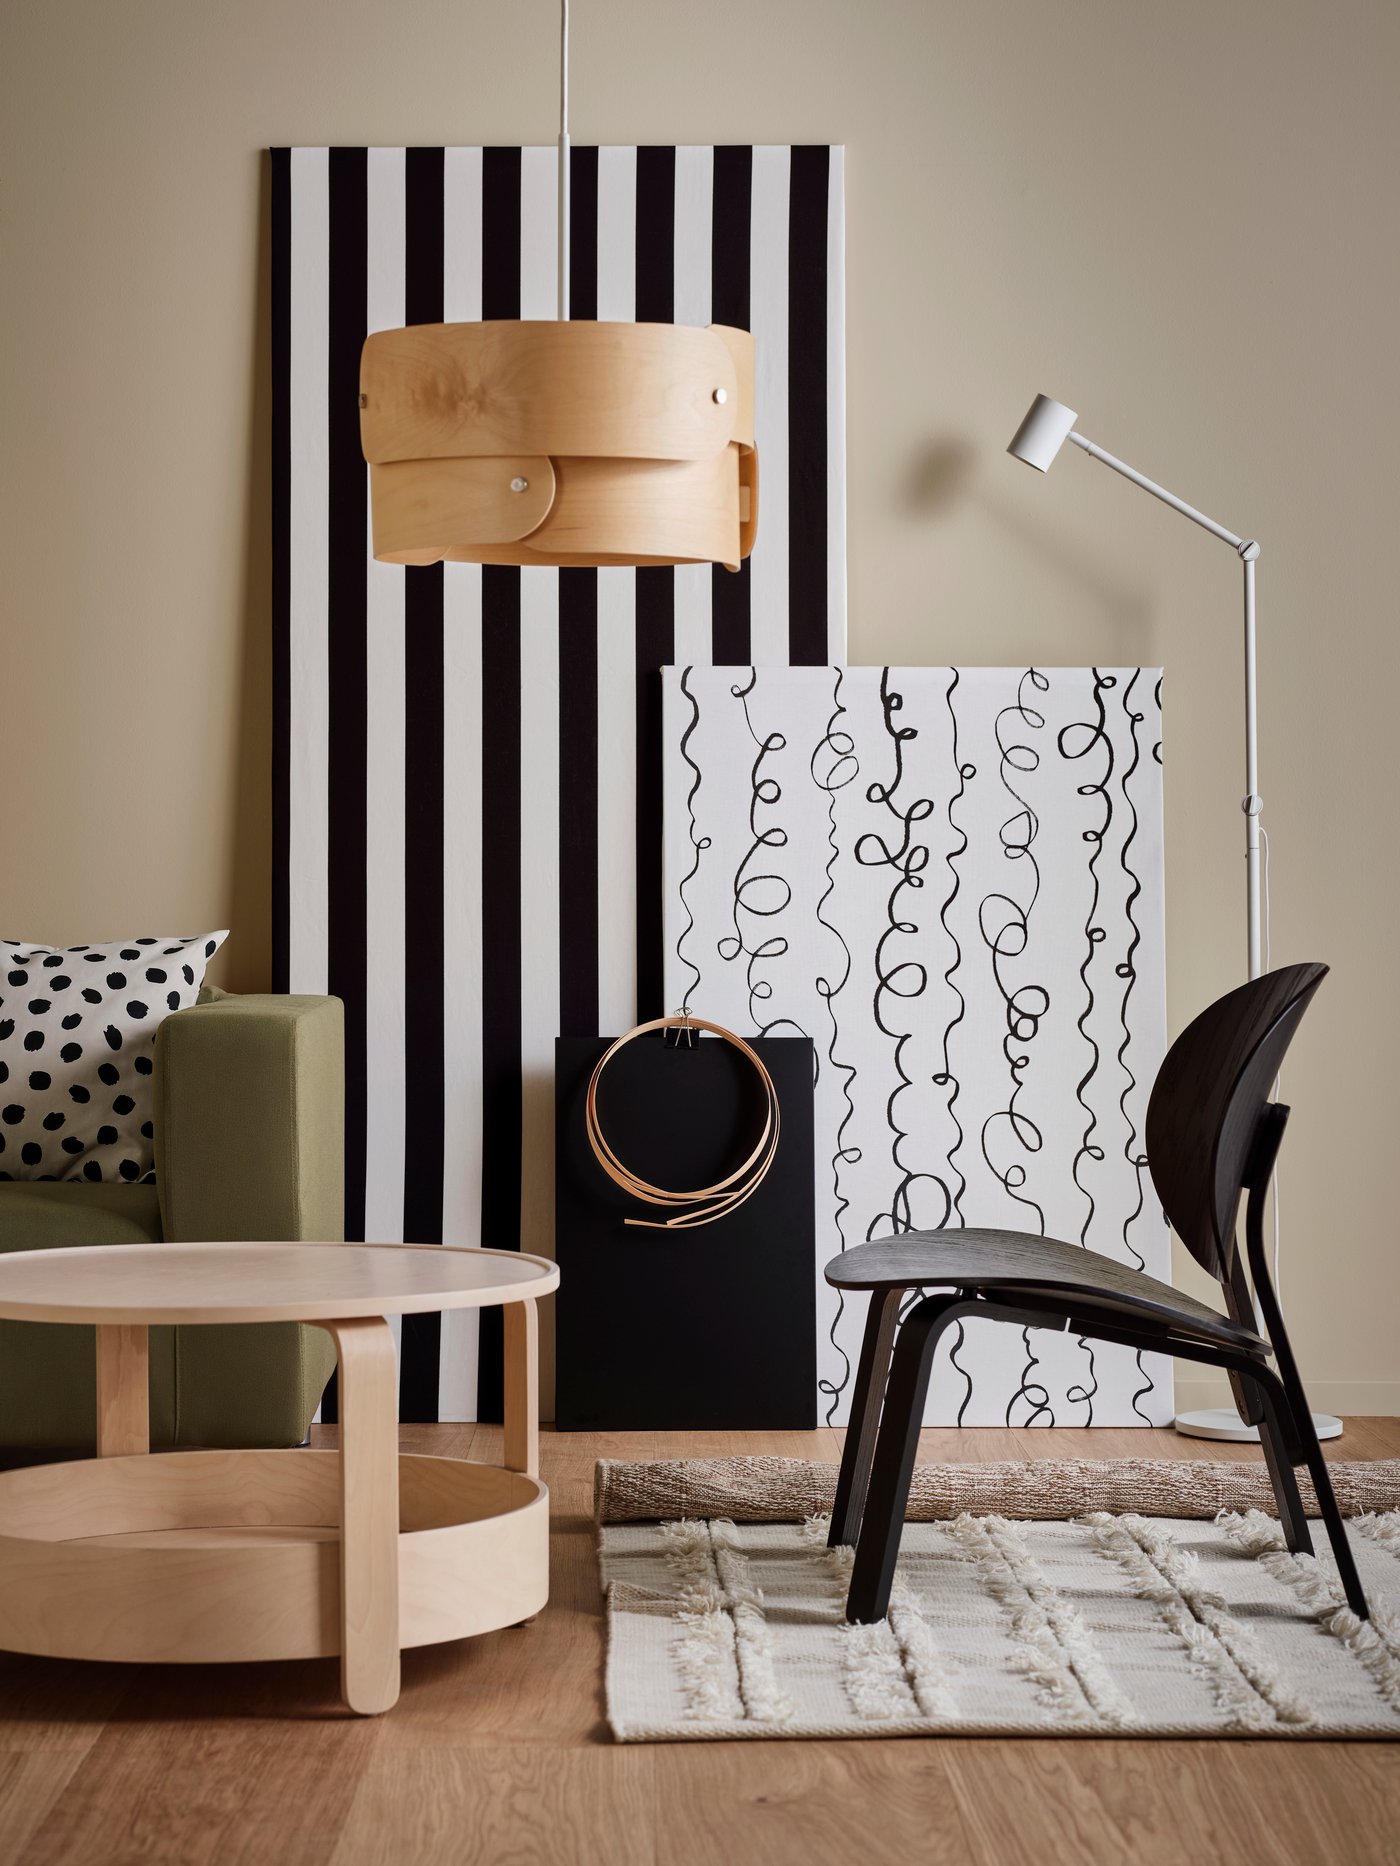
Tips and ideas for the home
Find ideas to kick-start your next project and freshen up your home decor. Use this page to view IKEA products that solve common, everyday problems, and find what inspires you.


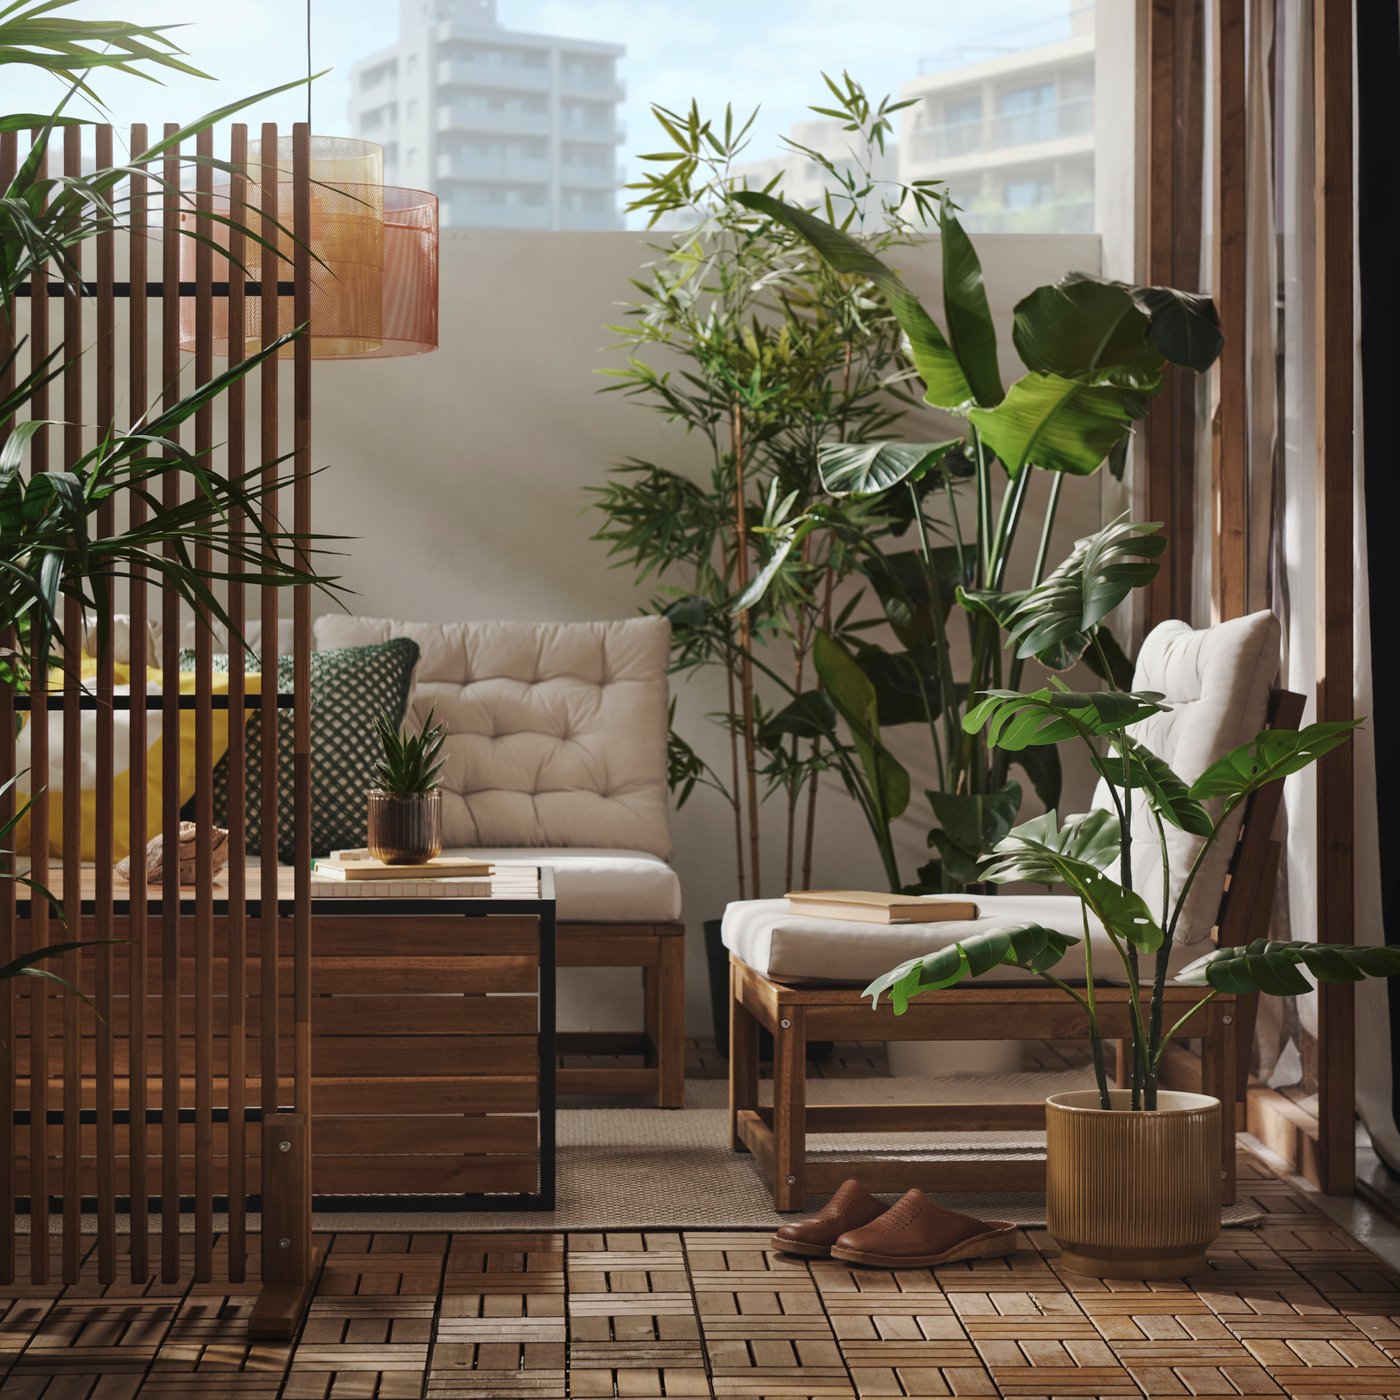
Your terrace, an oasis in the heart of the city
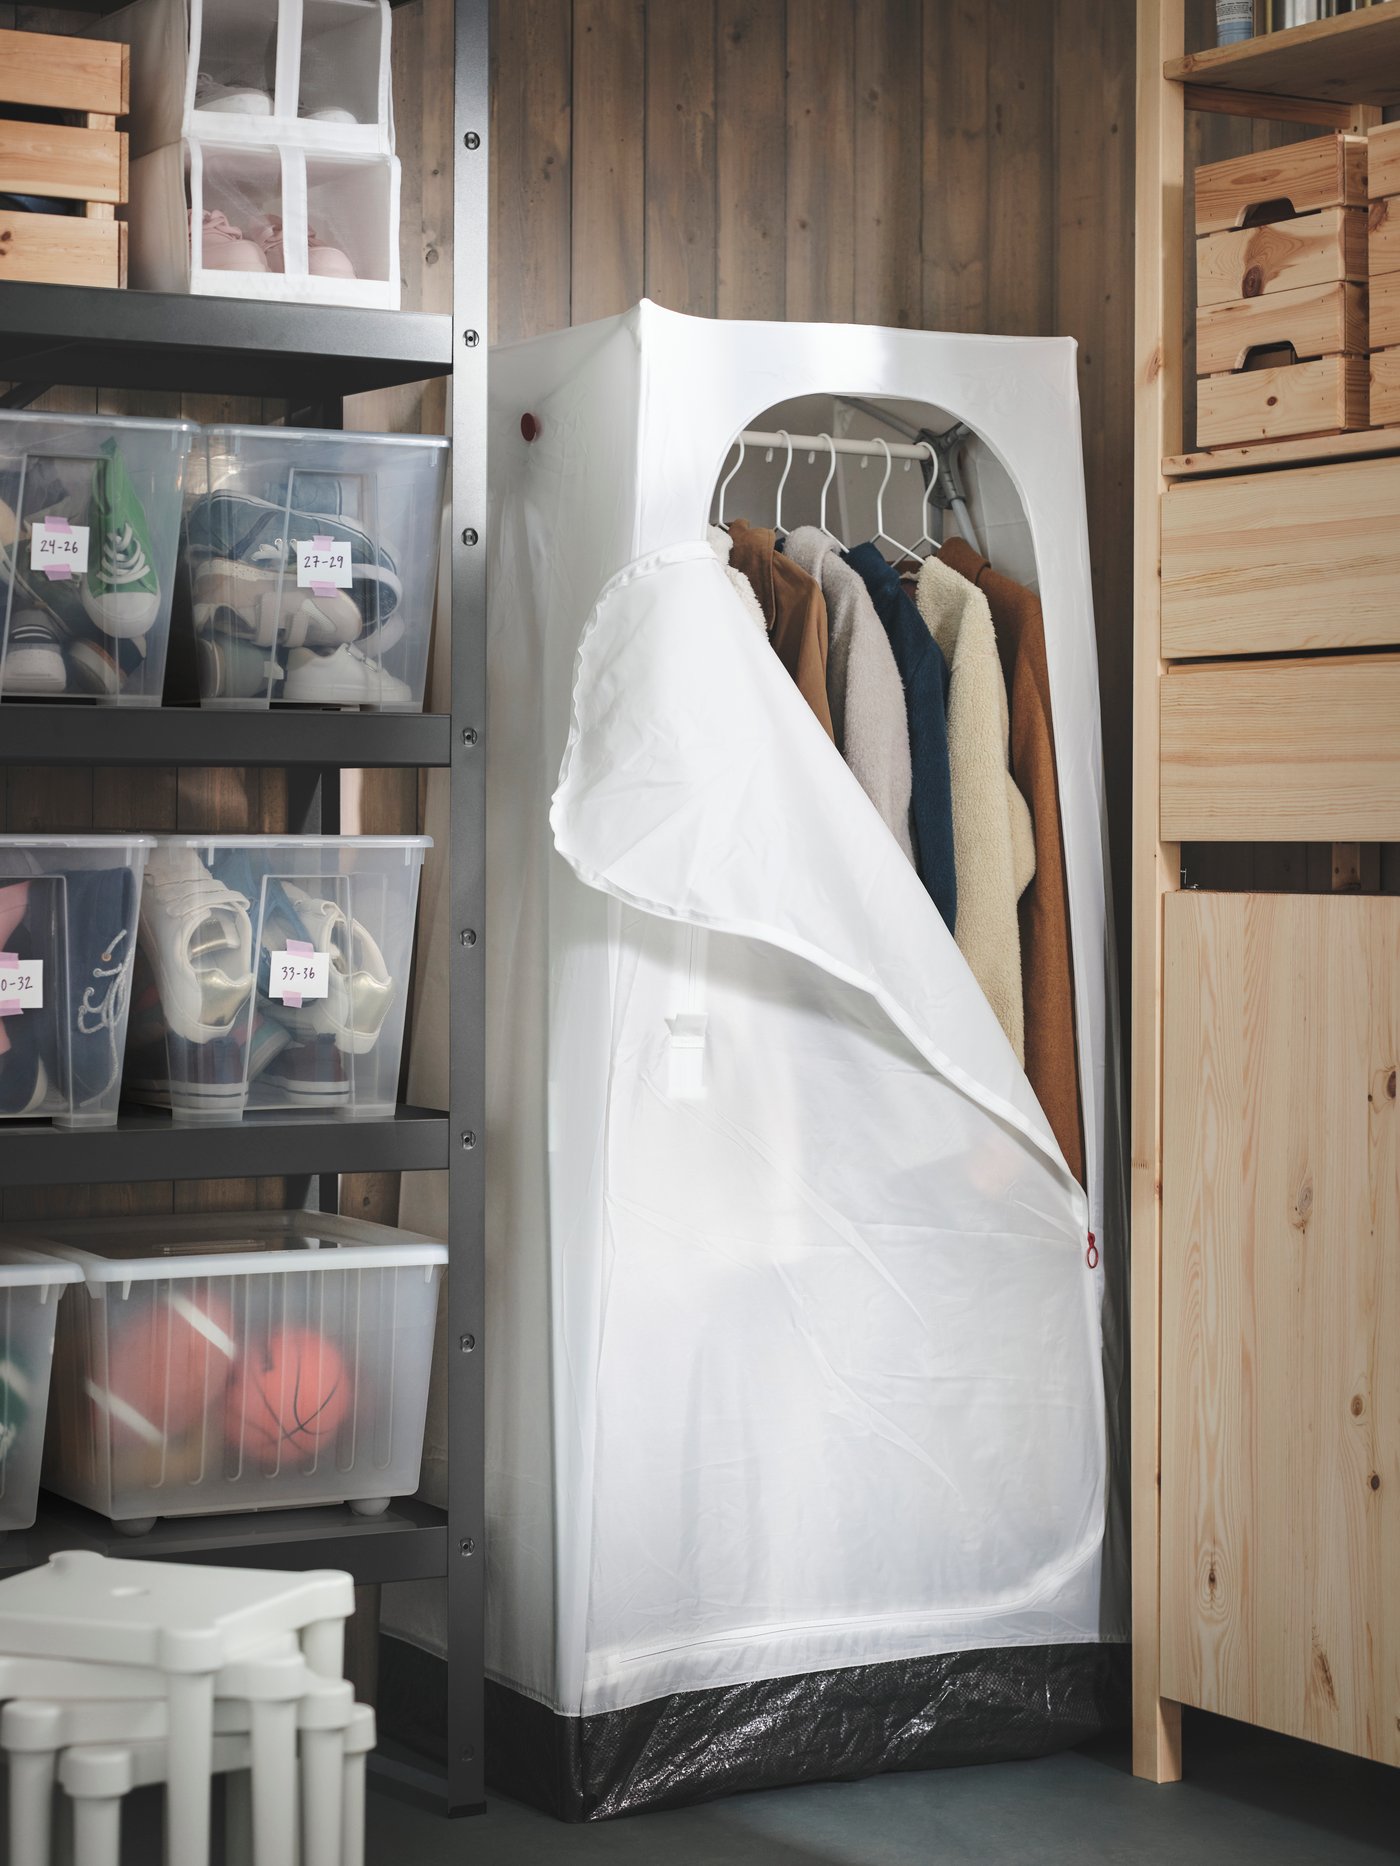
Make sure every detail of your outdoor space is just so, with comfortable and functional furniture to help you enjoy the good weather, and don't forget a storage area for your tools or a shelf decorated with plants.


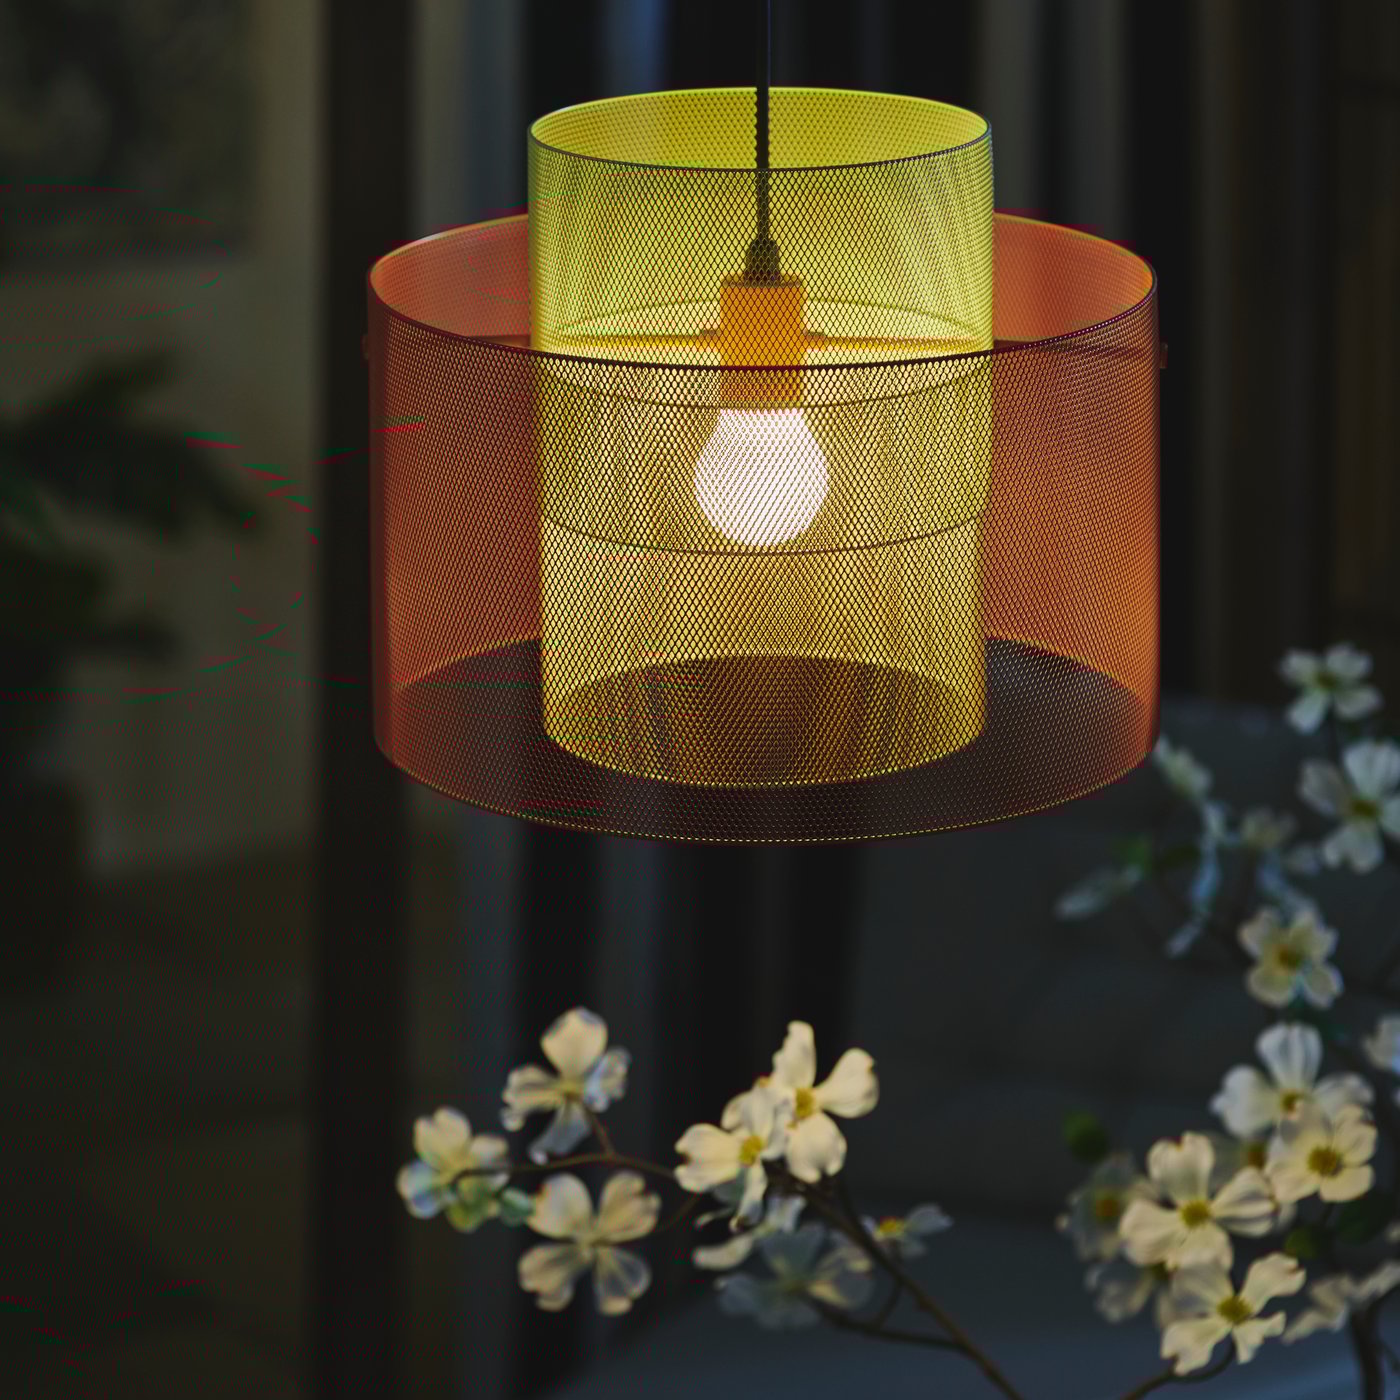
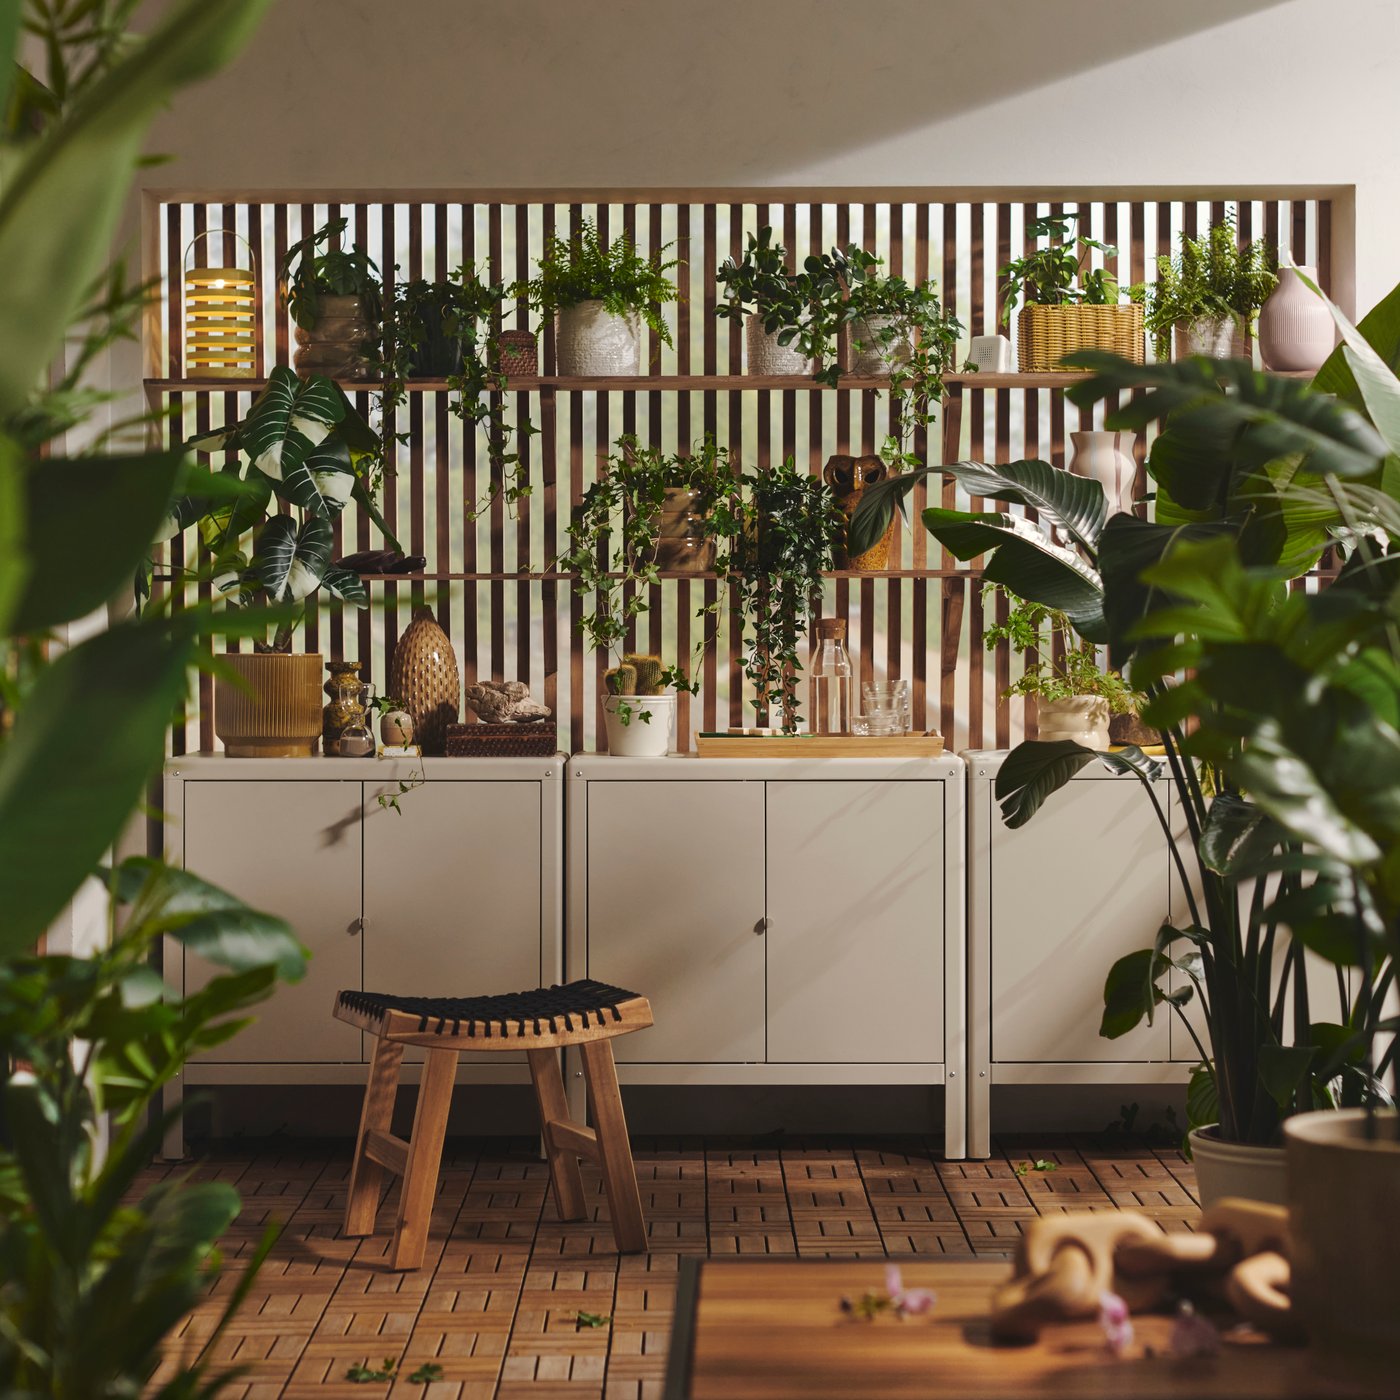

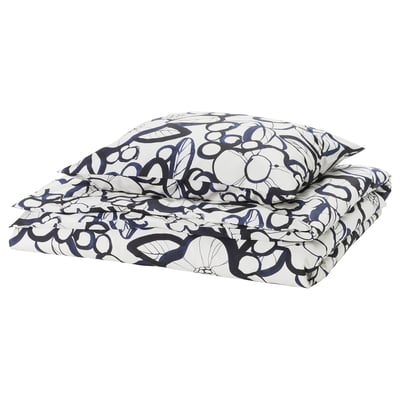
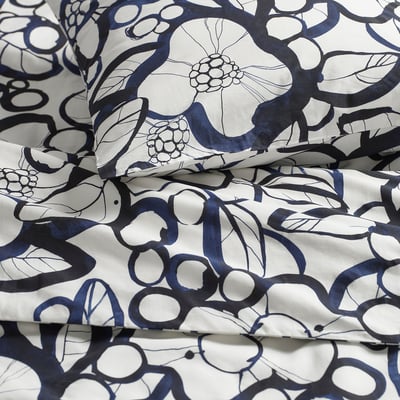
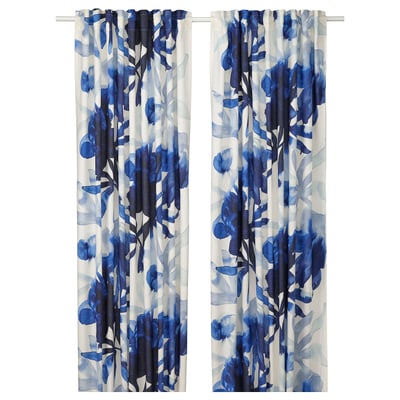
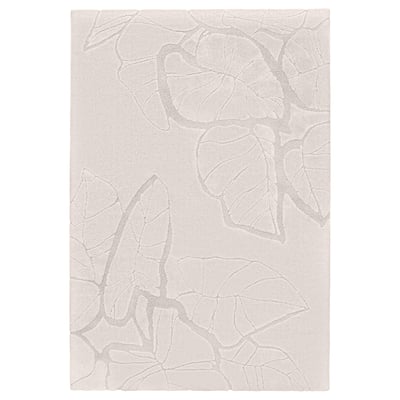

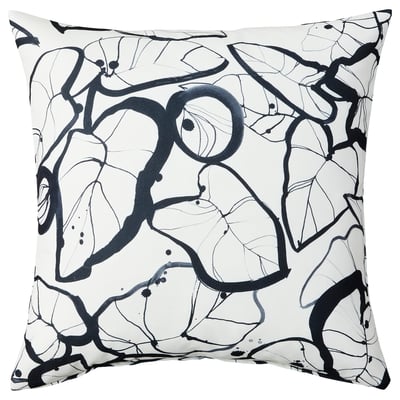


Surrounded by nature
The new SOLUPPGÅNG collection makes it easy to go outdoors and enjoy a little piece of peace, wherever you may be. Discover the new collection now and… breathe in the fresh air of nature.


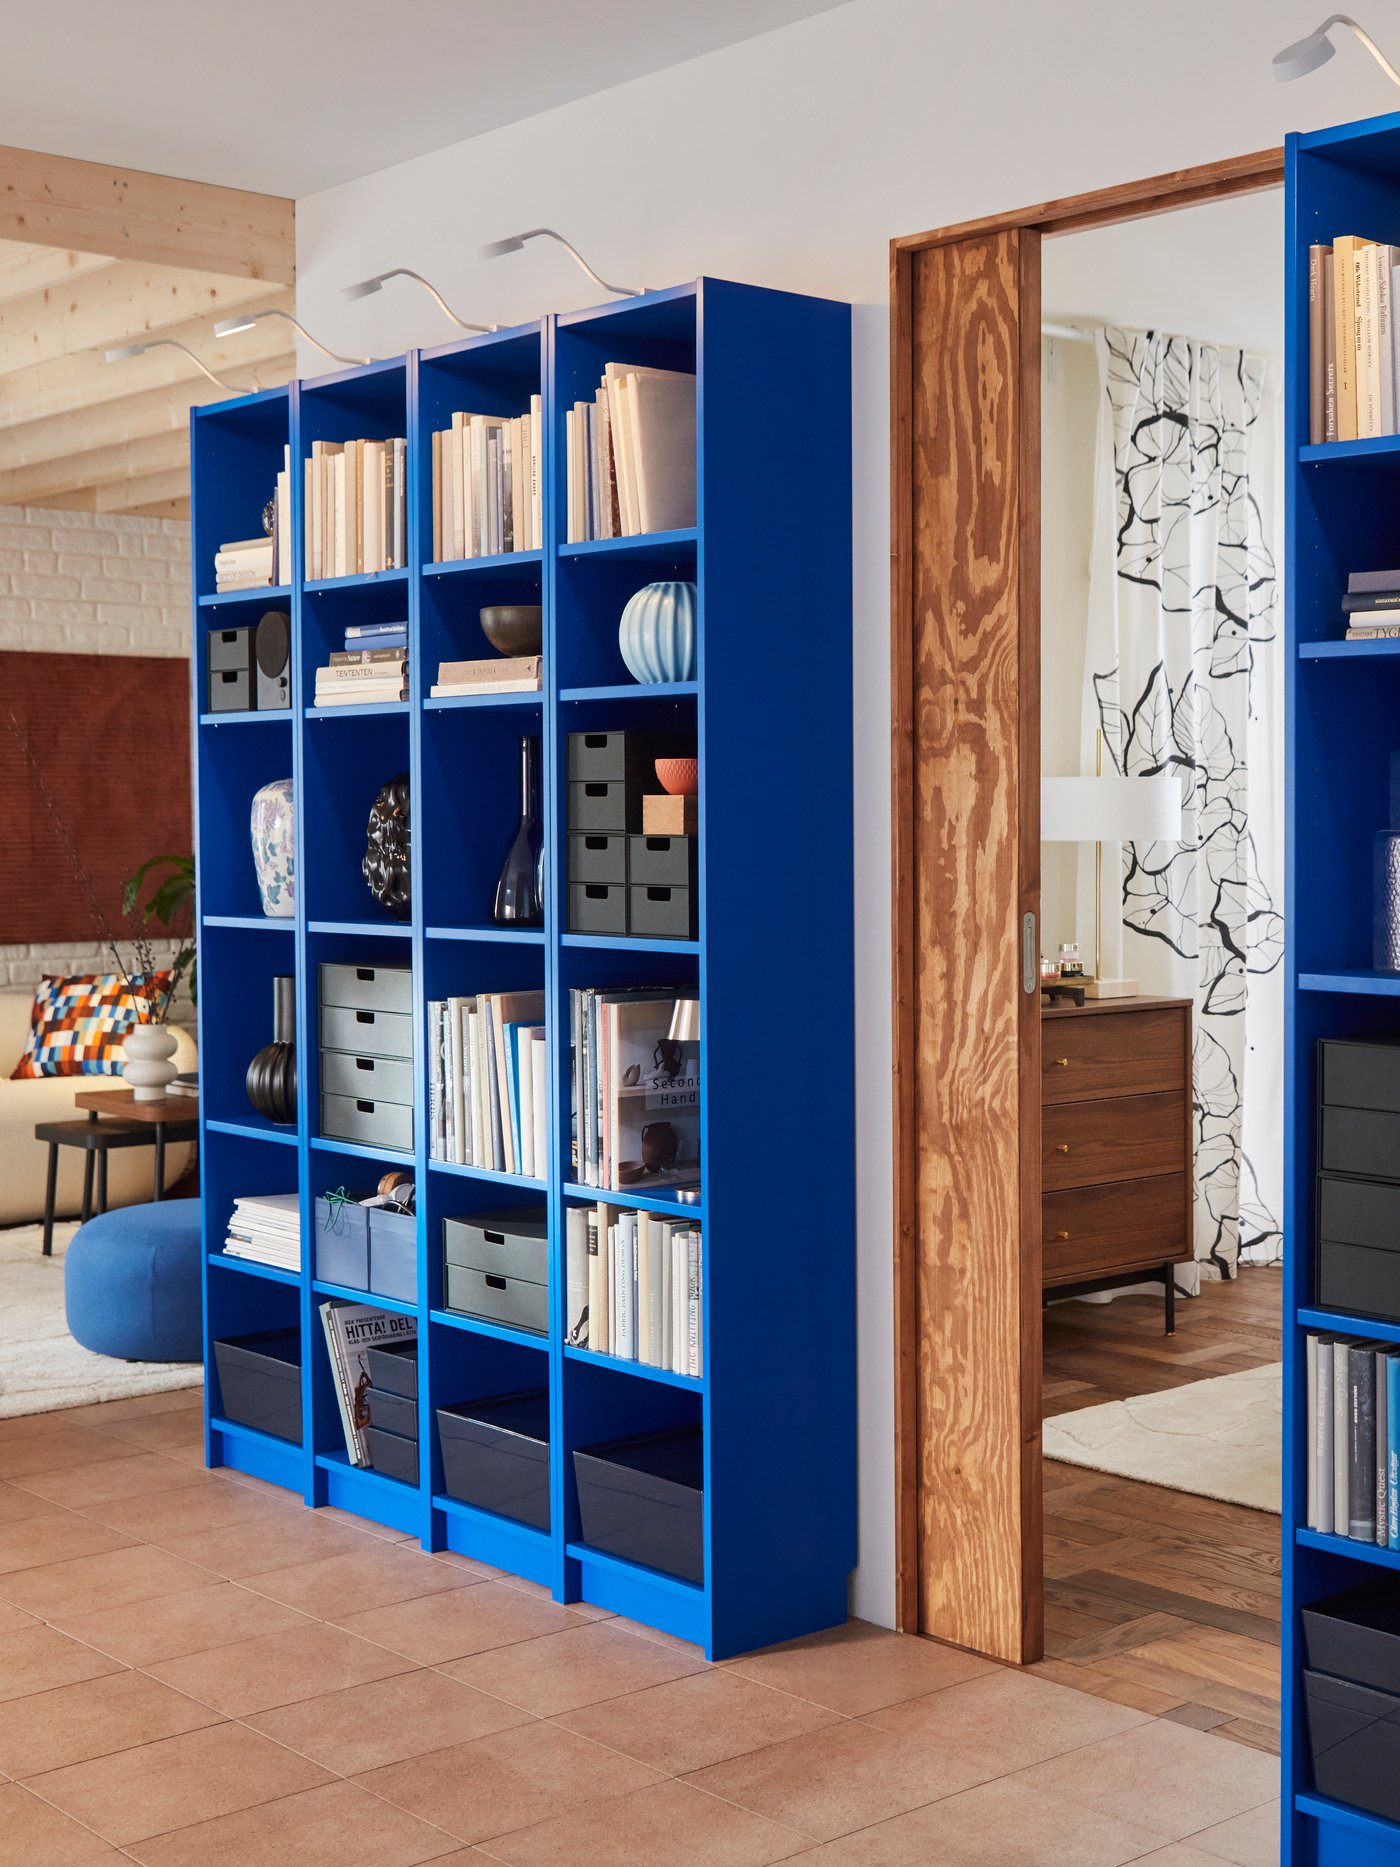
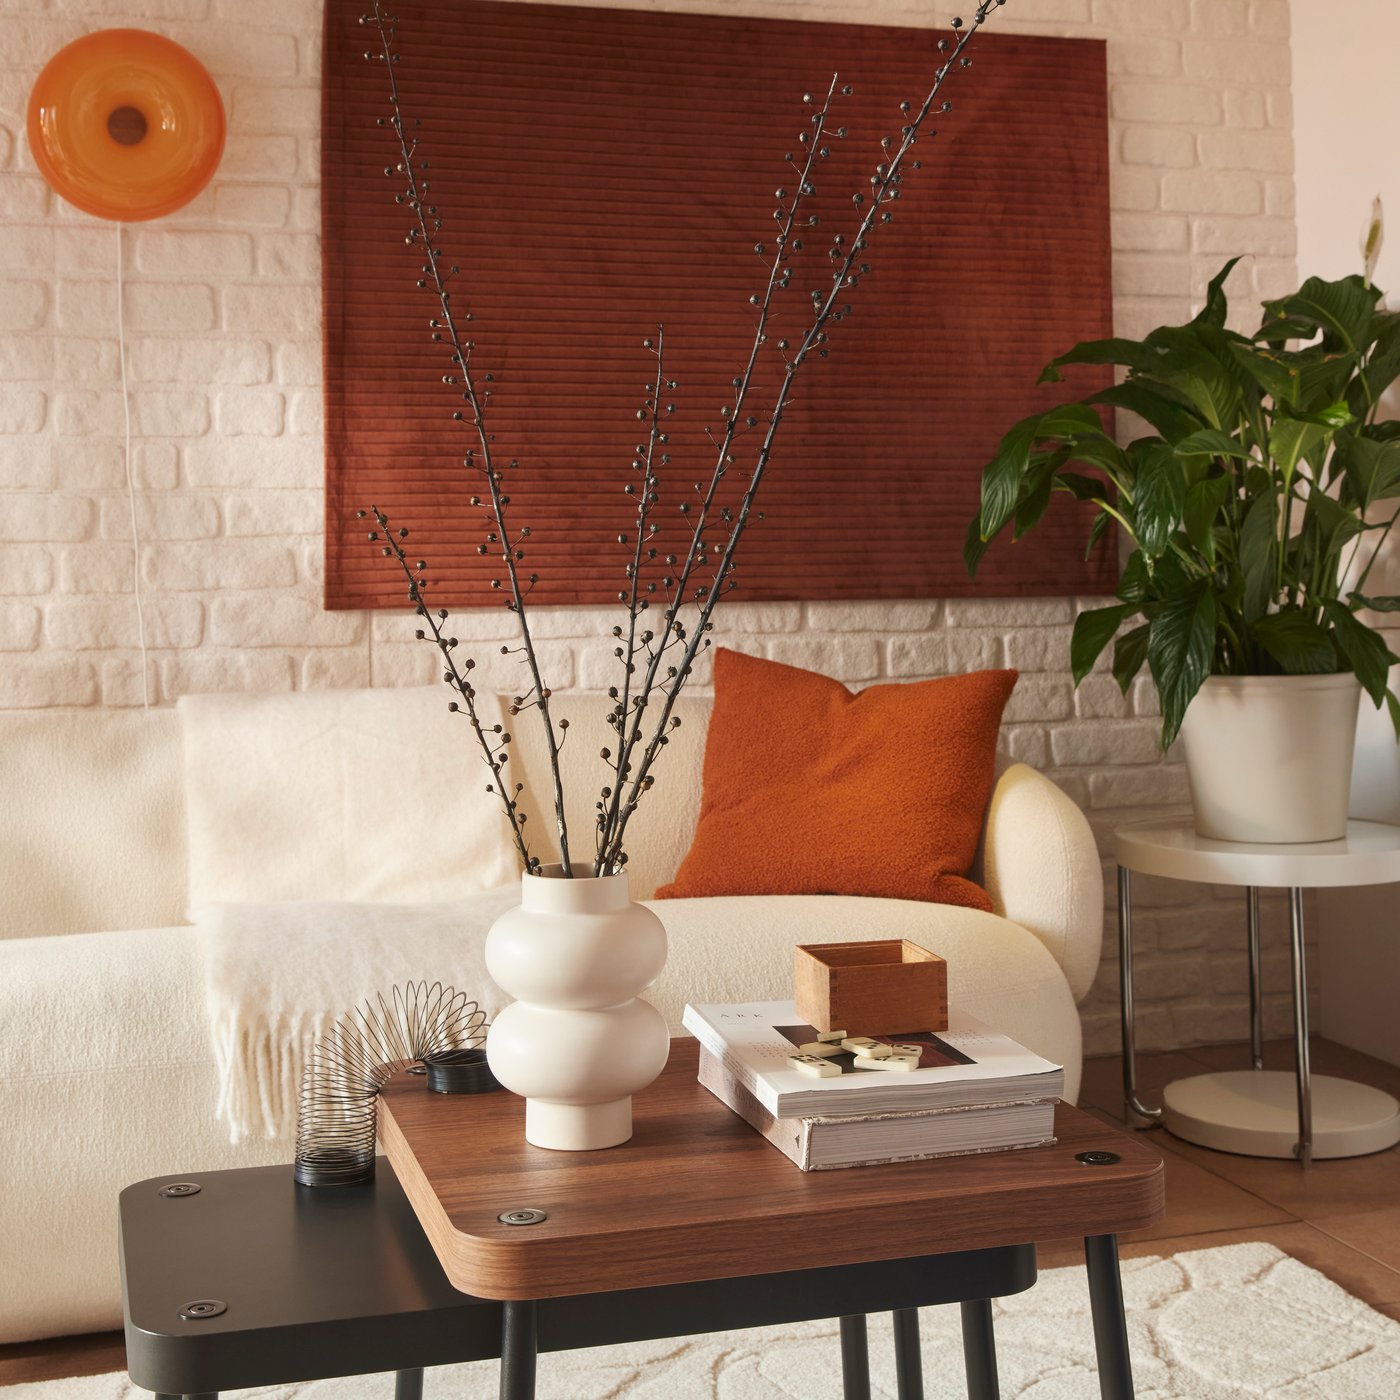
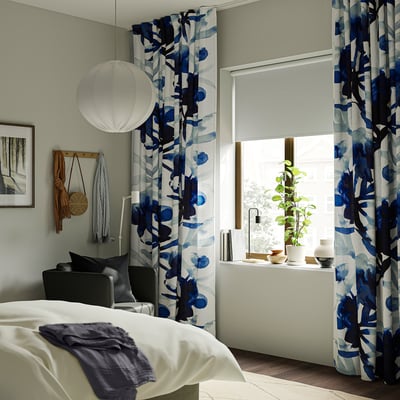
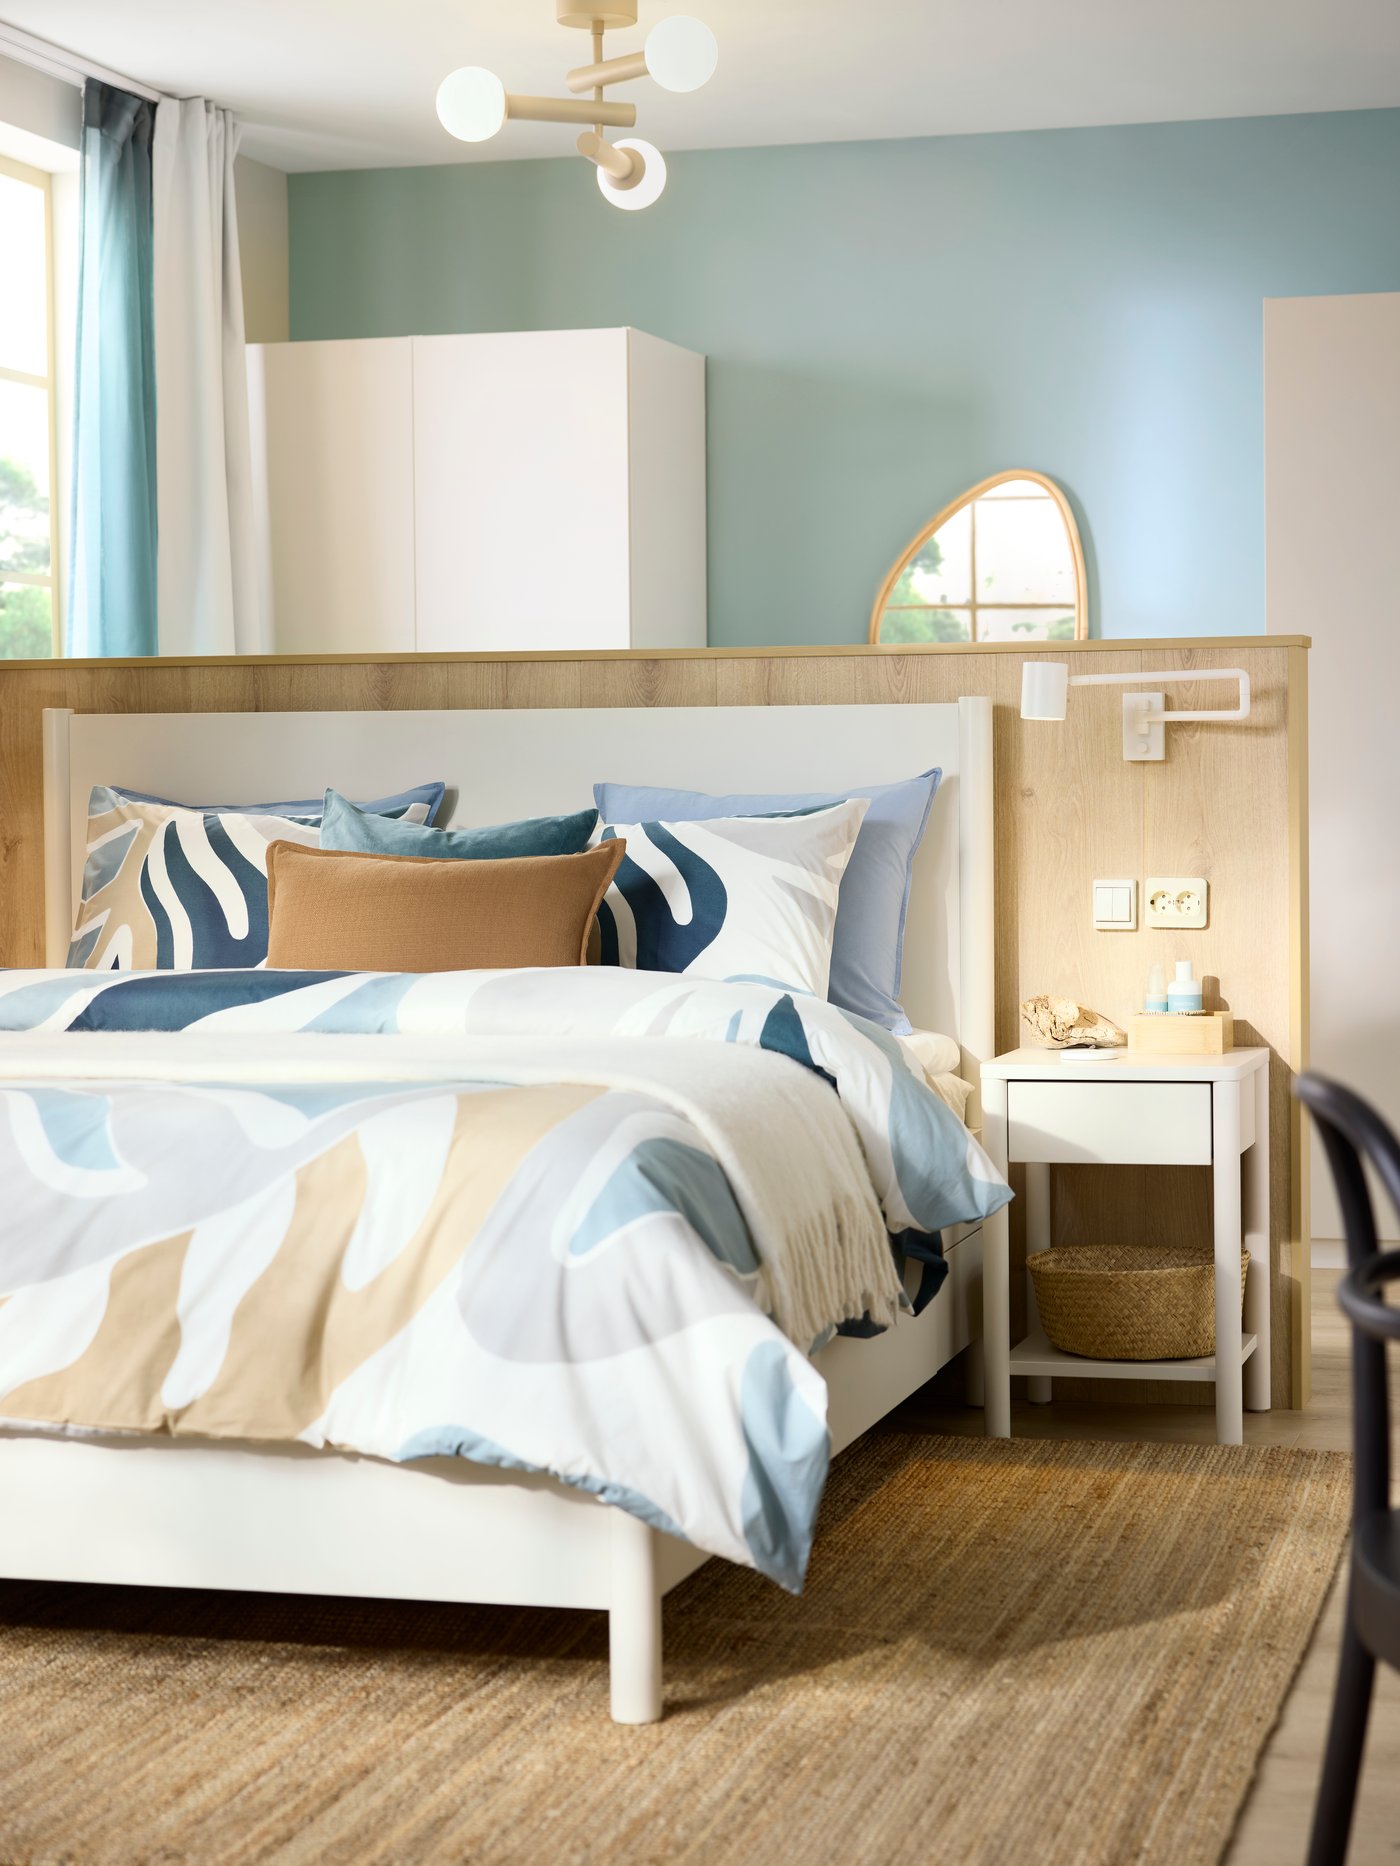
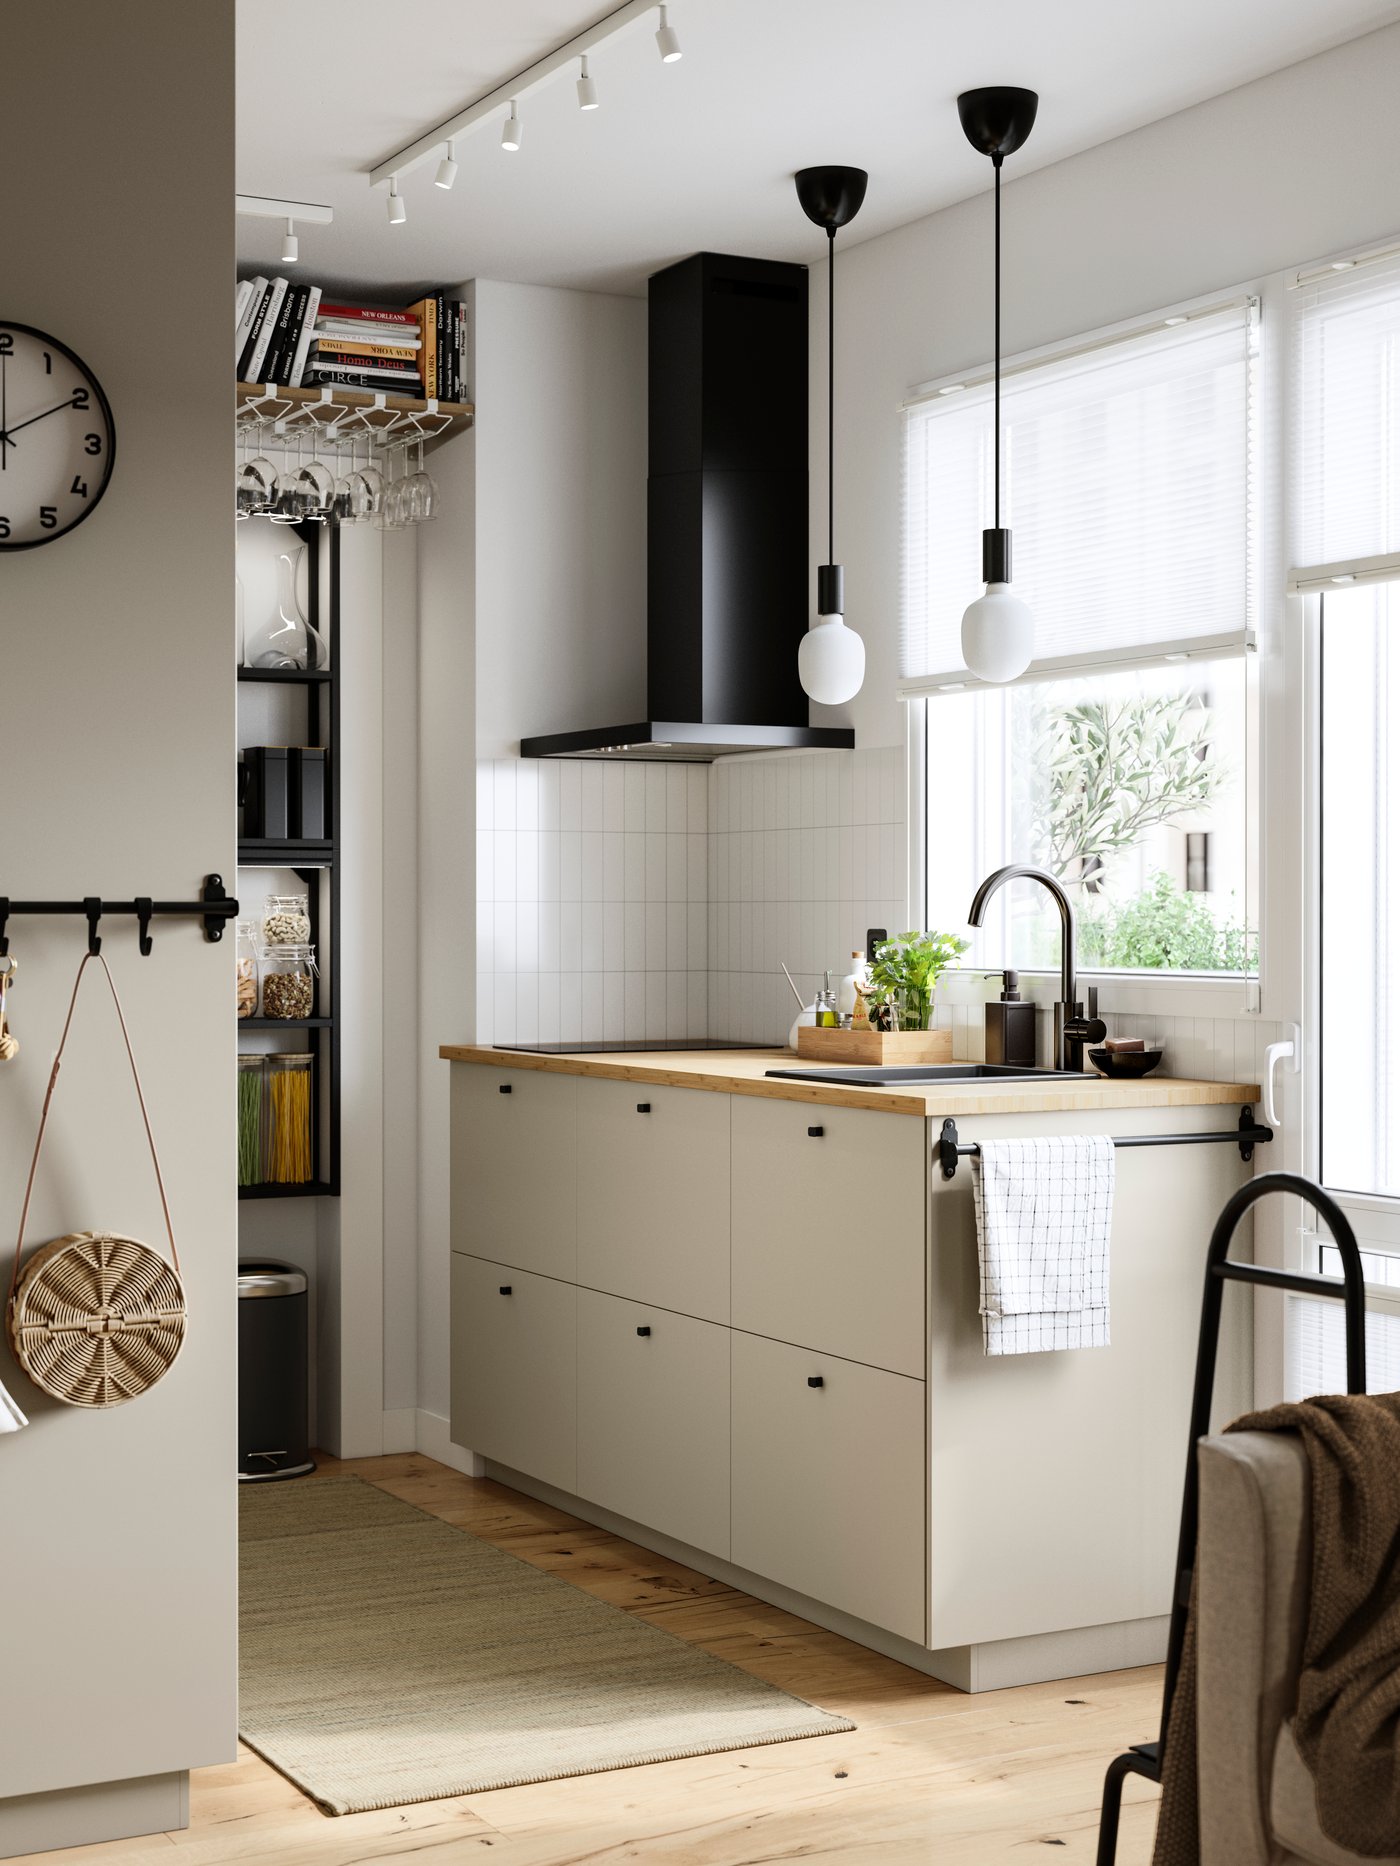
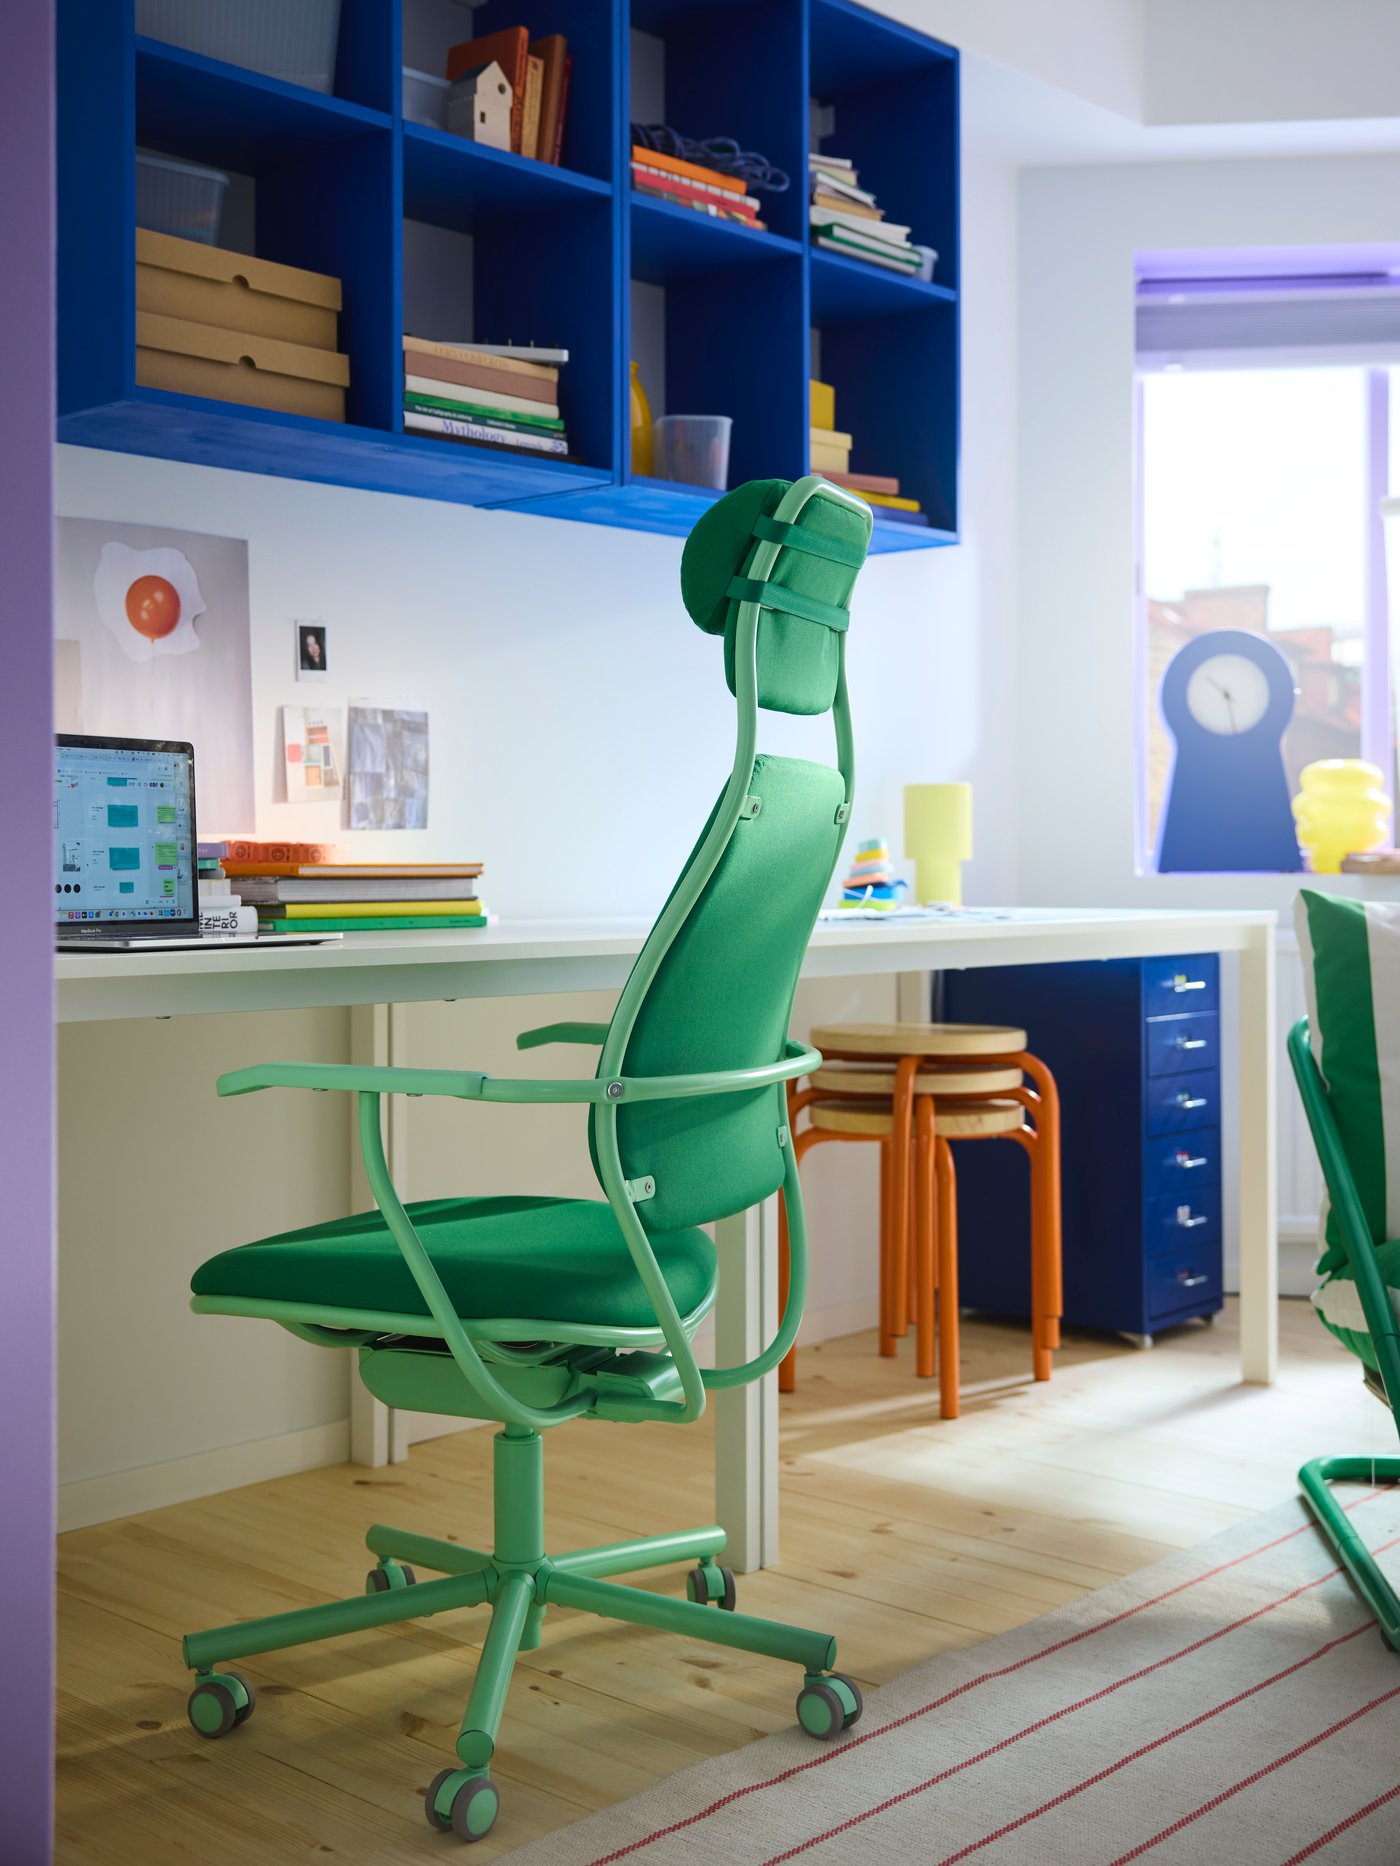
Inspiration by room


For more inspiration…

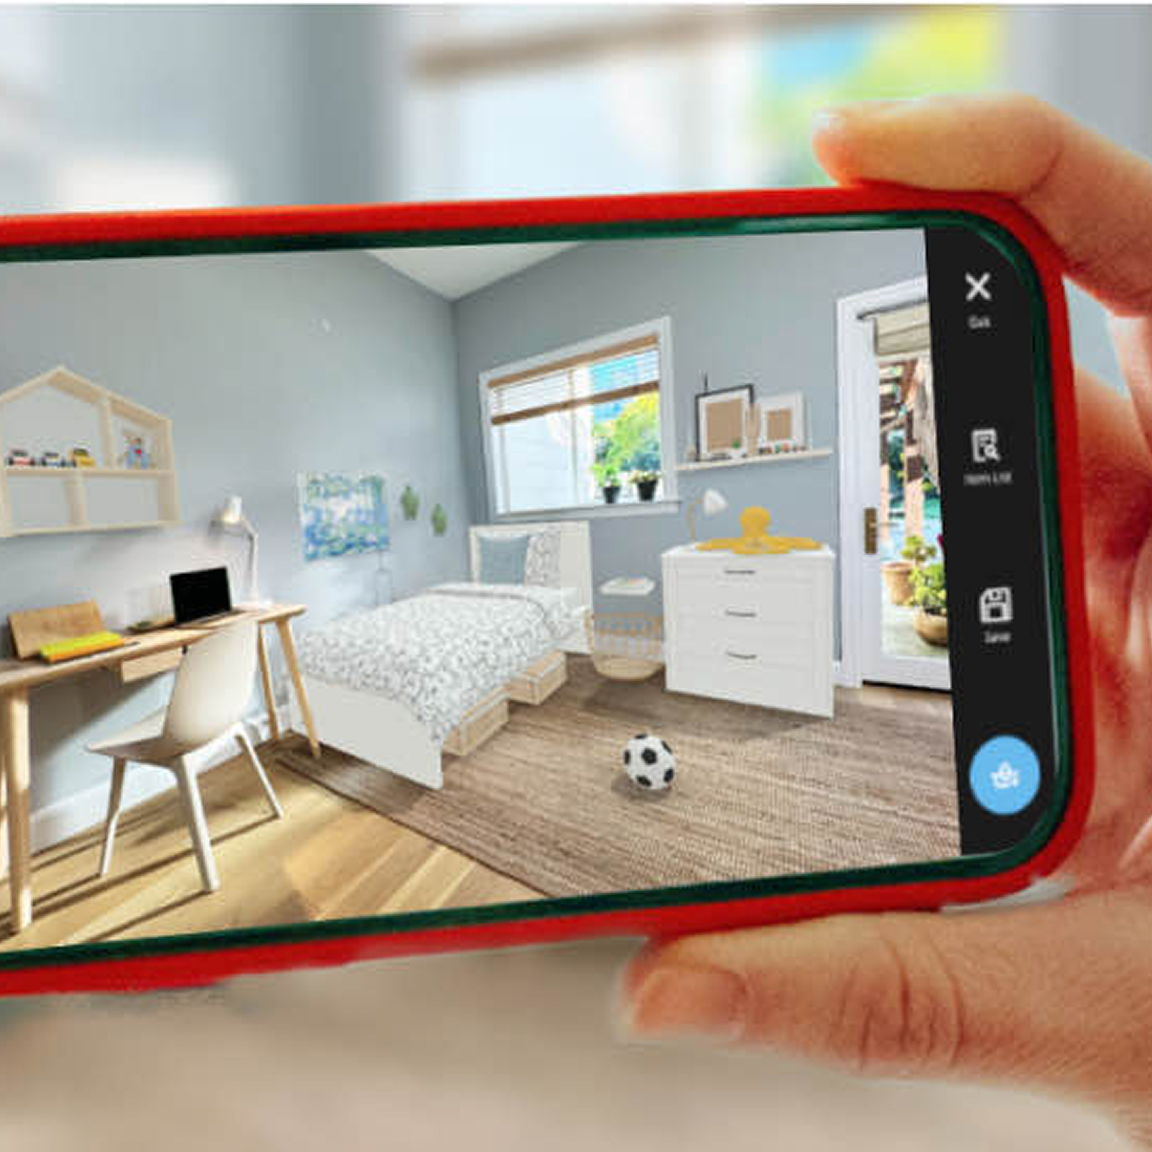
IKEA Live, the best live experience
IKEA Live features tips for life at home, design ideas and fun IKEA-related situations. Perfect for finding inspiration and becoming a decorating expert.
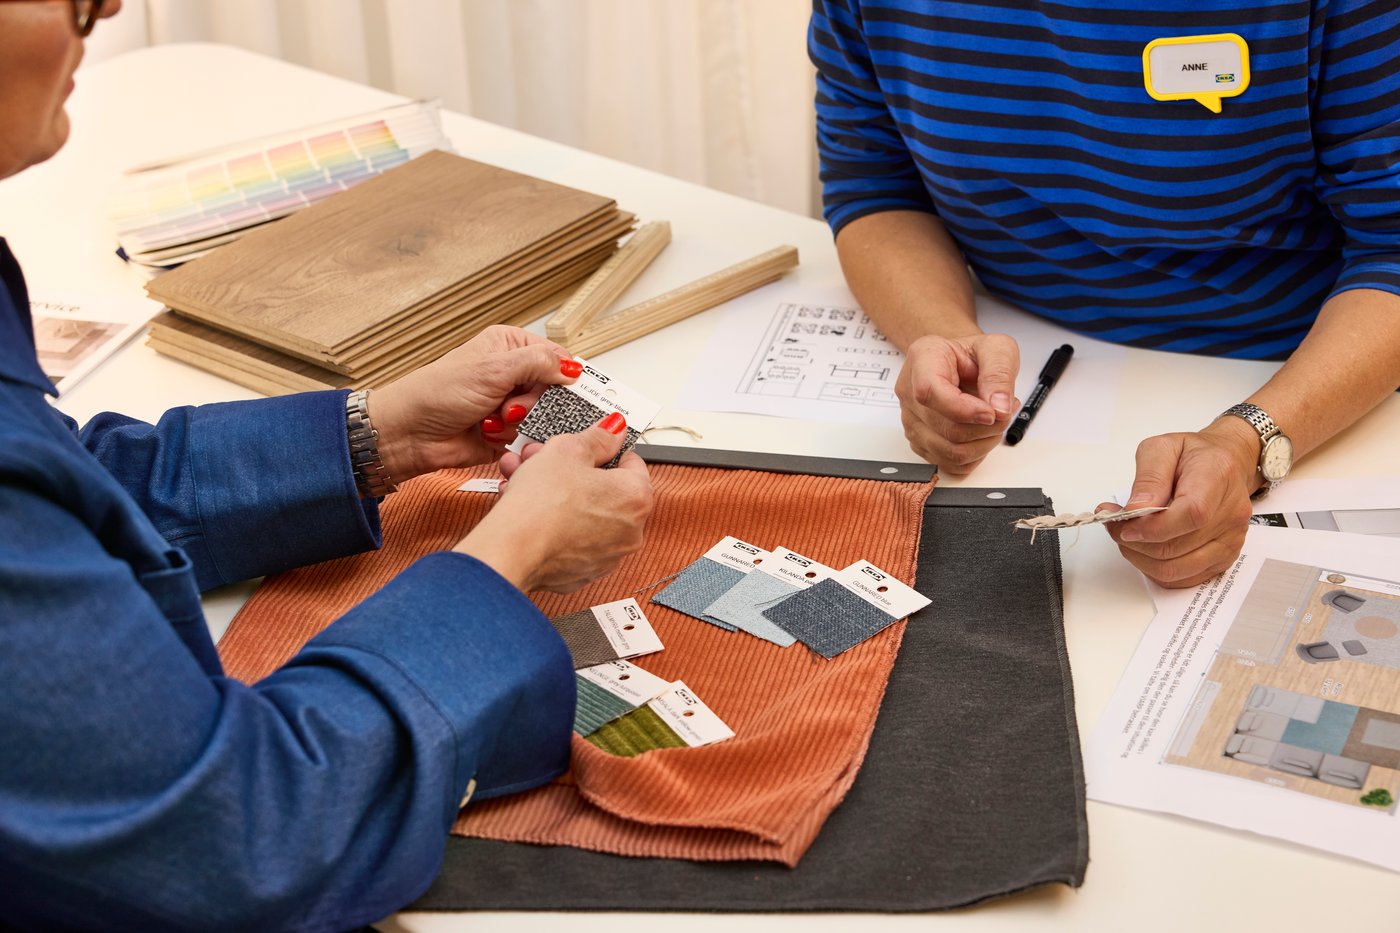
A made-to-measure home
Also discover how our interior designers gave these real family spaces a complete overhaul. Get ready to be inspired and let your imagination run wild with these episodes of "A made-to-measure home".