How-to get the perfect SKYTTA sliding door solution

- Product information page
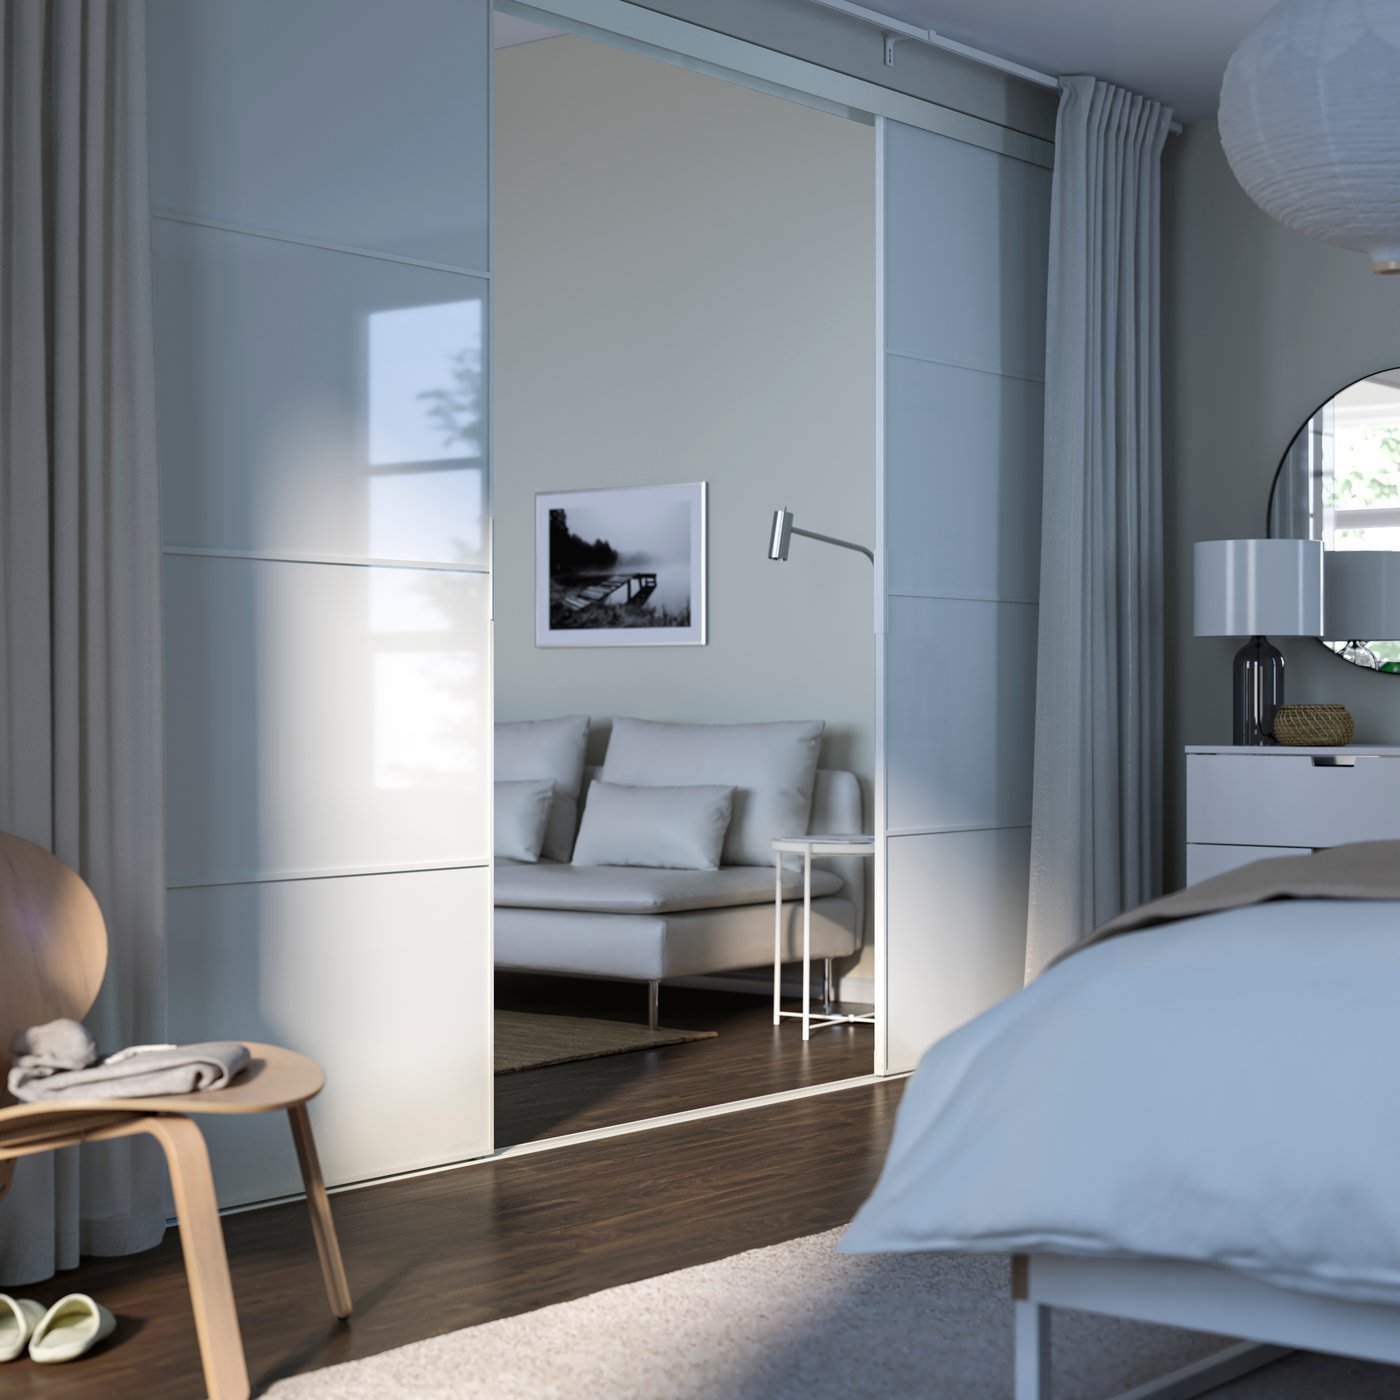
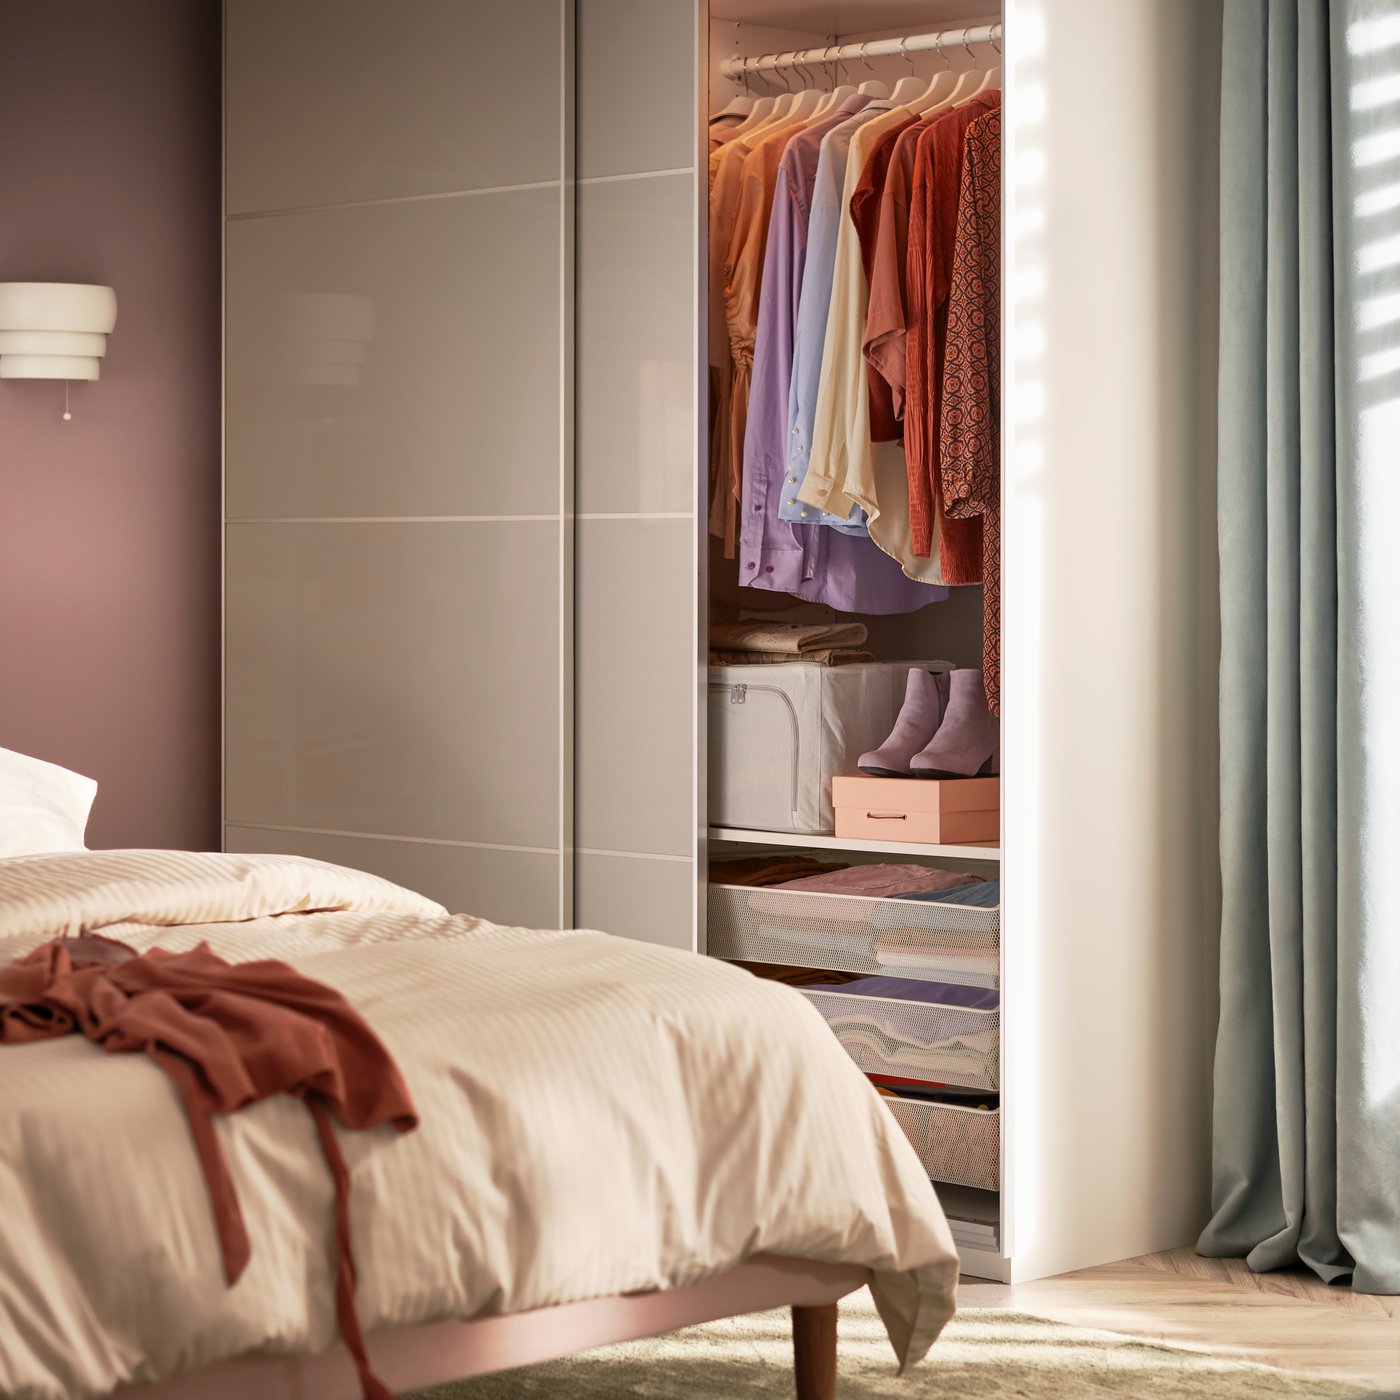
Create a new space in your home with SKYTTA, our sliding door solution. The door frames and rails are available in two colours and can be combined with panels from the PAX series to be a more personalised solution.
5 steps to planning and installing your SKYTTA system
Step 1: Measure and level the space
Check to see which type of SKYTTA sliding doors your space needs
SKYTTA sliding doors come in two heights, 1960 mm and 2310 mm. But if your ceiling’s height is slightly lower, or much higher, we have a solution for you.
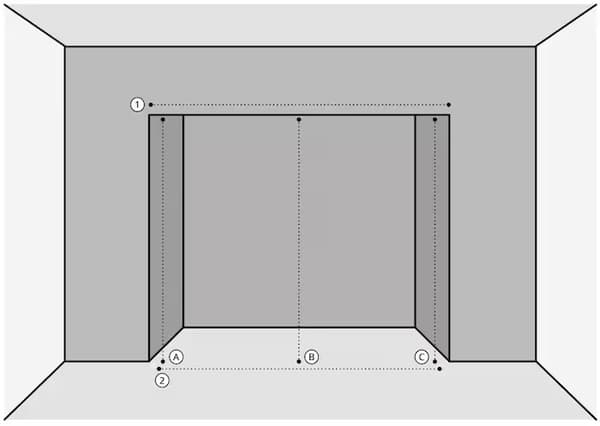
Measure your space
Measure the width (1, 2) and height (A, B, C) of your space. Be sure to measure the height in at least three places, as the ceiling or floor may be slightly uneven. It is important that you measure the exact location where you will place your doors and that every surface is straight.
Are things level?
Uneven or angled surfaces must be adjusted before the doors can be installed – for example, if you plan on installing SKYTTA sliding doors against a pitched roof. We also recommend removing or cutting skirting boards and cornices that will interfere with the SKYTTA system, otherwise, there could be a gap between the door and the wall. It also might be possible to use a stop rod to help here.
Step 2: Roof, walls and pitched roofs
What if your ceiling height doesn't match the SKYTTA sliding doors' height?
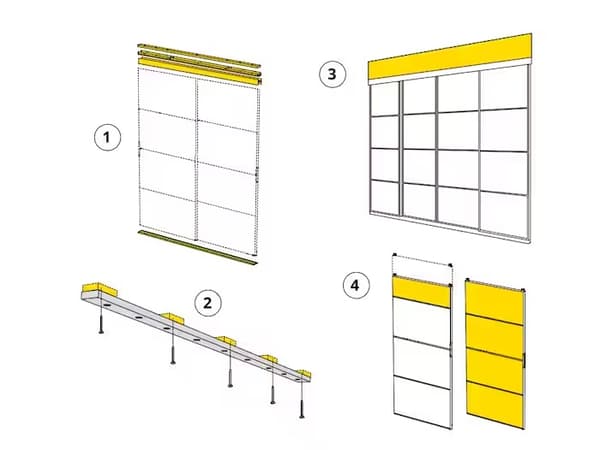
This is how the distance between the ceiling and the floor should be:
Picture 1: The door fits perfectly
Low door: distance between ceiling and floor is 2039–2051 mm
High door: distance between ceiling and floor is 2391–2403 mm
Normal assembly with doors and rails. The rails are 9 cm high on the door and can be adjusted +/- 6 mm.
Picture 2: Only a little space left above the doors
Low door: distance between ceiling and floor is 2052–2095 mm
High door: distance between ceiling and floor is 2404–2447 mm
Compensate the ceiling height with spacers against the ceiling. Not sold at IKEA.
Picture 3: Plenty of space left above the doors
Low door: distance between ceiling and floor is 2075–2410 mm
High door: distance between ceiling and floor is 2427–2762 mm
Compensate the ceiling height with SKYTTA ceiling height reducers and cover sides. You could also contact a carpenter for a more customised solution.
Picture 4: The doors are too high
Low door: distance between ceiling and floor is 1500–2038 mm
High door: distance between ceiling and floor is 1500–2390 mm
Some SKYTTA sliding doors and panels can be cut (not the glass or mirrored panels). However, this requires a carpenter with the right tools.
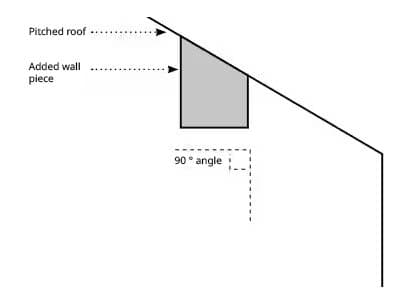
And for a pitched roof?
The SKYTTA roof rail must be mounted on a flat surface that is parallel to the floor. It cannot be mounted directly onto a pitched roof. If you'd like to install SKYTTA sliding doors onto a pitched roof, you must add an additional piece of wall that is wider than the width of the rail and that forms a 90° angle from the wall.
Step 3: Door width
SKYTTA doors come in two widths
SKYTTA doors are placed next to each other with a slight overlap, so there's no gap between them. Therefore, you must count on a width that is slightly smaller than the door.
To calculate the overall width of your SKYTTA solution, use the following:
98 cm × (number of 102 cm wide doors)
+ 73 cm × (number of 77 cm wide doors)
+ 4 cm = overall width of the solution
The extra 4 cm is to compensate the lack of overlap at the end of the solution.
These widths are calculated with the recommended overlap. But if the space is just a little narrower, it is possible to have a little more or less overlap. Just remember that a large overlap will show through the doors if you choose glass panels.
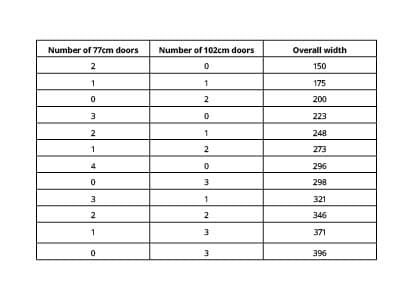
How to measure your SKYTTA overall total width?
These are the most common combinations of SKYTTA sliding doors and their solution's overall width. Using either the table or the formulate, you'll be able to calculate the overall width of your solution.
Visual examples of some combinations


Step 4: Picking the rails
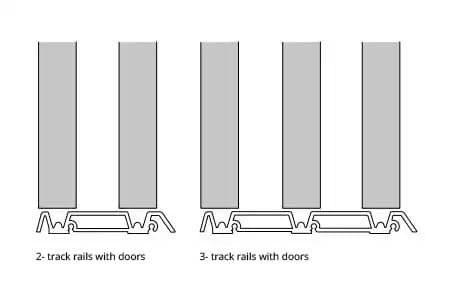
How to select the right type of rails
Once you've decided on the number of doors, now it's time to choose the rails. Each rail is 2 m long and can be joined and cut to the right length to fit the width of your solution. They are available in the same design as the door frames – white, aluminium and black.
The rails are available in two versions, a 2-track and a 3-track. If you've chosen three doors, we recommend using 3-track rails, so that it's possible to push all three doors behind each other and get as large an opening as possible.
If you've chosen two, four or more doors, we recommend using the 2-track rails.
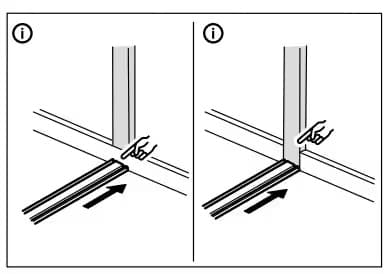
Step 5: Framing the doors with a stop bar
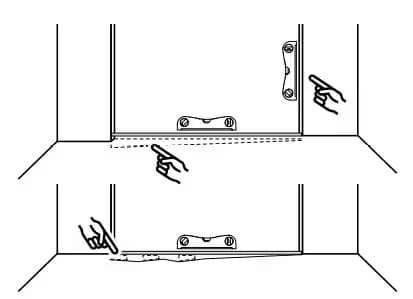
What is a stop bar?
A stop bar is a good way to create a frame around your sliding doors, as well as giving the wall extra protection. It can be placed above the skirting board or mounted between, as shown in the visual.
Our SKYTTA stop bar is available in white and comes in two widths to match the rails. It's 18 mm thick and 240 cm high, and can be cut down if need be.
Cut the skirting board or cornice so that the stop rod fits
The stop bar can be placed above the skirting board, in which case you must measure the skirting board because the thickness may vary.
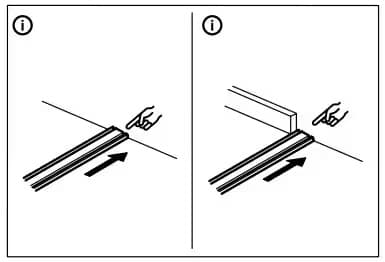
Is it possible to use SKYTTA sliding doors, without the stop bar?
Yes, this can be done, as shown in the visual. There's also the option of creating a customised solution with the help of a carpenter. Remember that walls can be a little uneven if you let the doors run against the wall, which can cause gaps.

- Product information page
SKYTTA planning tool
Once you've taken measurements and know roughly what you want, it's time to start using the planner to narrow down your SKYTTA design. There you can see how the rails and panels work out in a virtual space. The planner will even generate a shopping list for you, all ready to go.