
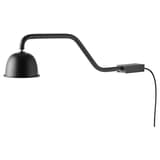
PAX wardrobe lighting
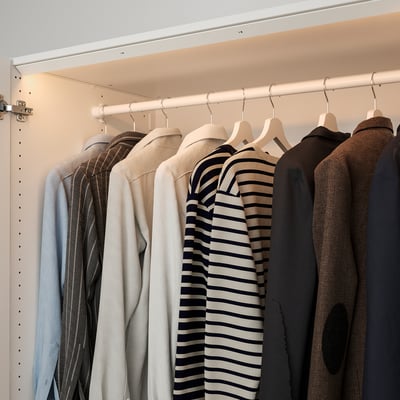
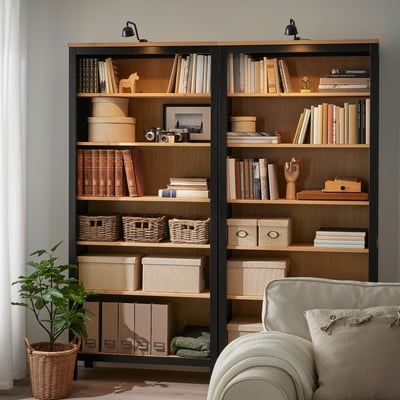
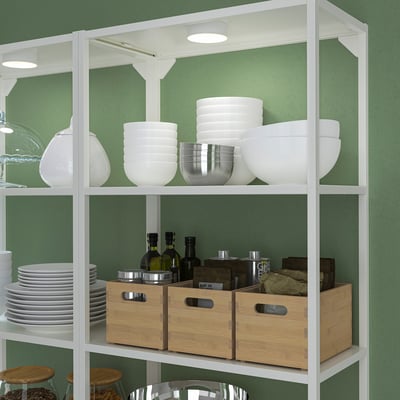
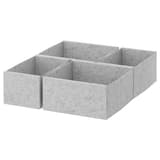
The morning rush is a lot easier when you know where all your clothes are. Our interior organisers and wardrobe lighting let you declutter the inside of your wardrobe and arrange your clothes in a more smooth way. Browse our range and find out how to light up your mornings once and for all.
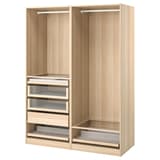
Design your dream wardrobe system or book a Free PAX wardrobe planning appointment


Recently viewed


How do IKEA PAX wardrobe lights work?
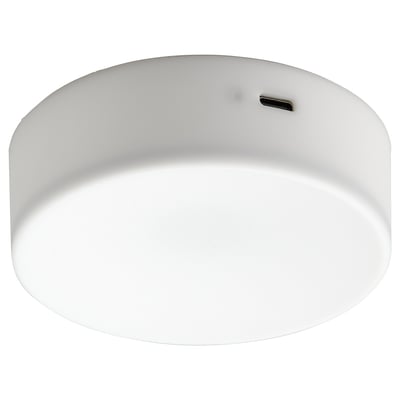
IKEA PAX lights are a type of LED lighting that is designed to be used with IKEA's PAX wardrobe system. These lights are designed to fit into the PAX wardrobe system and are easy to install and operate. Here's how they work:
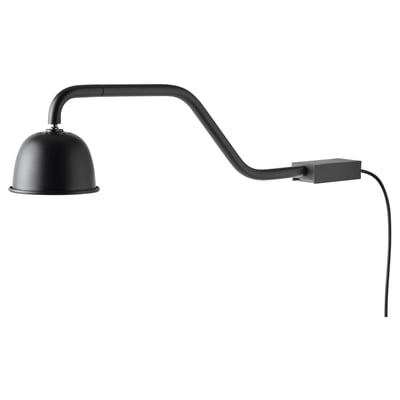
- Mount the light: Choose the location where you want to install the light in your PAX wardrobe and mount it using the included hardware. Depending on the specific light model, you may need to screw it into place or use adhesive tape to attach it.
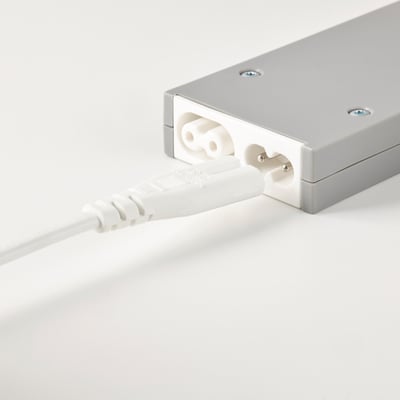
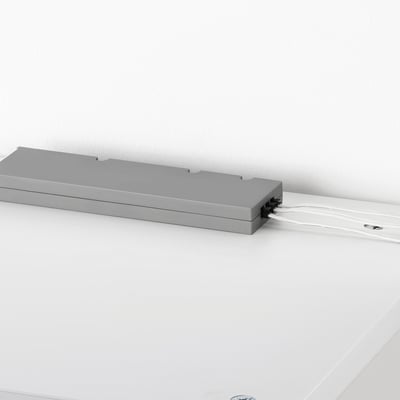
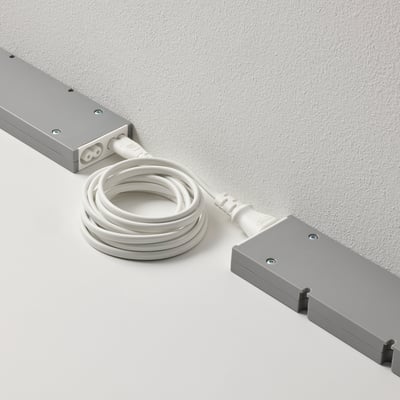
- Connect the power source: Most IKEA PAX lights have a plug-in power source. Connect the power cord to an electrical outlet.
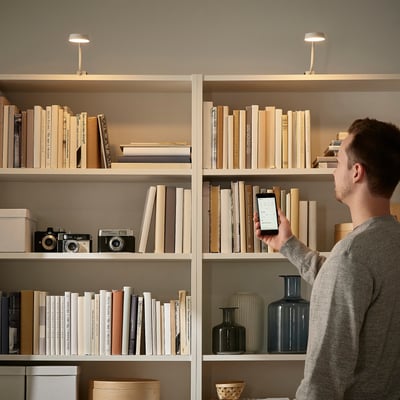
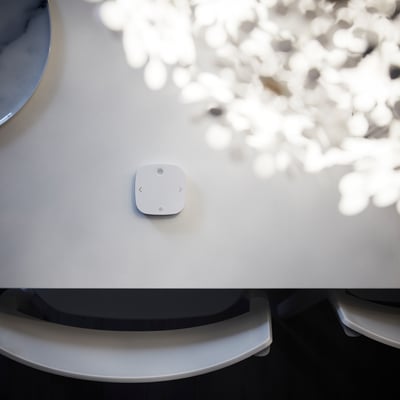
- Turn on the light: Once the light is mounted and connected to power, turn it on using the switch that came with it. Some models may also have a motion sensor that automatically turns the light on when you open the wardrobe door.
- Adjust the light: Many IKEA PAX lights have adjustable settings, such as brightness and colour temperature. Use the buttons or dials on the light to adjust these settings to your liking.
How do I add LED lights to my wardrobe?
Here are the general steps to add LED lights to your wardrobe:
- Plan the layout: Decide where you want to place the LED lights in your wardrobe. Consider areas that may need more light, such as the corners or bottom of the wardrobe.
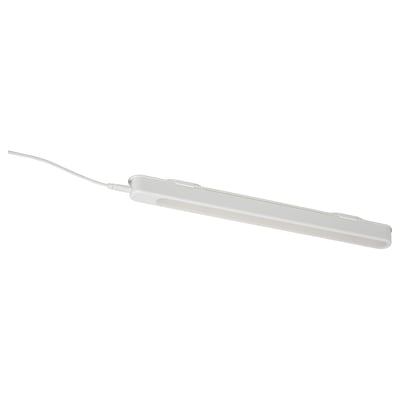
- Choose the LED lights: Choose the type of LED lights you want to use in your wardrobe. There are a variety of options available, such as adhesive strip lights or individual LED bulbs that can be screwed into place.
- Prepare the surface: Clean the surface where you plan to install the LED lights. This will ensure that the adhesive will stick properly.
- Install the LED lights: Depending on the type of LED lights you have chosen, you may need to stick them into place using adhesive or screw them in. Follow the manufacturer's instructions for installation.
- Connect the power source: Most LED lights come with a battery-powered or plug-in power source. If your lights are battery-powered, insert the batteries into the battery compartment. If they are plug-in, connect the power cord to an electrical outlet.