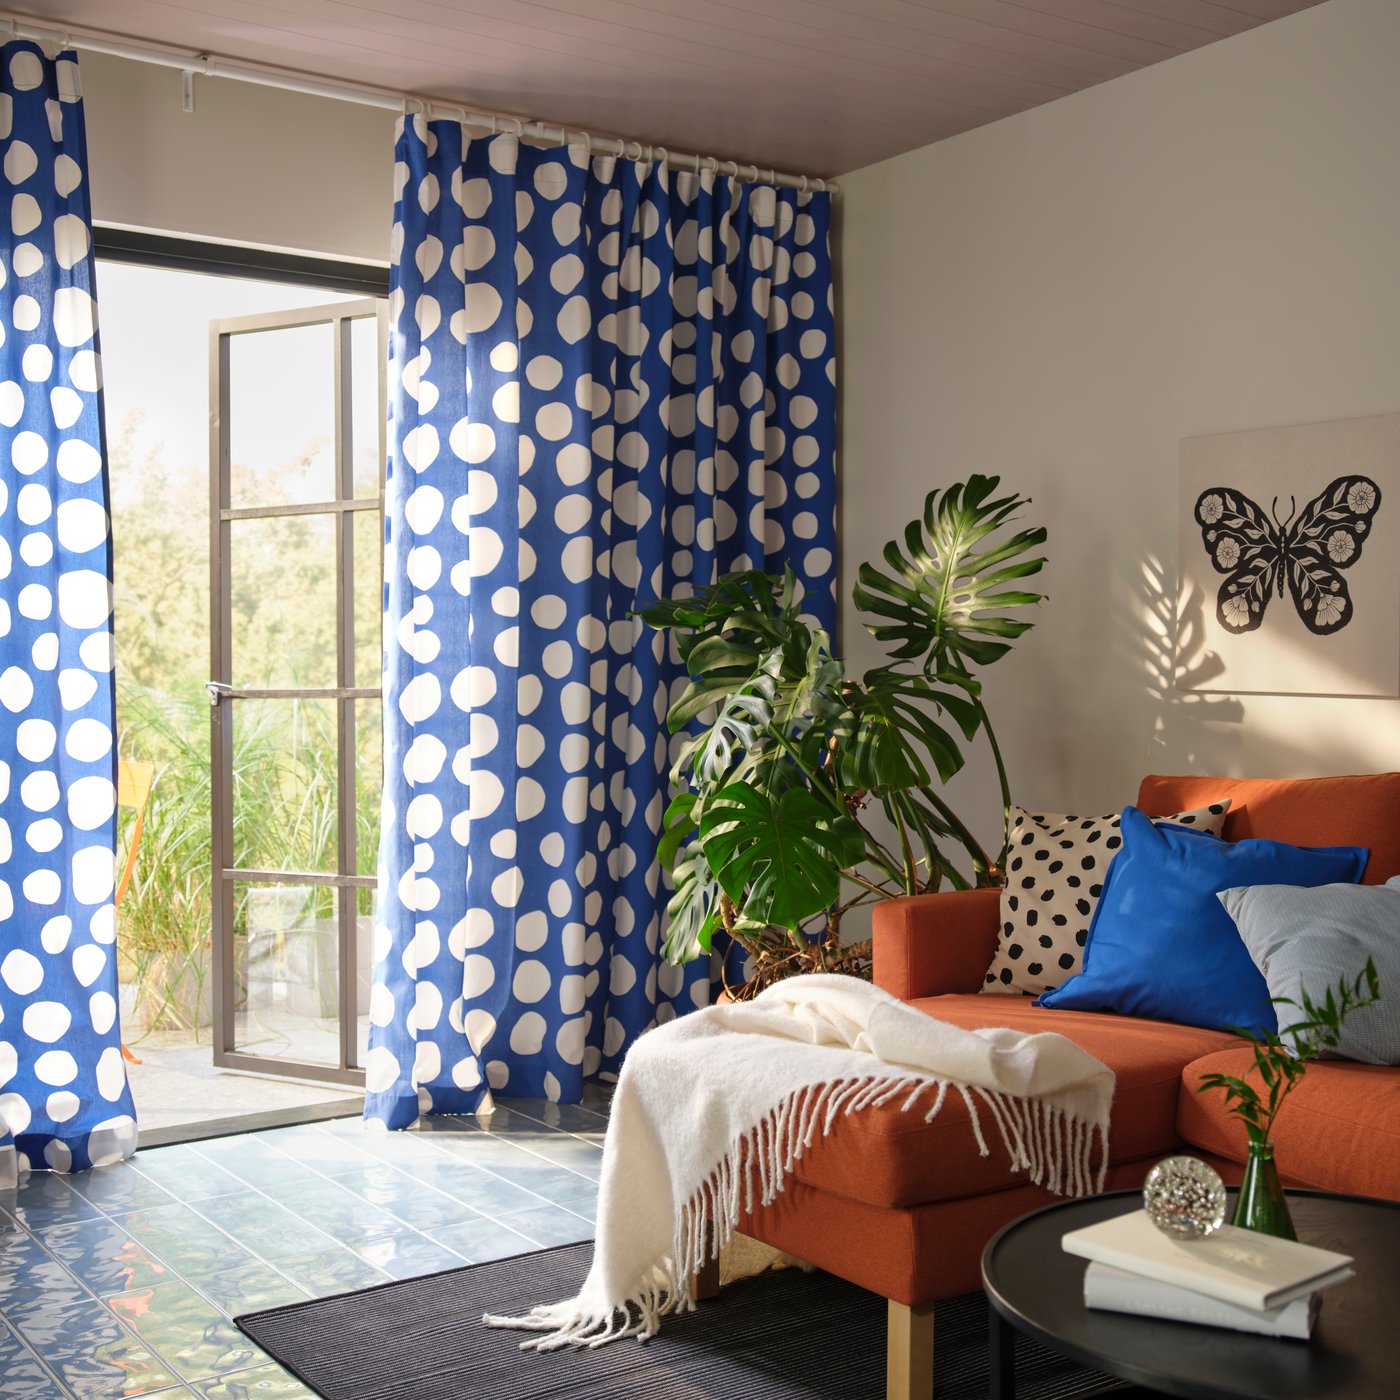
See how easy it is to make – and hang – your own curtains!
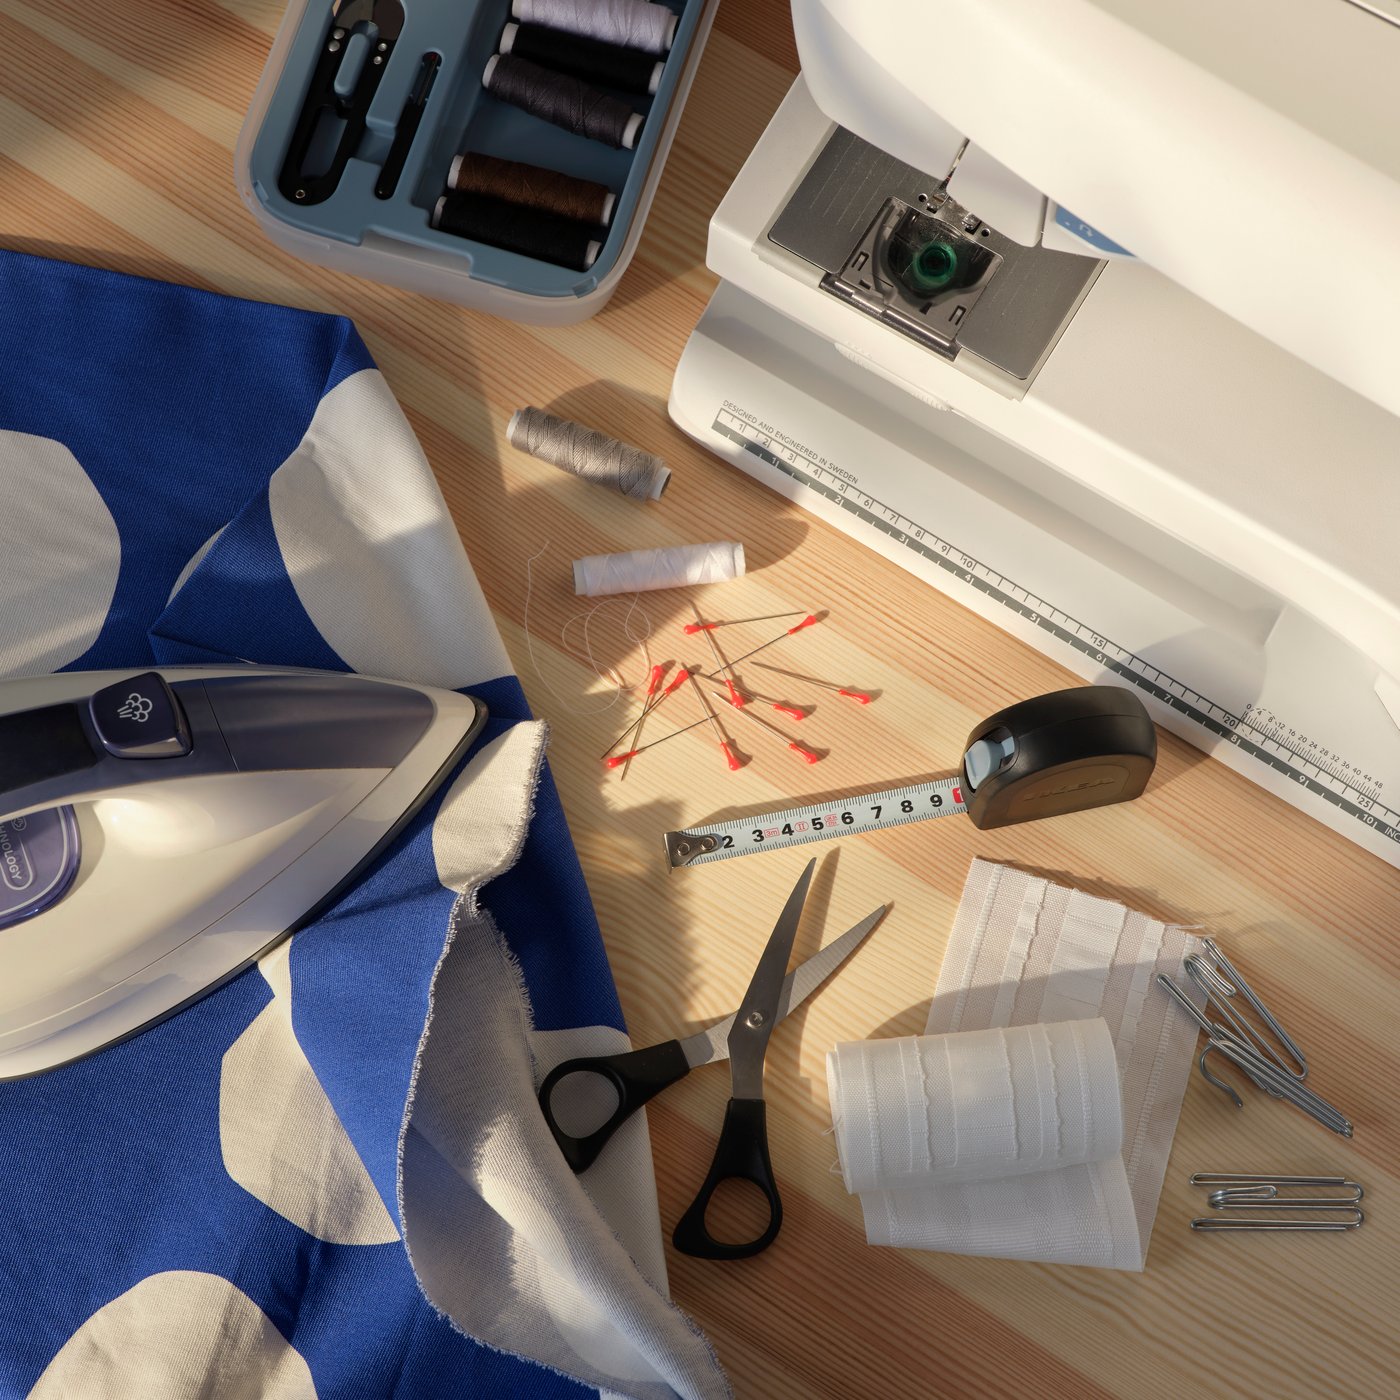
Know your tools
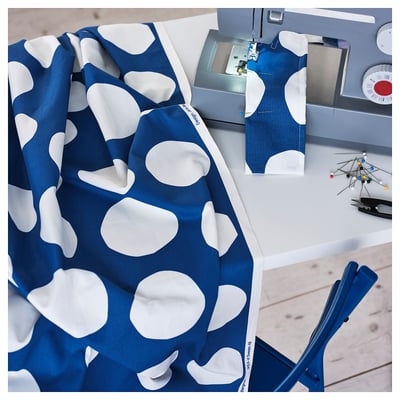
The first is the slightly more advanced way. While we recommend a sewing machine, you can get great results with hand-stitching also. If you’re using fabric sold by the yard, it’s a good idea to wash it before sewing to help prevent shrinkage later. Whether adjusting existing curtains or making new ones from scratch, here’s what you need to get started:
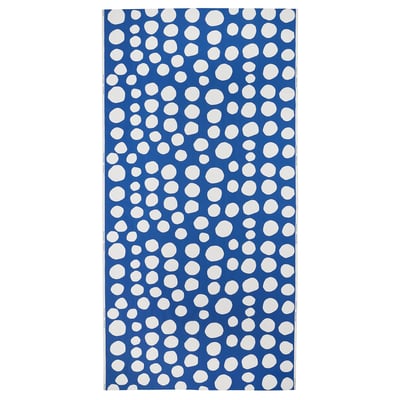
- Fabric (we chose blue-and-white RAKLOSTA)
- Sewing machine
- KRONILL pleating tape
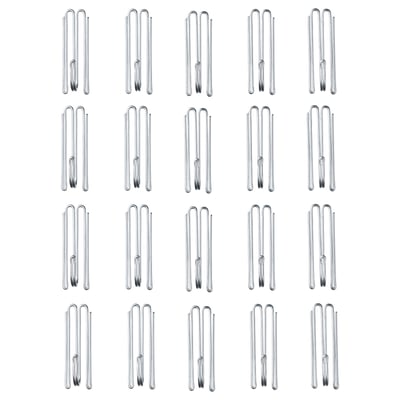
- RIKTIG curtain hooks
- SYRLIG curtain rings
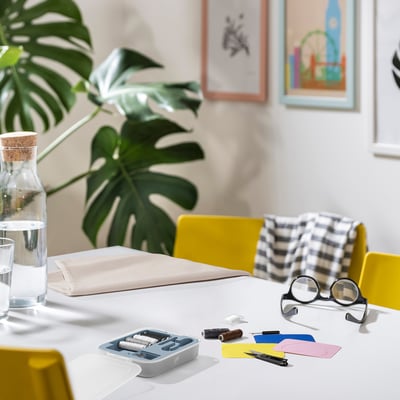
- Measuring tape
- Scissors
- Iron
- Thread, pins
Know your tools
The first is the slightly more advanced way. While we recommend a sewing machine, you can get great results with hand-stitching also. If you’re using fabric sold by the yard, it’s a good idea to wash it before sewing to help prevent shrinkage later. Whether adjusting existing curtains or making new ones from scratch, here’s what you need to get started:
- Fabric (we chose blue-and-white RAKLOSTA)
- Sewing machine
- KRONILL pleating tape
- RIKTIG curtain hooks
- SYRLIG curtain rings
- Measuring tape
- Scissors
- Iron
- Thread, pins
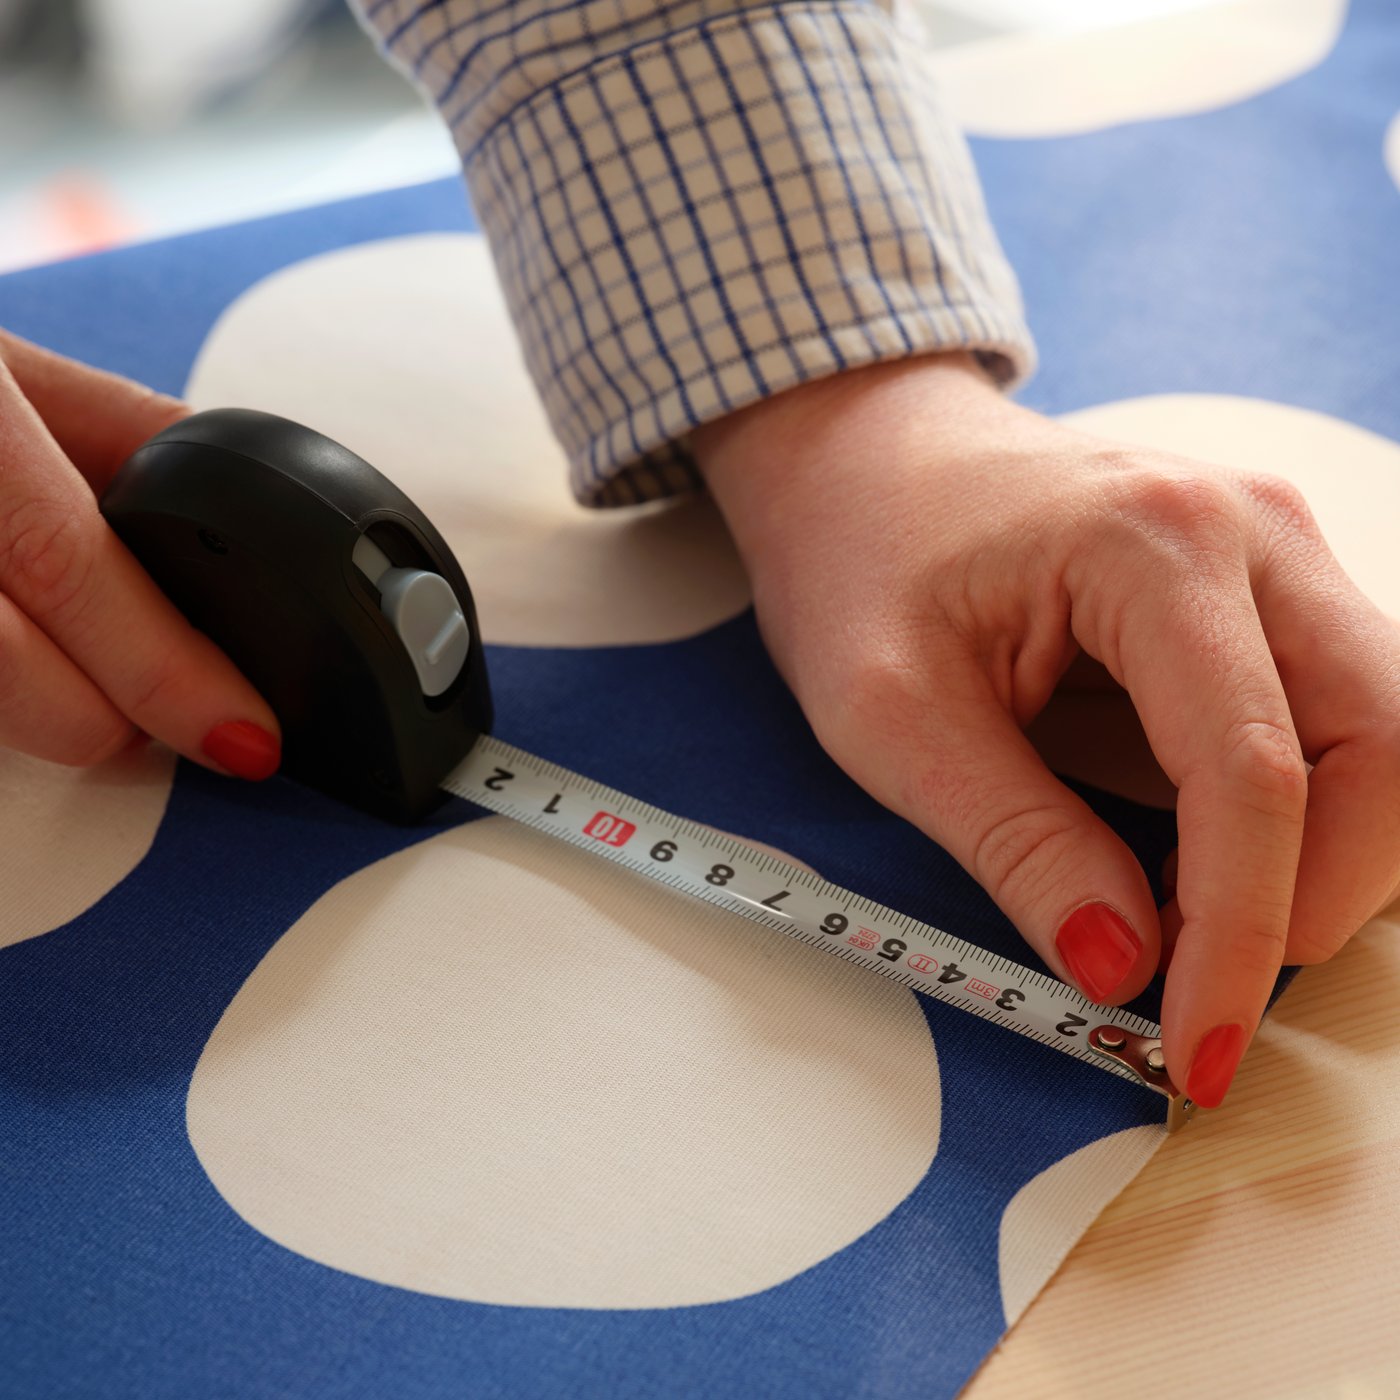
Measure twice, cut once
Got all measures taken, including allowing for double folds and enough length to reach all the way down (to wherever you want it)? Great! After all, careful measuring is an excellent way to minimize trial and error.
Measure twice, cut once
Got all measures taken, including allowing for double folds and enough length to reach all the way down (to wherever you want it)? Great! After all, careful measuring is an excellent way to minimize trial and error.
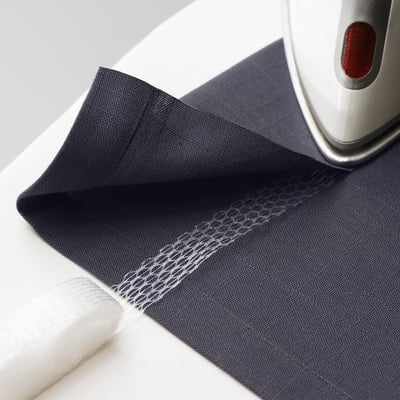
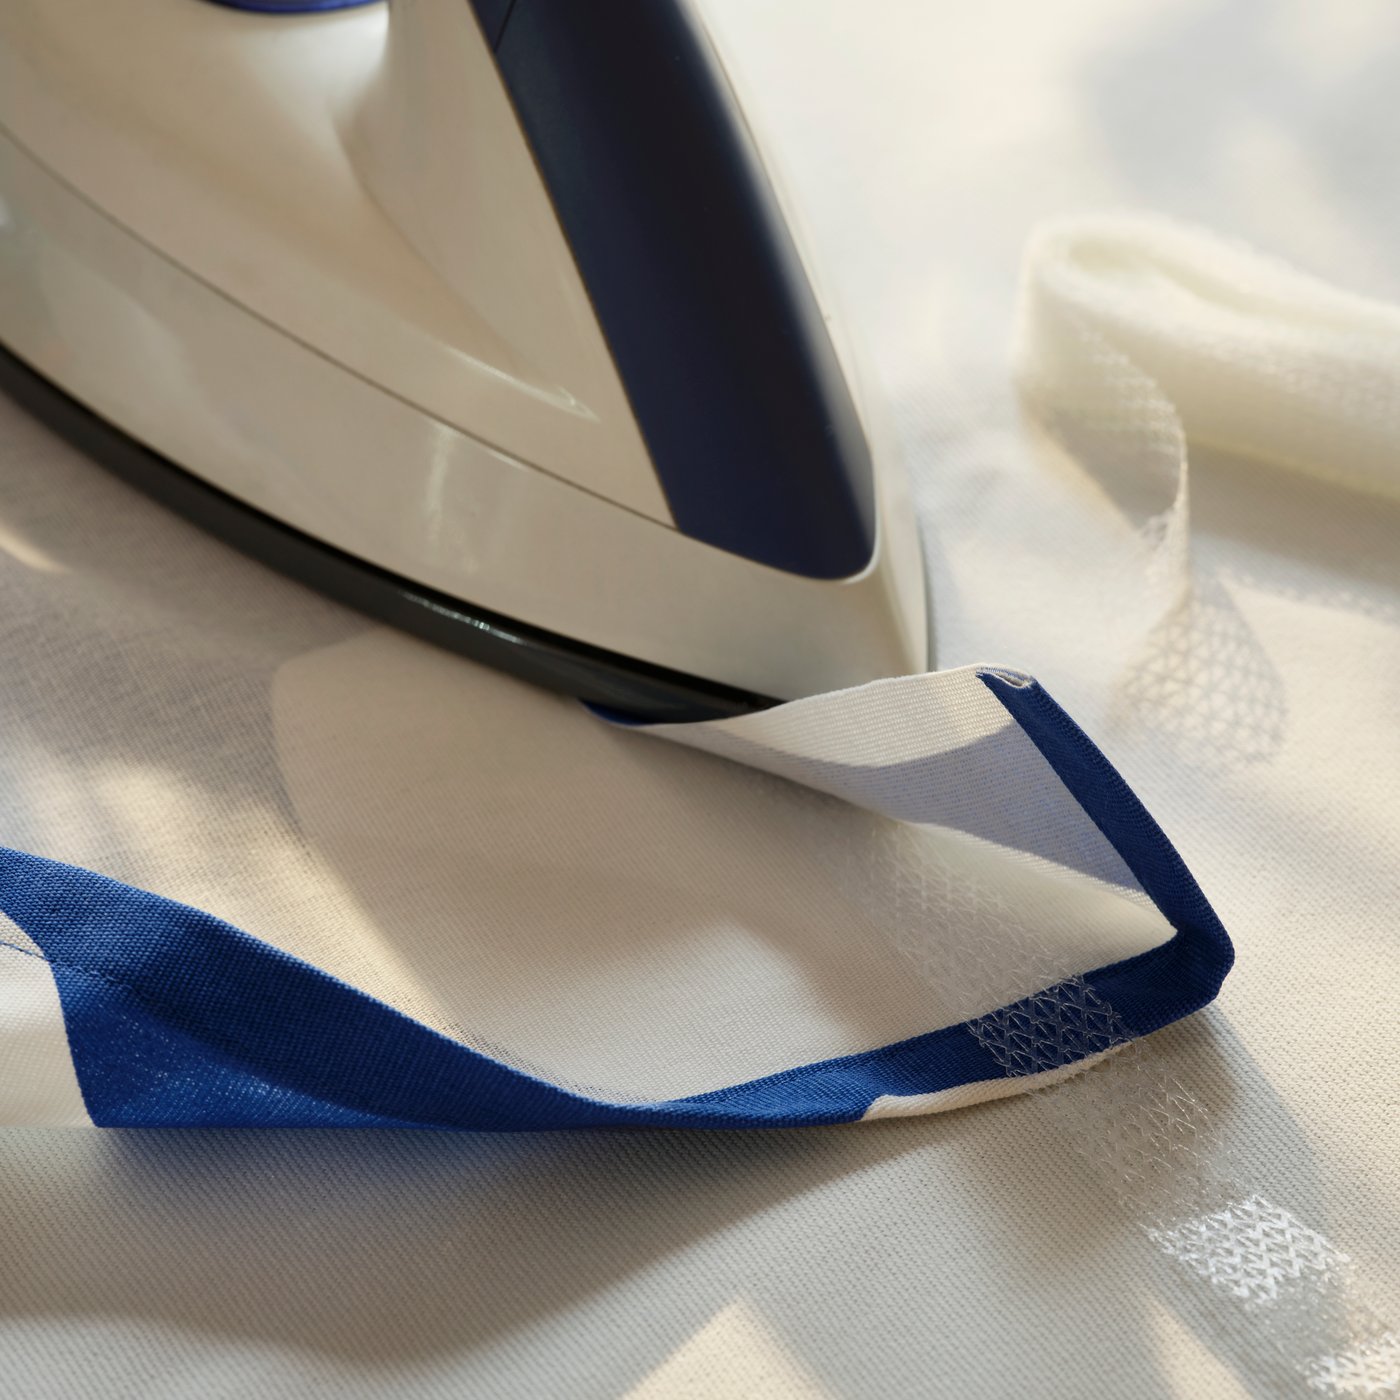
Fold and fold again for a clean edge
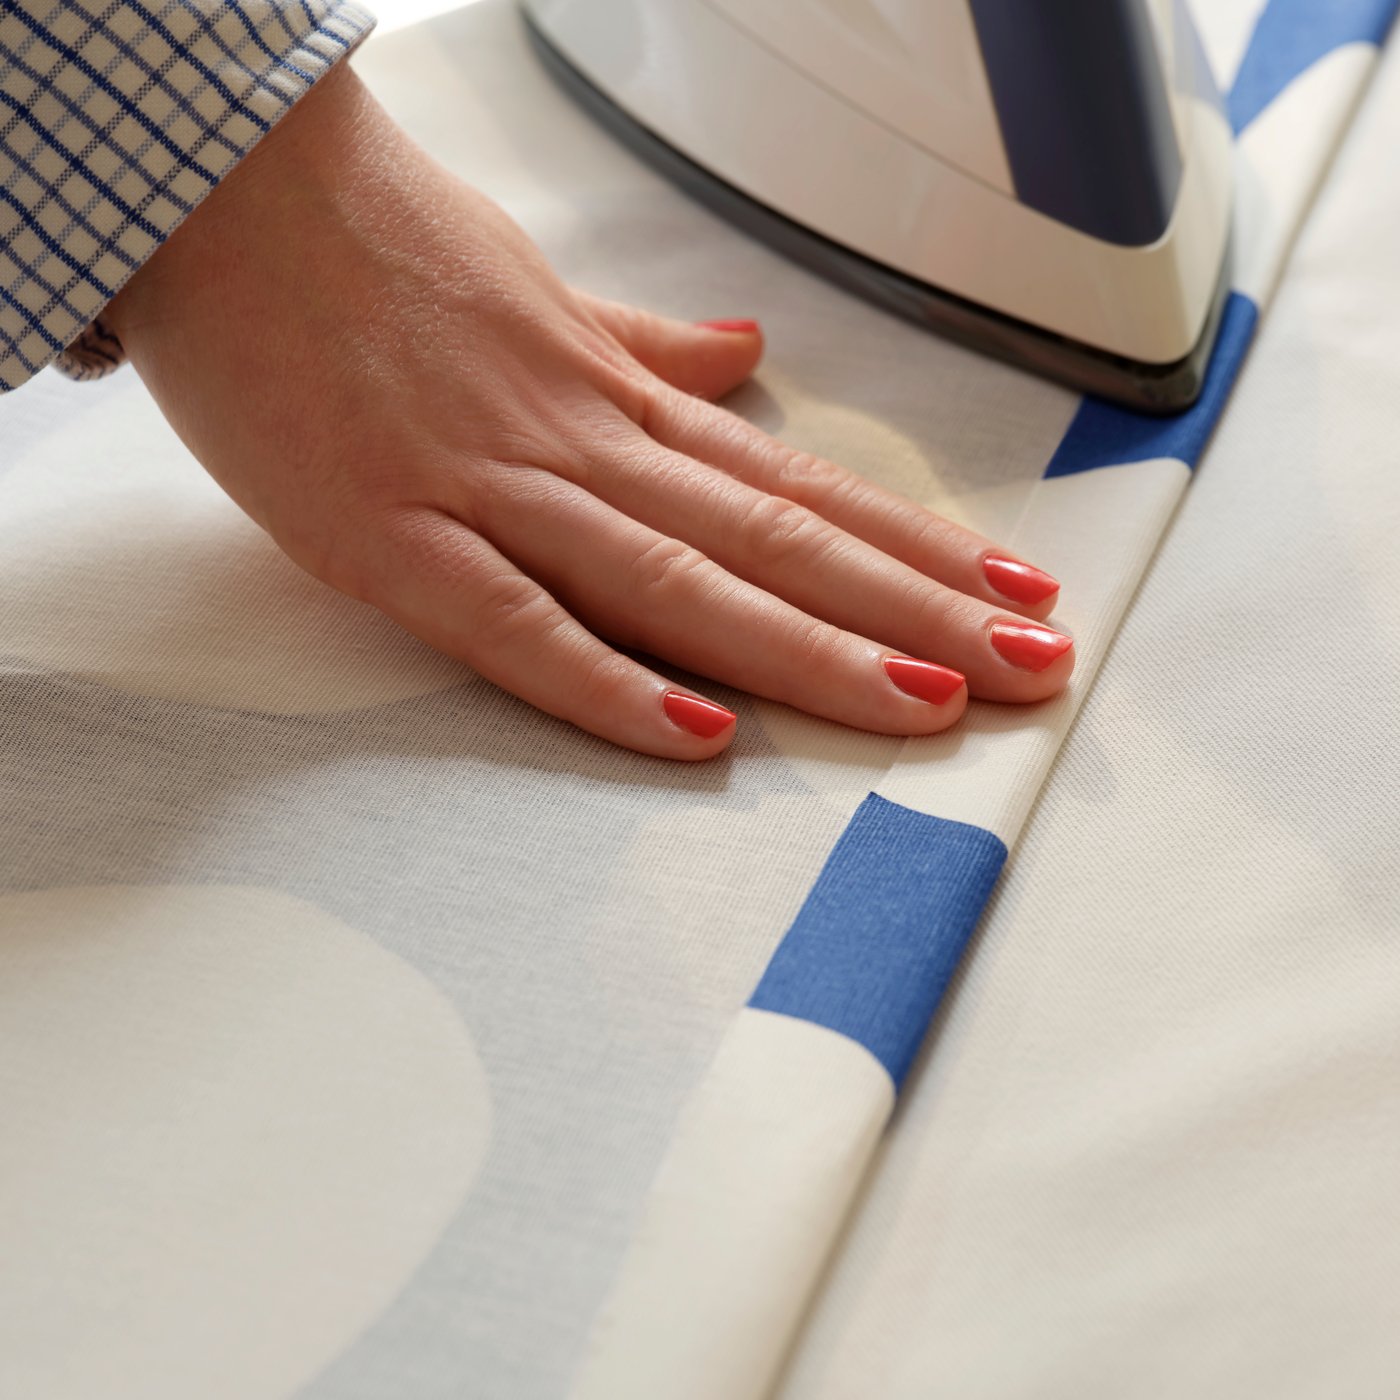
Fold and fold again for a clean edge
Pin and stitch the top of your curtain
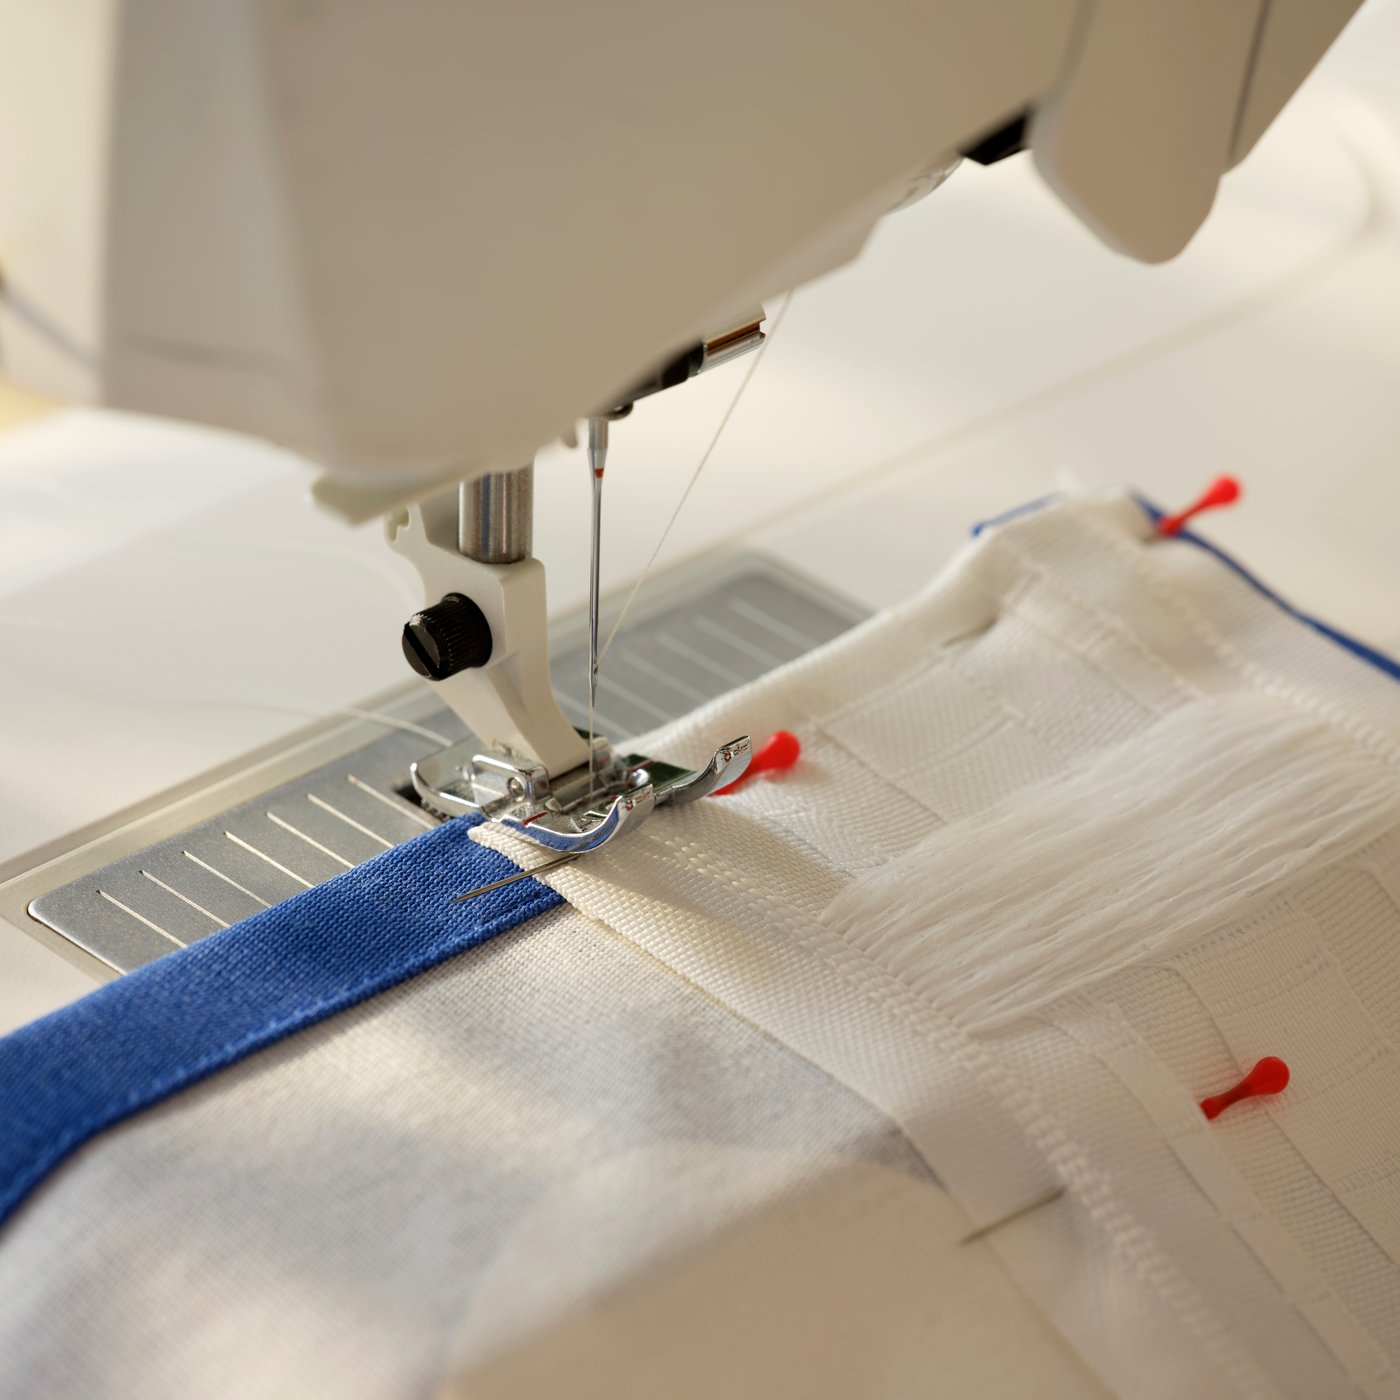
Pin and stitch the top of your curtain
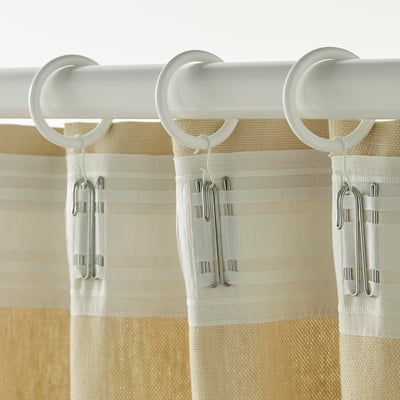
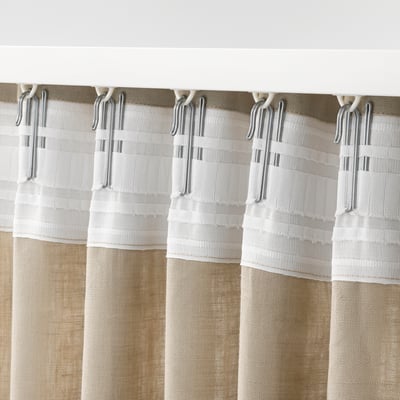
Insert curtain hooks
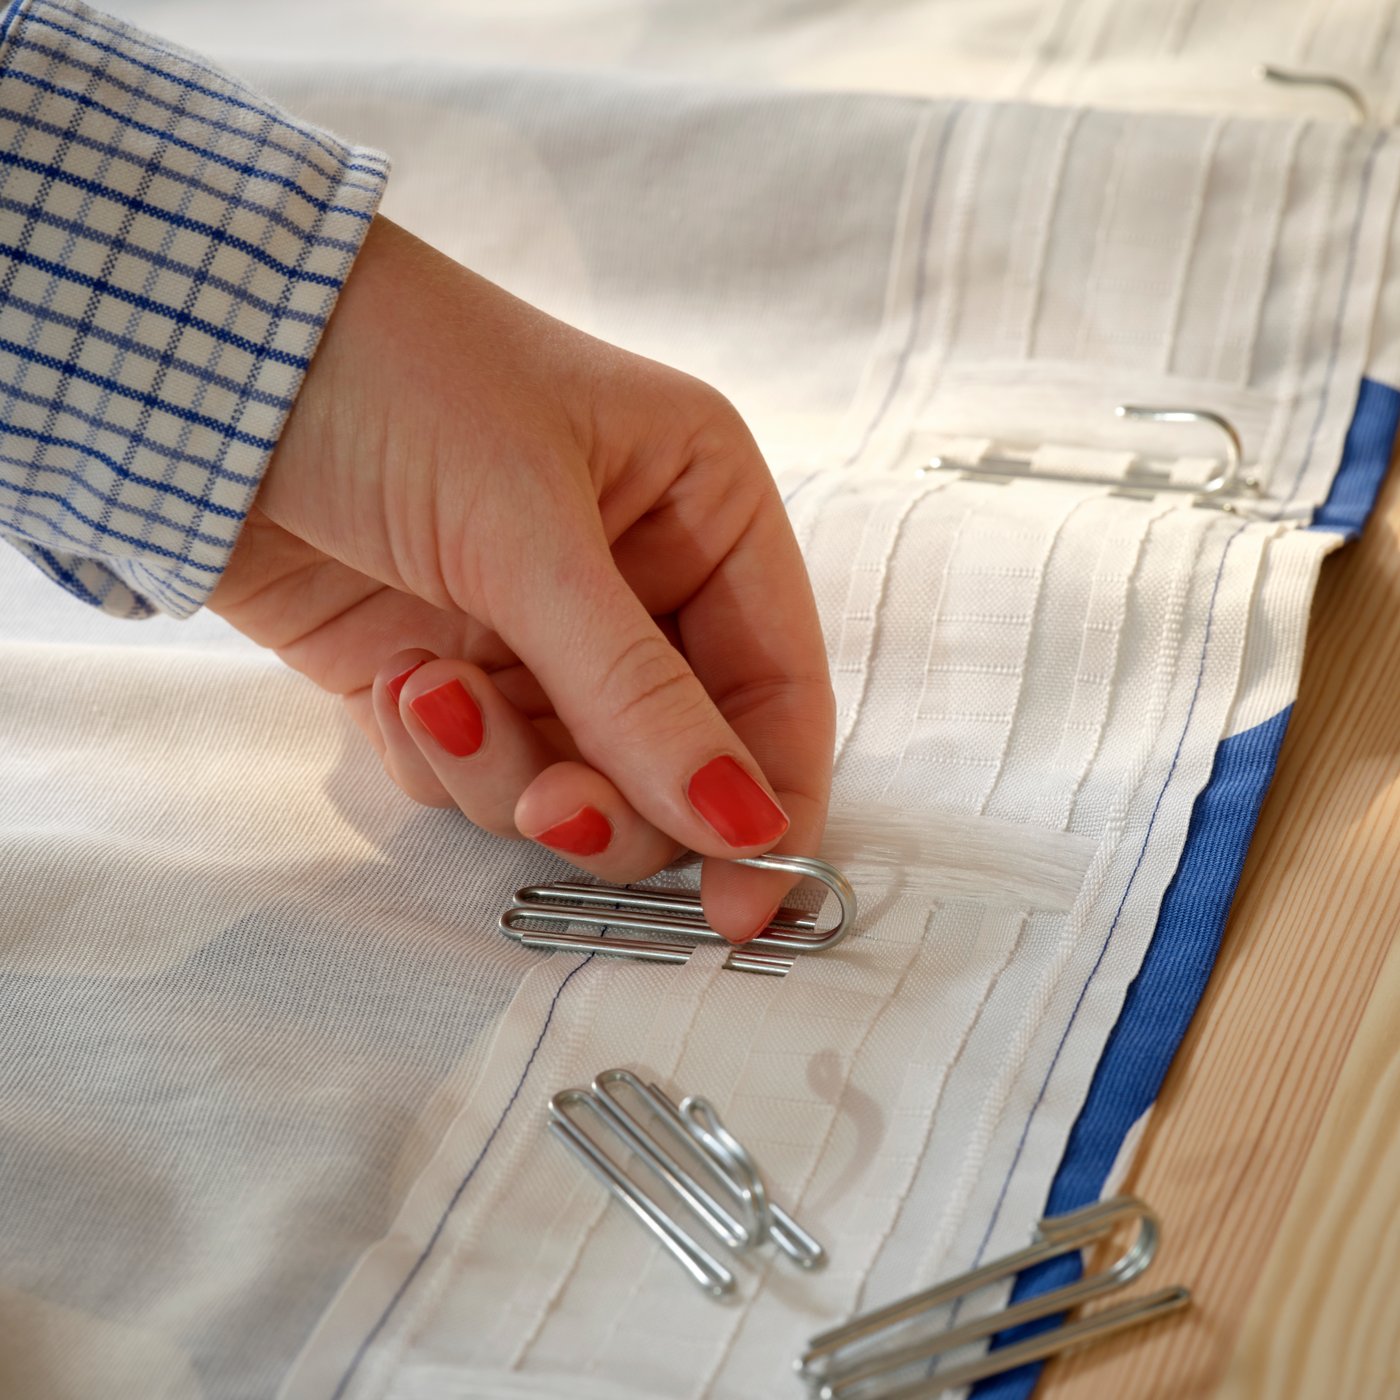
Insert curtain hooks
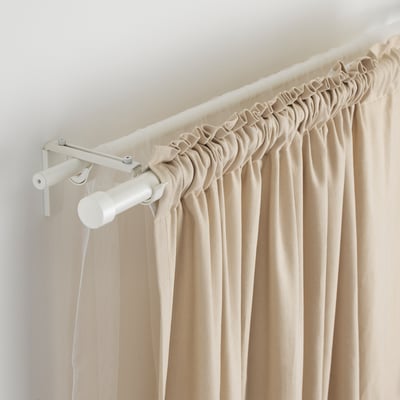
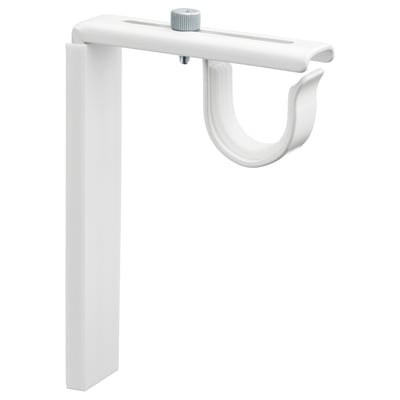
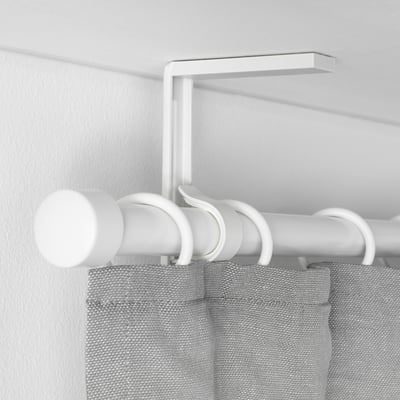
Hang proud

Hang proud
Or – you can do like this
Or – you can do like this
The results are in