Renovating your kitchen
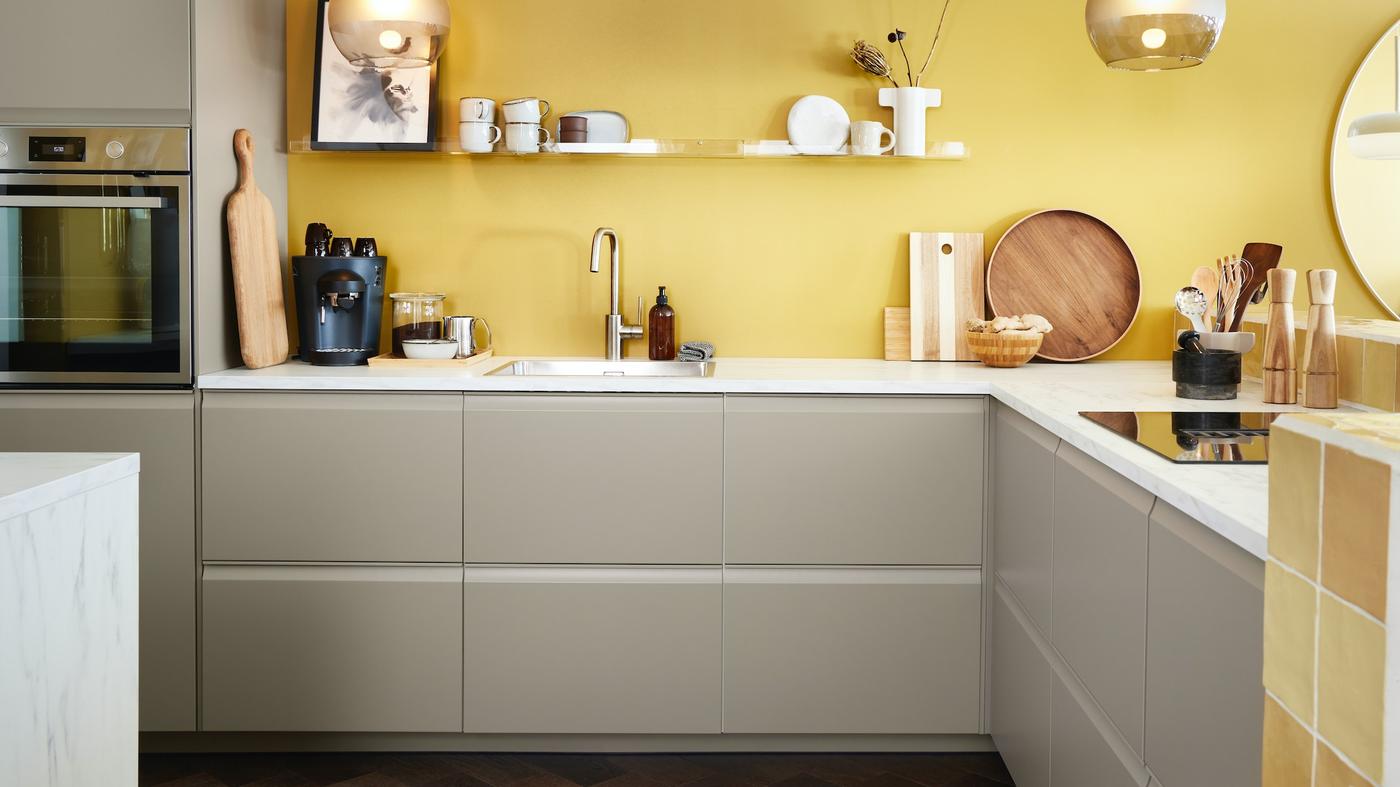
A lack of space, a damaged worktop, an old-fashioned sink, outdated appliances... If this sounds like your kitchen, you’re probably dreaming of a makeover. However big or small, your kitchen is one of the most important spaces in your home. And there are various ways to upgrade and restyle your kitchen to ensure it meets all your needs while also matching your personality. So what exactly does a kitchen renovation entail? Check out our recommendations to help renovate your kitchen and improve your everyday life without installing new units and staying within your budget.
-15% off when purchasing a kitchen
Valid from 15/02/2026 to 22/03/2026, only for holders of a Belgian IKEA Family or IKEA Business Network account. While supplies last.
How to renovate your kitchen without blowing your budget
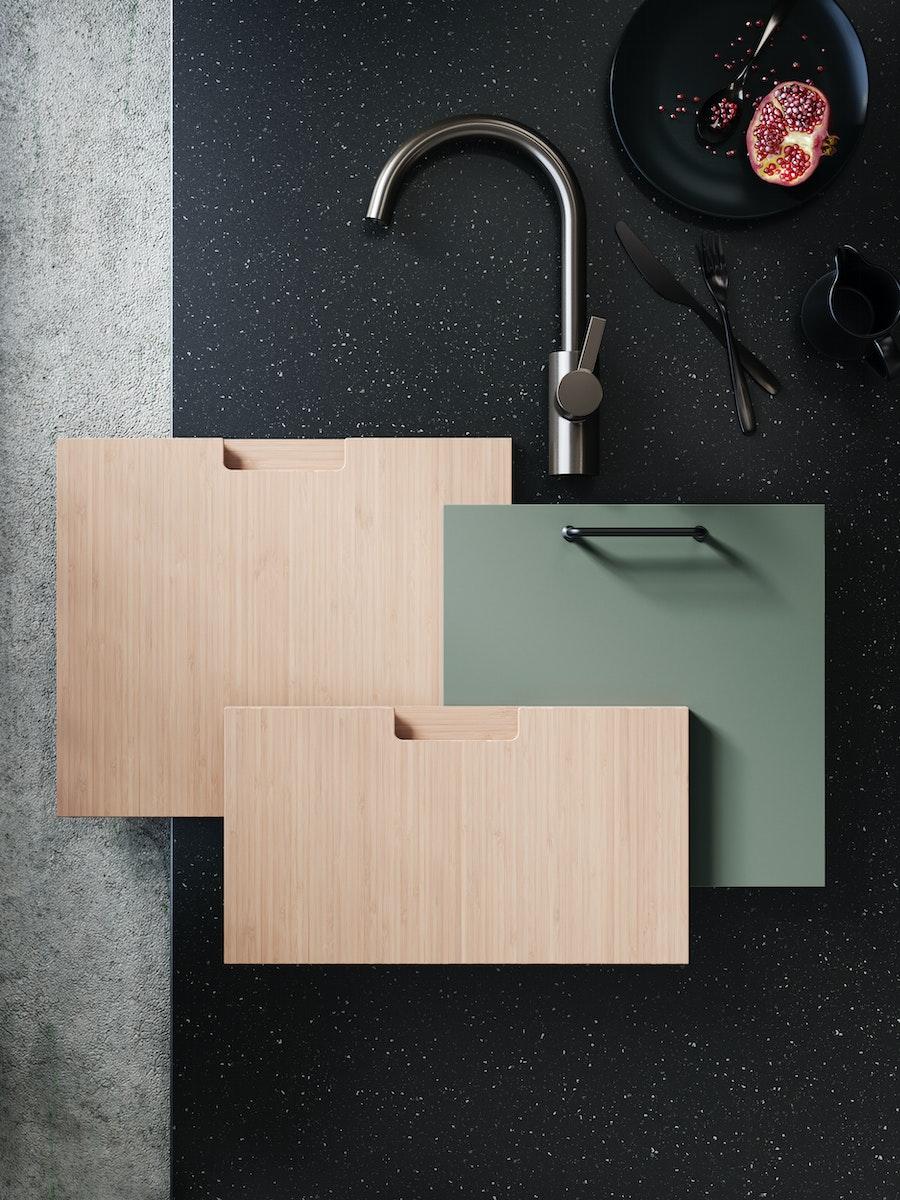
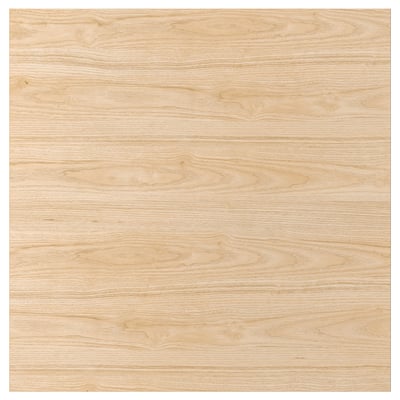
Changing drawer fronts and doors
METOD frames? Changing your fronts is easy!
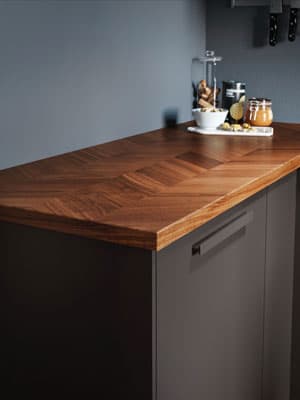
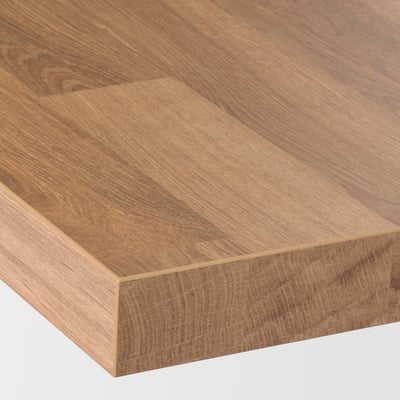
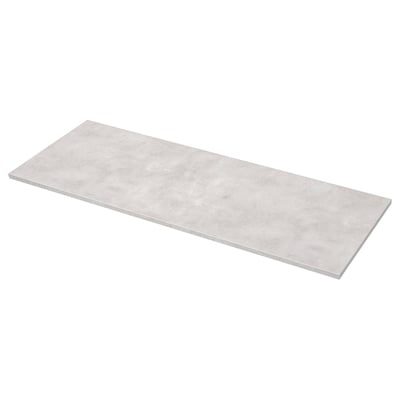
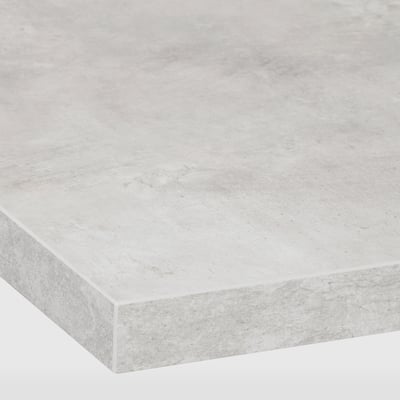
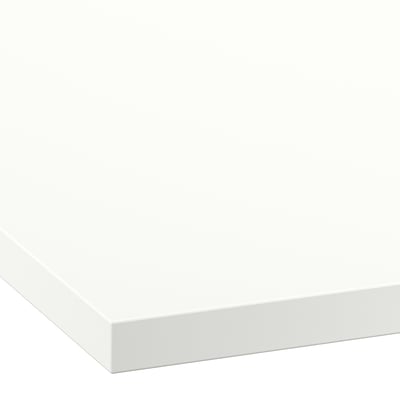
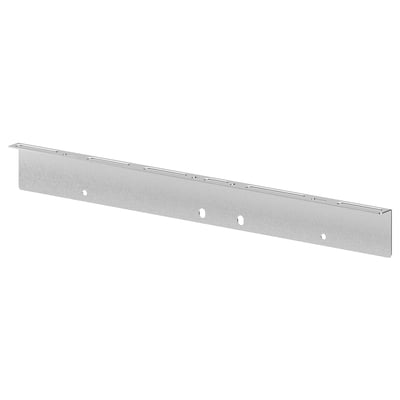
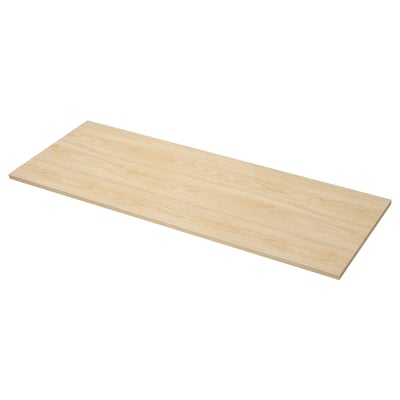
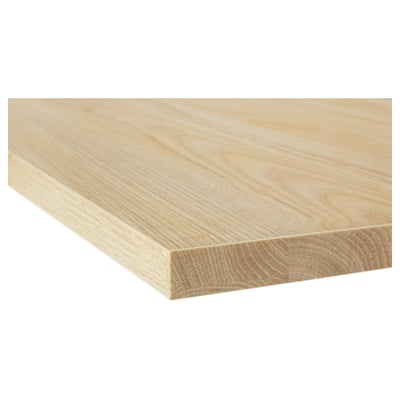
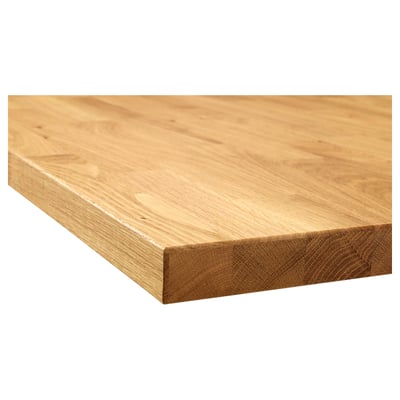
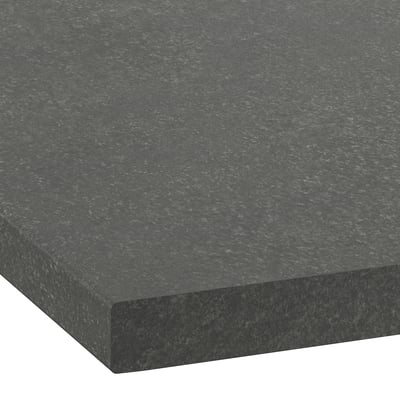
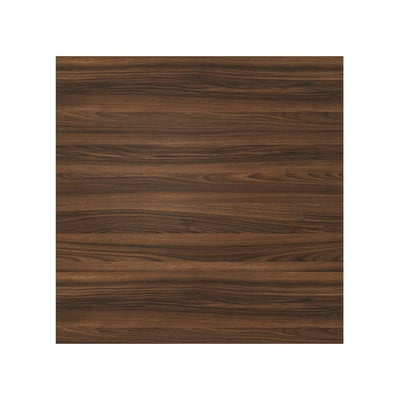
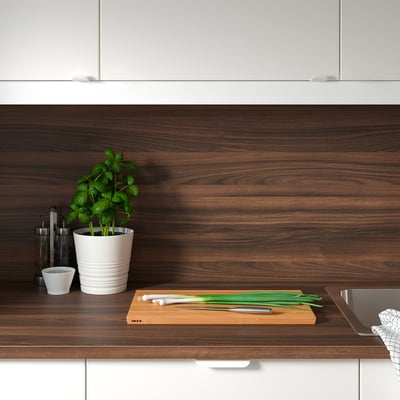
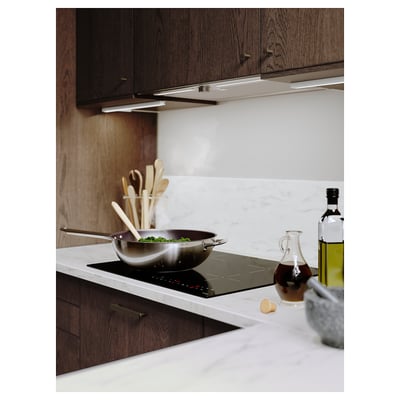
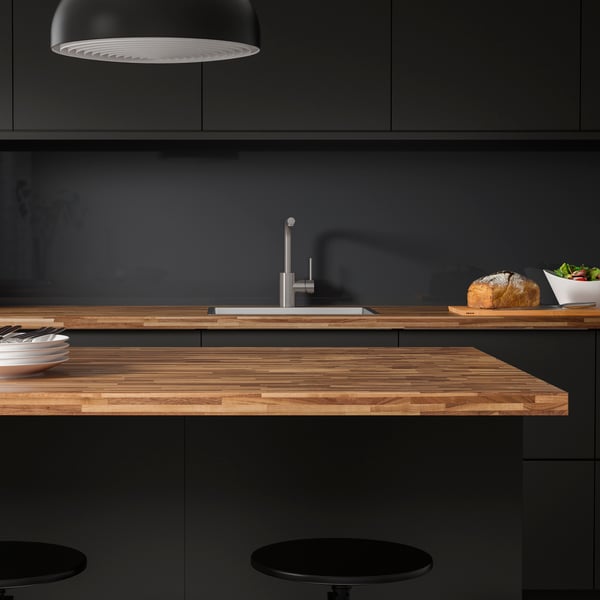
Updating your kitchen worktop
Is your existing worktop showing signs of wear and tear or just not giving you the right vibes? No worries – you can replace it without having to break down the whole kitchen.
Before you start:
- Choose your new worktop style and type (laminated or wood veneer), and decide whether you are fine with standard dimensions or need a custom solution.
- If you’re unsure about which worktop to choose, check out our "How to choose a worktop?" guide.
- Do you want your worktop personalised? Use our planner to create a bespoke design.
- Make sure you have everything you need to remove your existing worktop and install your new one, including measuring tape, drill, utility knife, jigsaw, seal, saw-horse, gloves, etc. You’ll find all necessary information in the assembly instructions that come with your new worktop.
Step by step:
- Cut the power and water supply to rule out any risks when installing your new worktop.
- Dismantle the fitted sink and other appliances, then remove the existing worktop, including the seals, taking care not to damage the units underneath. Typically, you’ll only need to remove the silicone seals and any screws.
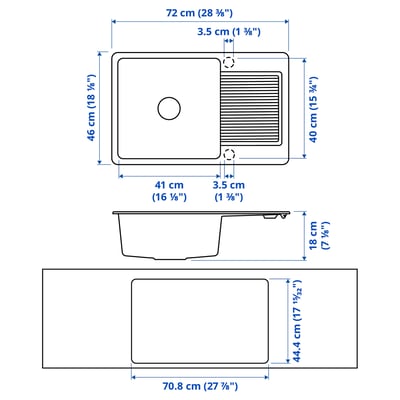
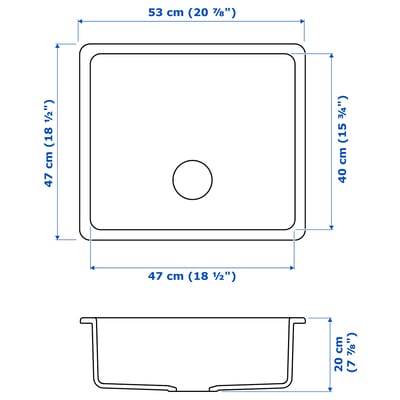
- Cut your worktop to size (if needed), and make the necessary holes for your sink, mixer tap and hob.
- Move the worktop into position. If your worktop is made up of more than one section, use the right glue to bond them together. Your choice will depend on the worktop material. Once the worktop is in place, install the sink, mixer tap and hob, sealing them into place to ensure the whole worktop is watertight, especially where it fits against the wall panel.
- Product information page
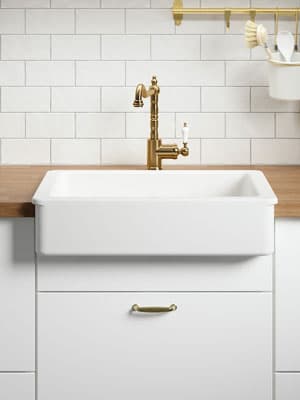
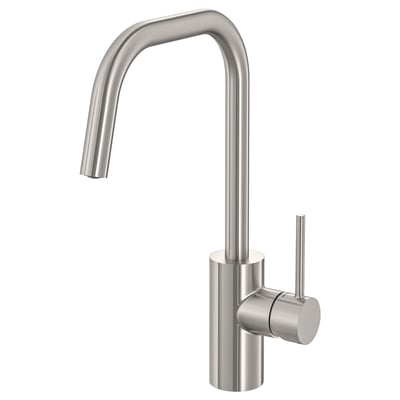
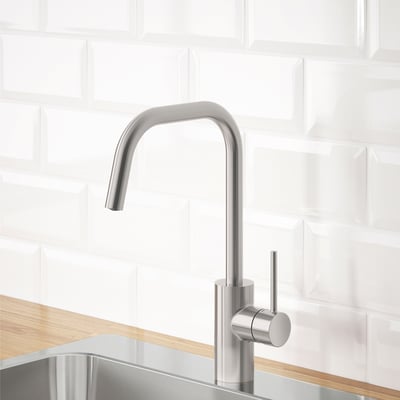
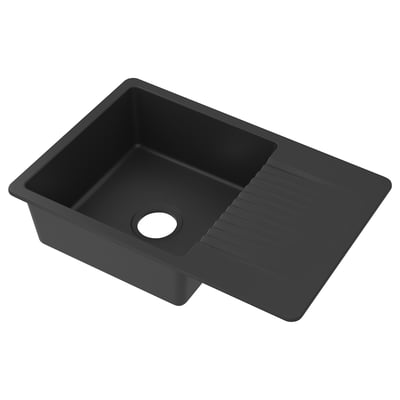
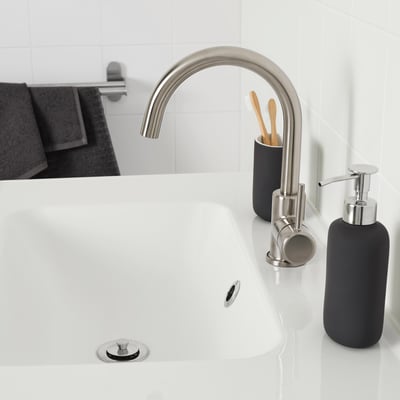
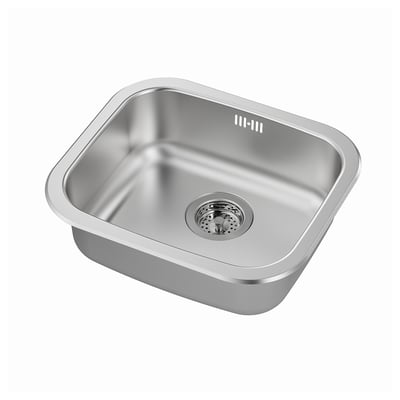
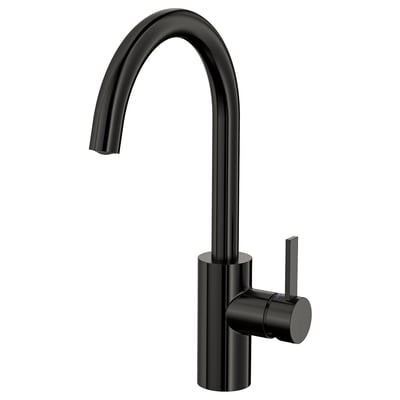
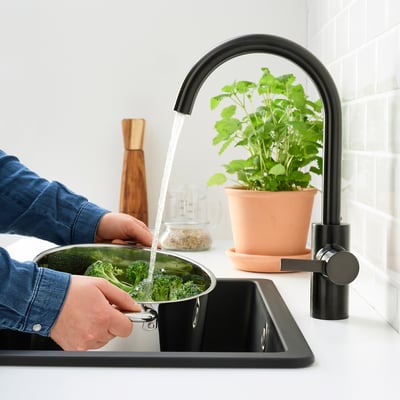
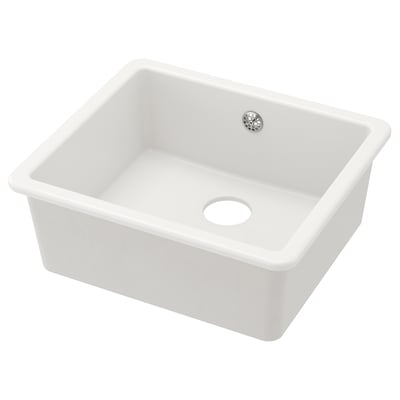
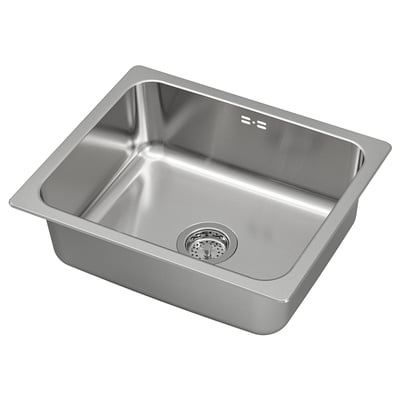
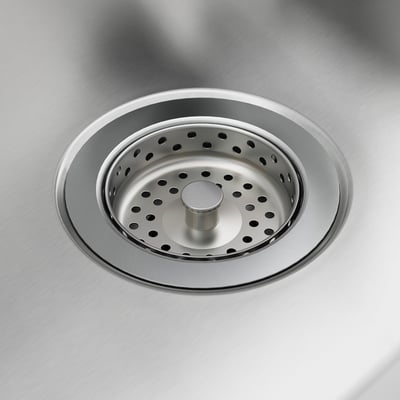
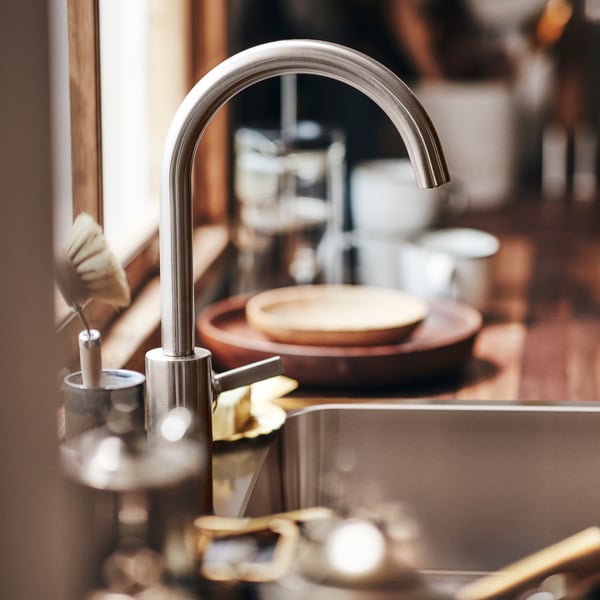
Replacing a sink and mixer tap
Replacing a sink or mixer tap might sound daunting, but you don't necessarily need a professional's help.
Before you start:
- Make sure you have your new sink/mixing tap, seals and screws, and a U-bend
- Assemble everything you need to replace your sink and mixer tap, including a saw-horse, utility knife, screwdriver, bucket, chisel, jigsaw, drill, protective gloves, wrench or pliers and wet wipe.
- Check that you have silicone seal, wood glue, special PVC glue
Step by step
- Shut off the water and unscrew the flexi hoses and U-bend connecting your sink to your drainage system. Now remove the screws under your sink.
- Carefully remove the silicone seal around your sink with a utility knife, then lift it out (tap with a chisel if needed). Remove the residual silicone.
- Cut any new holes in your worktop to accommodate the new sink and mixing tap as needed. Apply the silicone seal around the edge of the sink and wood glue along the corresponding edges of the worktop to create a watertight seal between sink and worktop.
- Slot your new sink in place and connect the flexi hoses, U-bend and plughole. Tighten the screws with a screwdriver. Now install the mixing tap.
- Apply the silicone seal and turn on the water again to check that everything is watertight.
- Product information page
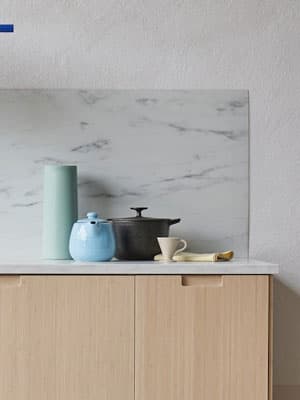
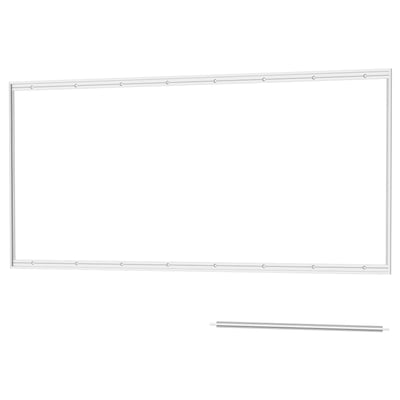
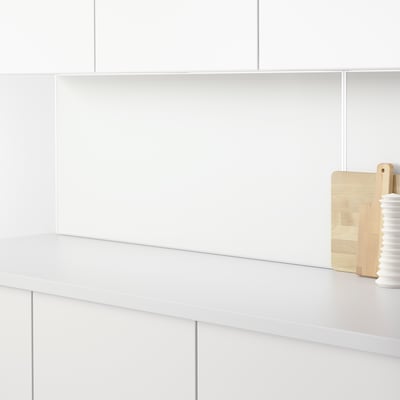
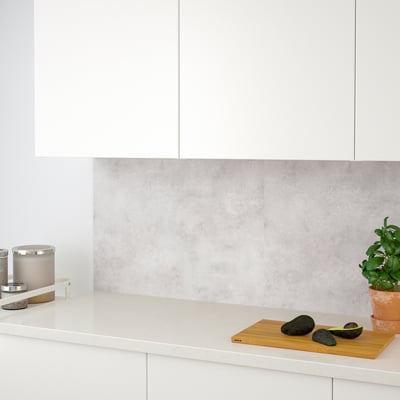
Attaching a wall panel
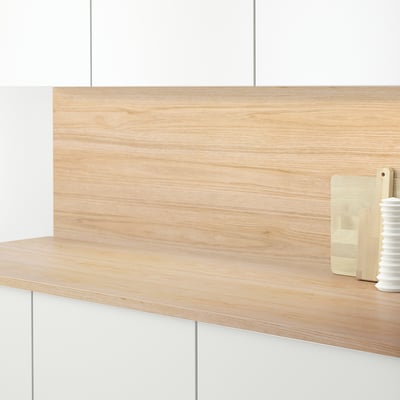
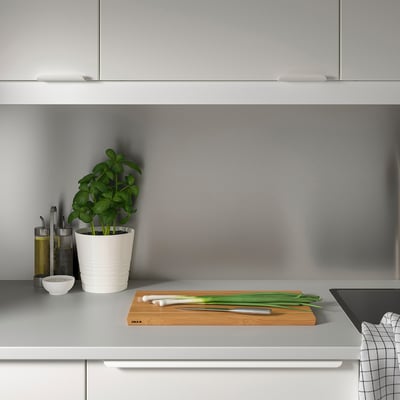
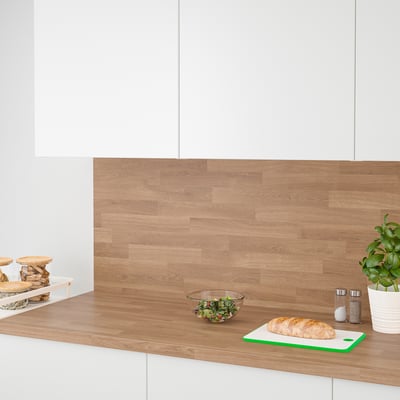
While renovating, if your kitchen doesn't have a wall panel or the current one doesn't fit your tastes, you can easily change it or add one.
Before you start:
- Get your new wall panel. Do you want your wall panel personalised?
- Make sure you have the right glue for your chosen type of wall panel (using a glue gun) or adhesive strips, silicone seal and masking tape
- You’ll need a jigsaw if you need to cut your wall panel to size, along with edges
Step by step
- Remove the existing wall panel, taking care not to damage your worktop or wall.
- Cut your laminated wall panel to the desired size if it comes in standard dimensions and you need a custom solution. Cover the edges of your laminated wall panel with the supplied strips.
- Sand the wall if you need to level out any bumps and rub it down with a cleaning agent and a sponge before applying the splashback.
- Apply glue to the back of the wall panel using the gun and attach it to the wall.
- Apply the silicone to ensure a watertight seal between splashback and worktop. You can use masking tape to protect the worktop while you are putting the panel in place.
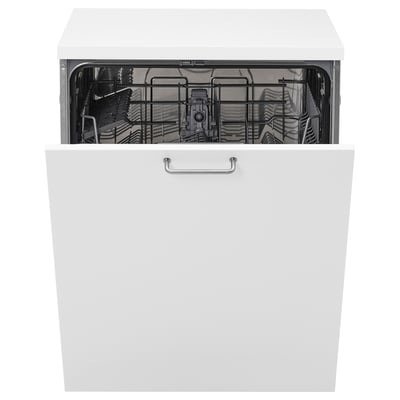
Replacing your appliances
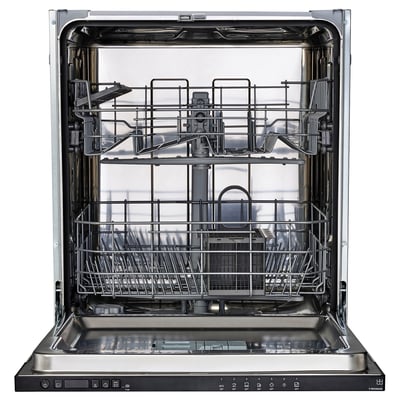
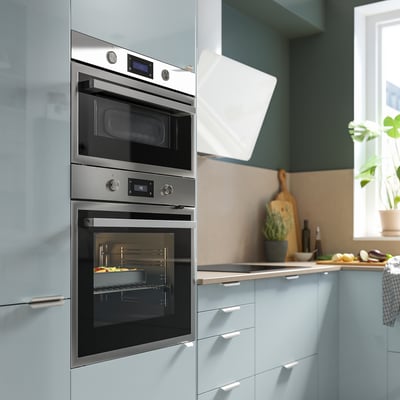
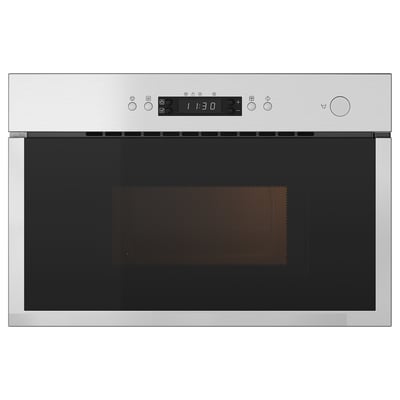
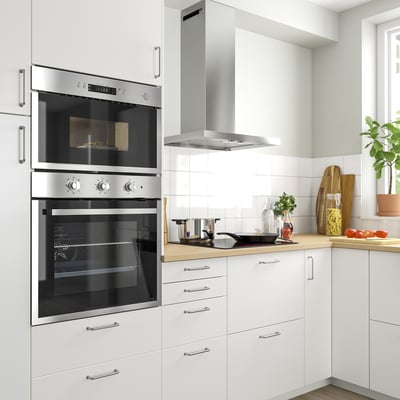
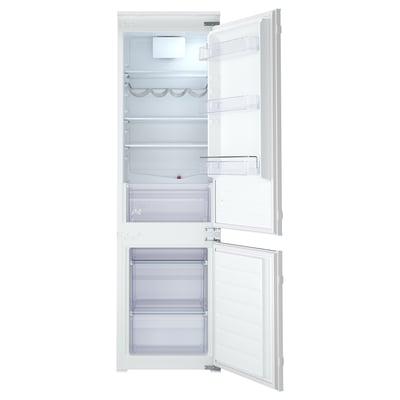
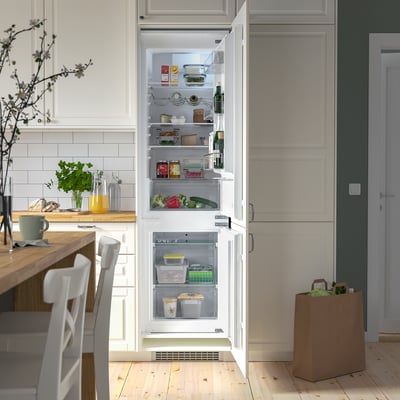
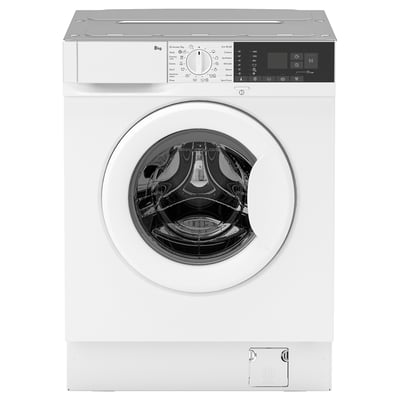
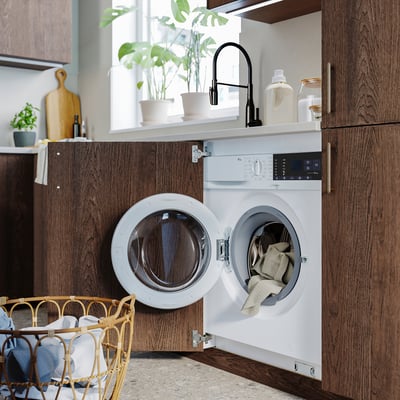
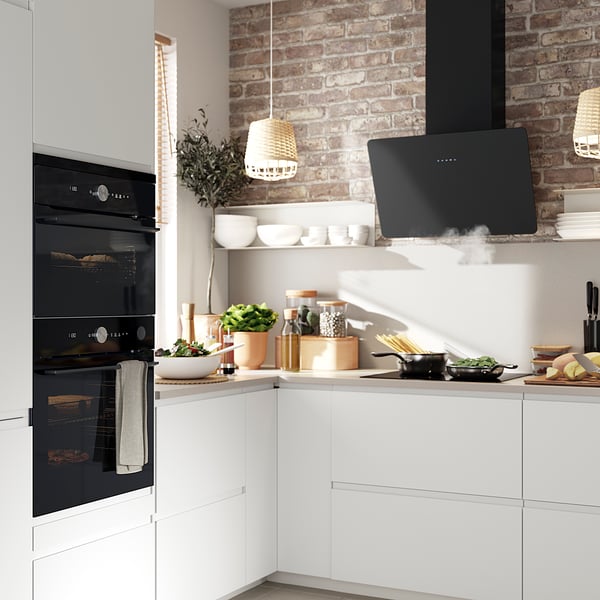
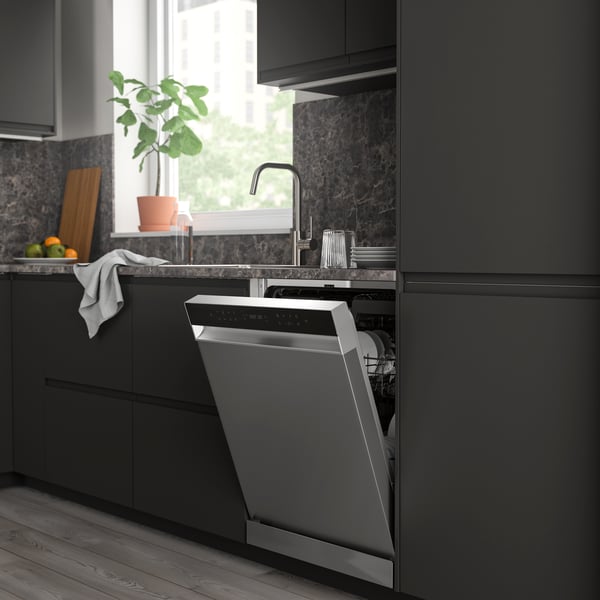
When renovating your kitchen, you could also take the opportunity to upgrade your electrical appliances if they are getting a little old, they consume a lot of energy or you want to swap your freestanding appliances for built-in ones.
Before you start:
- Read our advice on how to choose your electrical appliances and our 2025 kitchen appliance buying guide.
- Run through our kitchen work triangle recommendations (storage, washing, cooking) if you want to change your layout
- Check the electrical appliances you wish to keep are compatible with your new kitchen (in terms of size and type: freestanding, built-in or fully integrated)
- If you are changing your layout, make sure your new appliances can go where you want them to and are close to sockets and water pipes as needed
Step by step
- Unplug your old electrical appliances.
- Shut off the water supply and drain any water in dishwashers and washing machines. Empty and defrost fridges/freezers.
- In the case of fitted and built-in appliances, carefully remove the front, the screws holding the appliance in place and the plinth.
- Carefully move the appliance, using a trolley if needed.
- Install your new electrical appliances, closely following the provided instructions
- Switch your electrics back on and turn the water back on.
- Product information page
- Product information page
-30% on selected appliances
-30% off on a wide selection of kitchen appliances.
Valid from 16/02 to 31/05/2026.
Need support with your kitchen renovation?
Kitchen planning
A kitchen specialist can help you create the kitchen of your dreams, either in-store or from the comfort of your armchair.
Discover how to design your kitchenKitchen Installation
Professionals install your dream kitchen
Learn more about installation conditions