
How to plan and buy our kitchen
Our services
You can do it yourself, but you don't have to. At IKEA, we offer a range of services to make your life easier. For more details, talk to a co-worker at the IKEA stores or visit us at IKEA.sg/services.
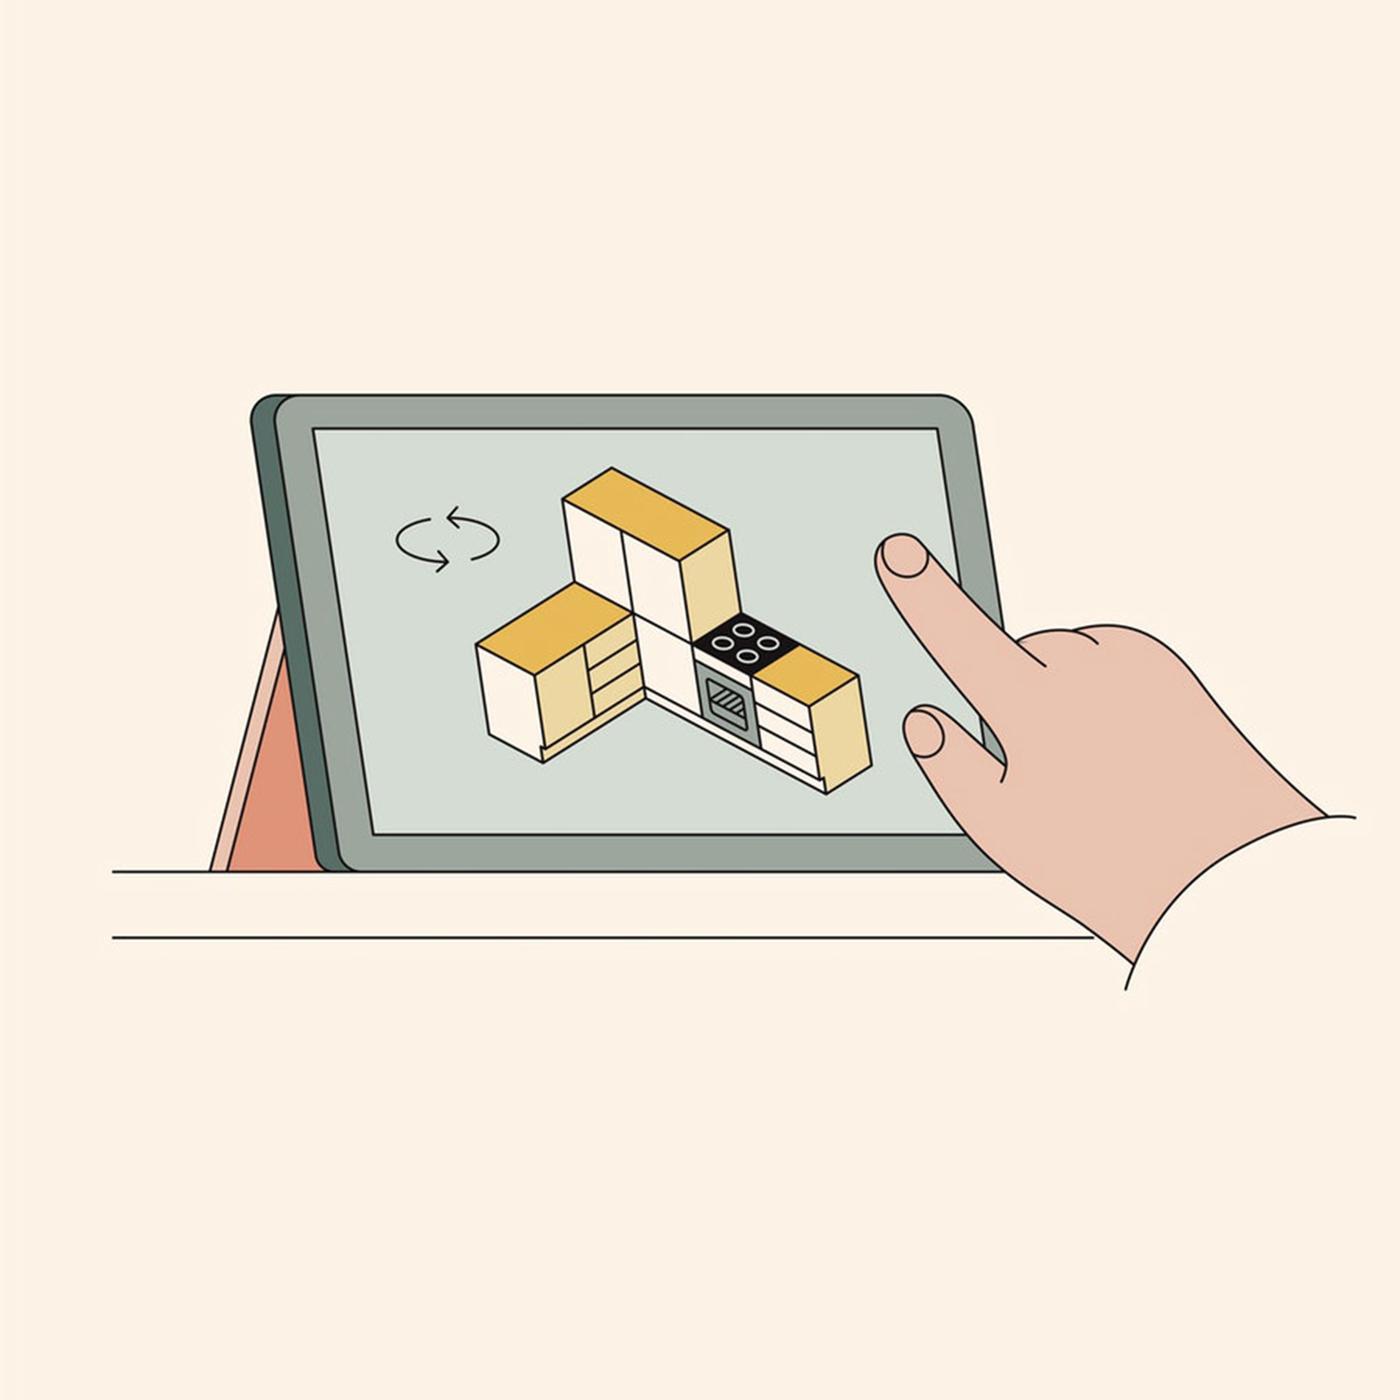

Step 1: Consult & plan your kitchen
Meet our kitchen specialist to plan your perfect kitchen space. During consultation, we will keep the three work zones in mind: preparing and cooking (red), washing up (blue), and food storage (green). How you position your work zones and the distance between them is called a working triangle.

1. A good working triangle helps you to move quickly and easily from task to task - and it simplifies if you're more than one person in the kitchen doing different tasks at the same time.

2. Single-line kitchens are perfect when space is limited. It's not strictly speaking a triangle, but the three points are still connected.

3. Parallel kitchens are great if you have many people cooking at the same time. There's lots of room for food preparations and storage, too.

4. L-shaped kitchens make the most of a corner. They're ideal if you want to add a small dining table or kitchen island as well.

5. If you have space, adding an island to your kitchen gives you extra storage, lots of workspace - plus, it's a great social hub. Give yourself 1200mm between the island and other cabinets to move around freely.

6. If you have a large room, the U-shaped layout is great. It gives you maximum space and plenty of storage options.
Planning your kitchen cabinet storage
The flexibility of the METOD kitchen system allows you to build your very own personalised kitchen cabinets. When planning what your kitchen cabinets should include, think about how you want to utilise them in the best possible way based on your personal needs.
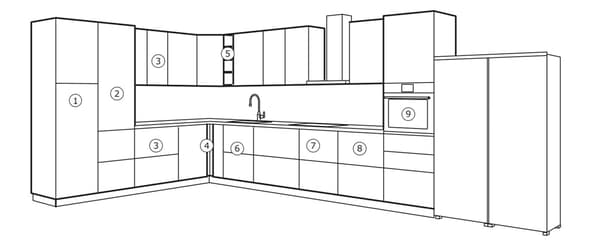
Learn how to utilise your kitchen cabinets
- The kitchen is a place where you normally do a lot of activities, and it can easily become a bit messy. By having your cleaning equipment close by in a high cabinet, it'll be easier to keep your kitchen spick and span.
- A deep high cabinet is ideal for storing everything from dry food, oil and vinegar to bulky kitchen machines.
- Gather all the items you use for setting the table in one spot to make it smooth and easy. Spacious, fully extendable drawers in the base cabinets are great for cutlery, serving bowls and plates. Use the wall cabinets for lighter things like glasses, mugs and jars. If possible, keep this area close to the dishwasher to simplify putting the clean dishes back in place.
- Deep corner cabinets are perfect for storing bulky pots and other large cooking utensils.
- Add a VADHOLMA open cabinet to personalise your kitchen and create a nice break in a row of cabinets with doors. Fill it with cookbooks and other often-used items in the kitchen.
- The sink cabinet is a good place for recycling bins, as you do a lot of food preparation in and around it. If you can, place the sink next to the dishwasher as we have done here (if you can’t see the dishwasher, it’s because it’s built-in with the same front as the rest of the kitchen). That way, you can rinse off dirty tableware before putting it in the dishwasher, as well as vegetables and other food that you’re about to cook.
- Use the top drawer underneath the hob for storing knives, whisks and other cooking utensils to have them within easy reach. High drawers underneath are ideal for other gadgets you normally use when cooking, for example, frying pans, pots and strainers.
- A base cabinet between the hob and the built-in oven adds storage for all the extra things that might come handy when cooking: spices, wraps, tinfoil, oven gloves, pot stands and other things you need when using these appliances.
- By placing the oven in a high cabinet, you get it at a perfect working height. And you get storage space for baking sheets, ovenware, serving bowls and whatever else you might use in the oven.
Assembling your METOD kitchen cabinets
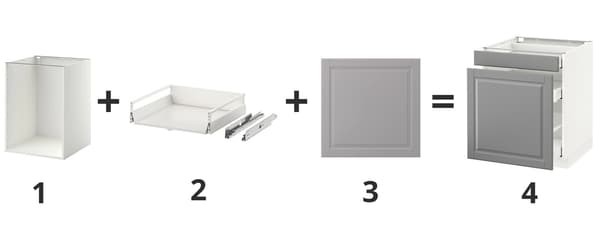
To assemble your kitchen cabinet, you just need to choose:
- A cabinet frame in your desired width and depth.
- The interior fitting or drawer that holds your items.
- A drawer front that determines the style and colour of your kitchen.
- There you go - a complete kitchen cabinet solution.


Step 2: Measure your kitchen
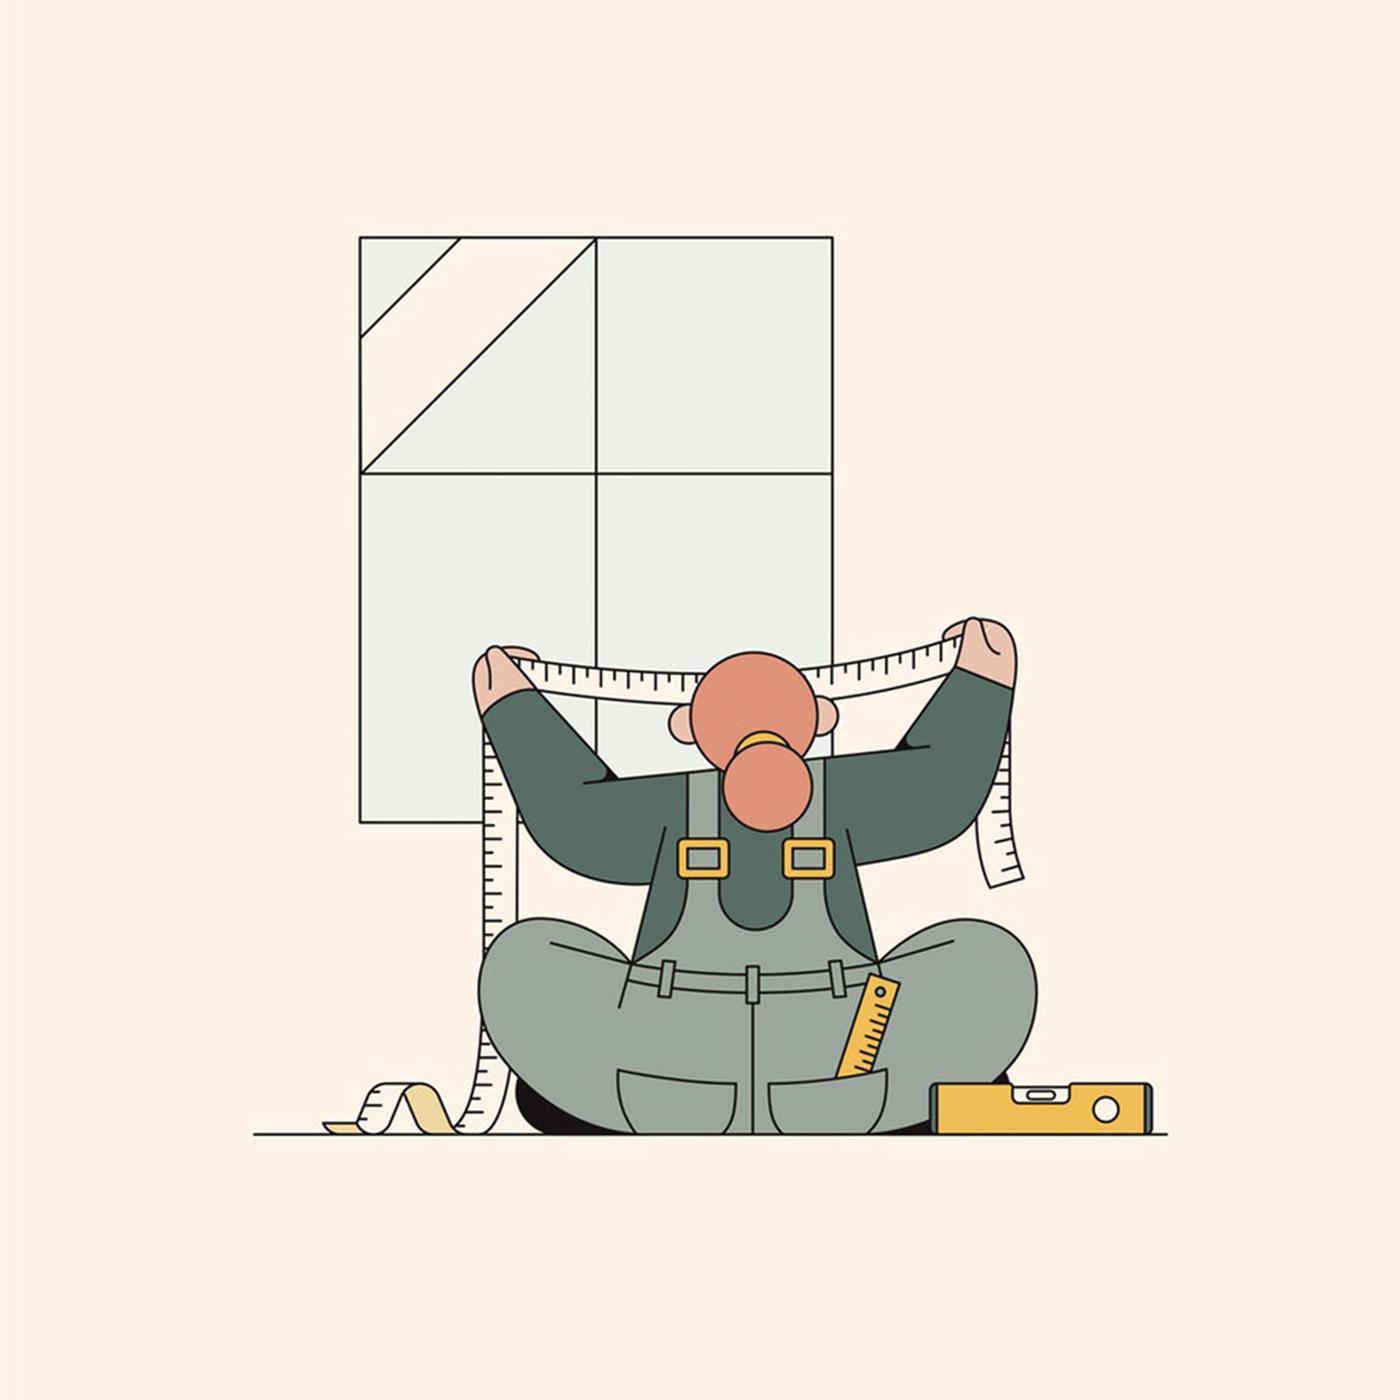
Measurements are important as they are the base for your kitchen. Give yourself plenty of time to measure precisely. Make sure to make your measurements in millimetres so that your new kitchen correctly fits your space. Here's how you do it.
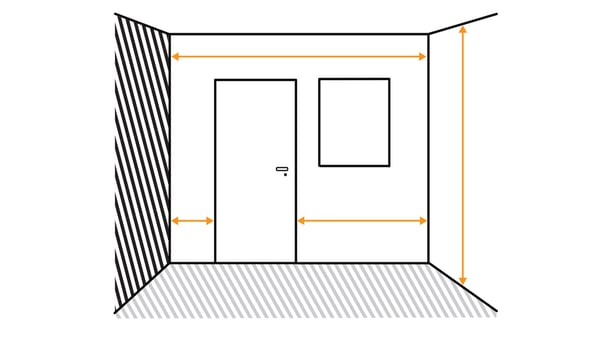
1. Start by measuring the floor to the ceiling. Then the distance between walls and from the corner to the doors.

2. Measure each window and their distances from the floor, the ceiling and the corners of your room. Do the same for the doors.

3. Mark down anything that sticks out into the room i.e. pipes, and also the position of power outlets, light switches, drains and water supplies (both existing and new ones).

4. Start by measuring your worktop from the corner where it will attach to the wall. Make sure to make your measurements alongside the wall and always start from the same point.

5. When measuring the depth, start from the wall and measure out. Don't forget to add 15mm for an overhang, too.

6. If you need to measure for a freestanding worktop (a kitchen island, for example), simply start from one end and add 30mm extra for an overhang.
How to take your own kitchen measurements
When you’re cooking, a bit more of this or a little less of that doesn’t usually matter. But when you’re planning a new kitchen, every detail counts. Measuring where you’ll install your new kitchen is extremely important. Give yourself plenty of time to measure precisely – and measure more than once, if possible, to check your work.

Kitchen measuring service
IKEA kitchen measurement service gives you a reliable foundation to plan your new kitchen – and peace of mind that all your planning will lead to perfection. Let our technicians provide correct measurements and document the necessary details.
Step 3: Order and get it home
You can choose to shop online or in stores, but if you need an extra hand - say, a flexible payment option or straight-to-home delivery, you can talk to a co-worker or visit us at IKEA.sg/services.



Step 4: Install your kitchen
Start by picking up the IKEA kitchen installation guide at your local IKEA store or download the digital version on our website. This guide walks you through the step-by-step process of installing your kitchen yourself. Additionally, it's essential to follow the assembly instructions included in the product packaging.

Do-it-yourself IKEA kitchen installation and assembly guides
We know it’s not always easy to figure out where to start or what to do when you’re just using our illustrated instructions. So we’re here to help. Learn more below about our tools and resources to support you along the way.
Kitchen installation service
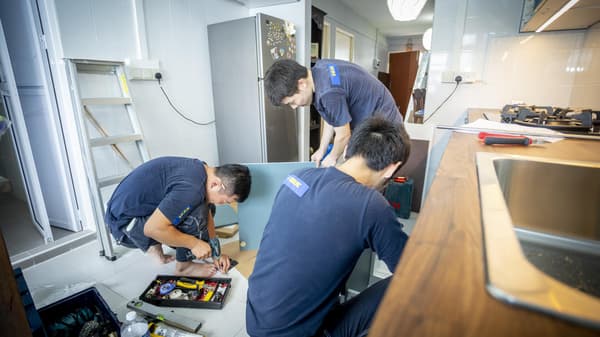
Do you need your kitchen installed? Start by booking an online planning service. Our IKEA Kitchen service team will guide you through the process from start to finish. Their knowledge and experience will help you build the kitchen of your dreams.
Talk to a specialist
Share your ideas and budget, and we'll help bring your dream kitchen to life.
Find out morePlan your kitchen
See your kitchen come to life in 3D. Site measurement service is available for a fee.
Find out more