
How to make a canopy for your bed

Dreaming about a comfortable refuge? Give your bed a cozy canopy upgrade using curtains and ceiling rails. Just follow the step-by-step guide below.

A bright bedroom with a bed near a window. The bed has a canopy made using white curtains and VIDGA curtain tracks.

Tools & materials

• 9 x VIDGA ceiling fittings • 2 x VIDGA corner pieces, single track • 2 x VIGDA gliders and hooks, 24 pack • 5 x VIDGA single track rails • VIDGA cutting box • 4 x LEJONGAP curtains (2 pairs) • Measuring tape • Pencil • Drill • Screwdriver • Hacksaw • Stepladder

See the VIDGA series
Rails, a cutting box, corner pieces and other items from the VIDGA curtain track system, and white curtains.
See the VIDGA series

Helpful hints

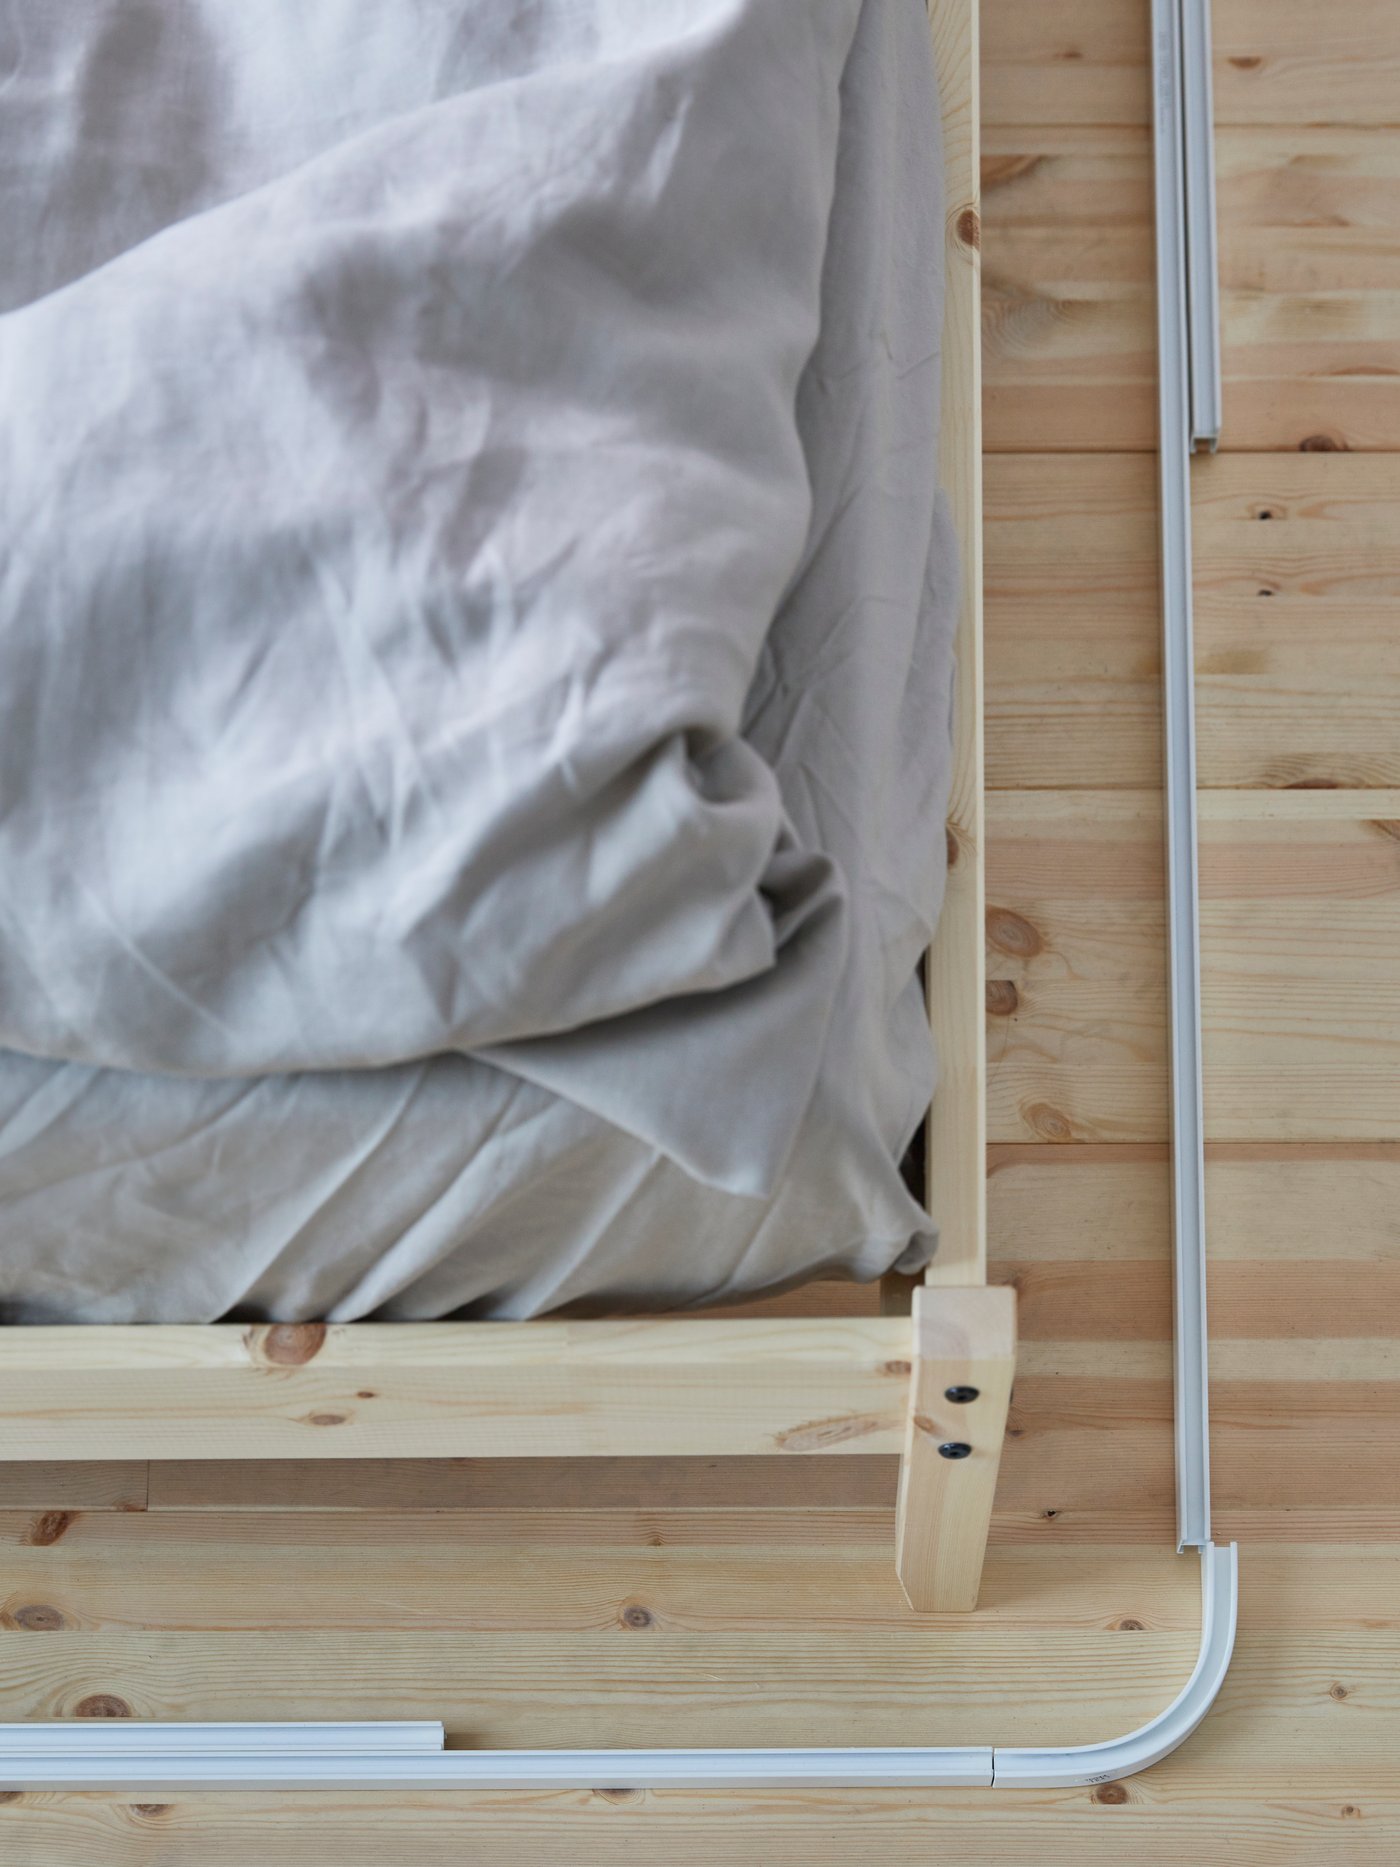
The numbers of products are for a bed that’s 60x80 inches (Queen size). You may need different quantities depending on the size of your bed. If buying a set, consider what’s included. You may need to buy additional rails or fittings; connectors are not sold separately.

We recommend using this guide along with the assembly instructions and the VIDGA rail: single track installation film, shown at the bottom of this page. 

Step 1 – outline where you want the canopy

Decide where you want the canopy by placing the track rails and corner pieces on the floor around your bed. Leave space for the curtains between the bed and the rails. You will likely need more than one track rail to cover each side of the bed. You can cut off part of another rail and join them together to get the right length.

See all beds
A corner of a bed with VIDGA curtain track rails placed on the floor around the bed to measure them for installation.
See all beds

Step 2 – cut your pieces

Cut the rails to size with VIDGA cutting box and a hacksaw. Slide the connectors into the rails. Place all the rails and pieces on the floor around your bed again to double-check your plans and determine/measure where you’ll need to drill. It helps to measure from your walls, not your bed.

See the VIDGA series
The hands of a person cutting VIDGA curtain track rails to the correct length using a hacksaw and a VIDGA cutting box.
See the VIDGA series

Step 3 – mark your drill spots

Mark your drill spots on the ceiling, drill the holes for the fittings and mount them. Be sure to use the appropriate screws/fasteners for your ceiling. Put the attachment piece into the fitting and click the rail into place. Repeat step three for all rail pieces, but do not attach the corner pieces yet.

See the VIDGA series
A person’s hand marking a spot on the ceiling for a hole for mounting a VIDGA curtain track rail to the ceiling.
See the VIDGA series

Step 4 – attach the hooks to the curtains and hang

Attach the hooks to the curtains and hang them on the gliders. The gliders/hooks are made for curtains with gathering tape, but you can add tape to curtains without it too. One 24 pack of gliders is enough for two curtains. Slide the gliders into the rails. (Do this as you put up each rail or wait until they’re all set.)

See all curtains
The hand of a person who is hanging a white curtain from a VIDGA single track rail which is mounted to the ceiling.
See all curtains

Step 5 – secure each corner piece

When all the gliders are in, place each corner piece into the rails and click to secure. With the bed against the wall, only two corner pieces are needed. If the rails aren’t flush with the wall, use end caps.

See the VIDGA series
The hand of a person connecting a VIDGA curtain track corner piece to VIDGA single track rails mounted on the ceiling.
See the VIDGA series

    We love to see our customers get creative with our products. Go for it! But please note that altering or modifying IKEA products so they can no longer be re-sold or used for their original purpose means IKEA limited warranties and your right to return the products will be lost.