
Organise your food storage containers: A step-by-step guide
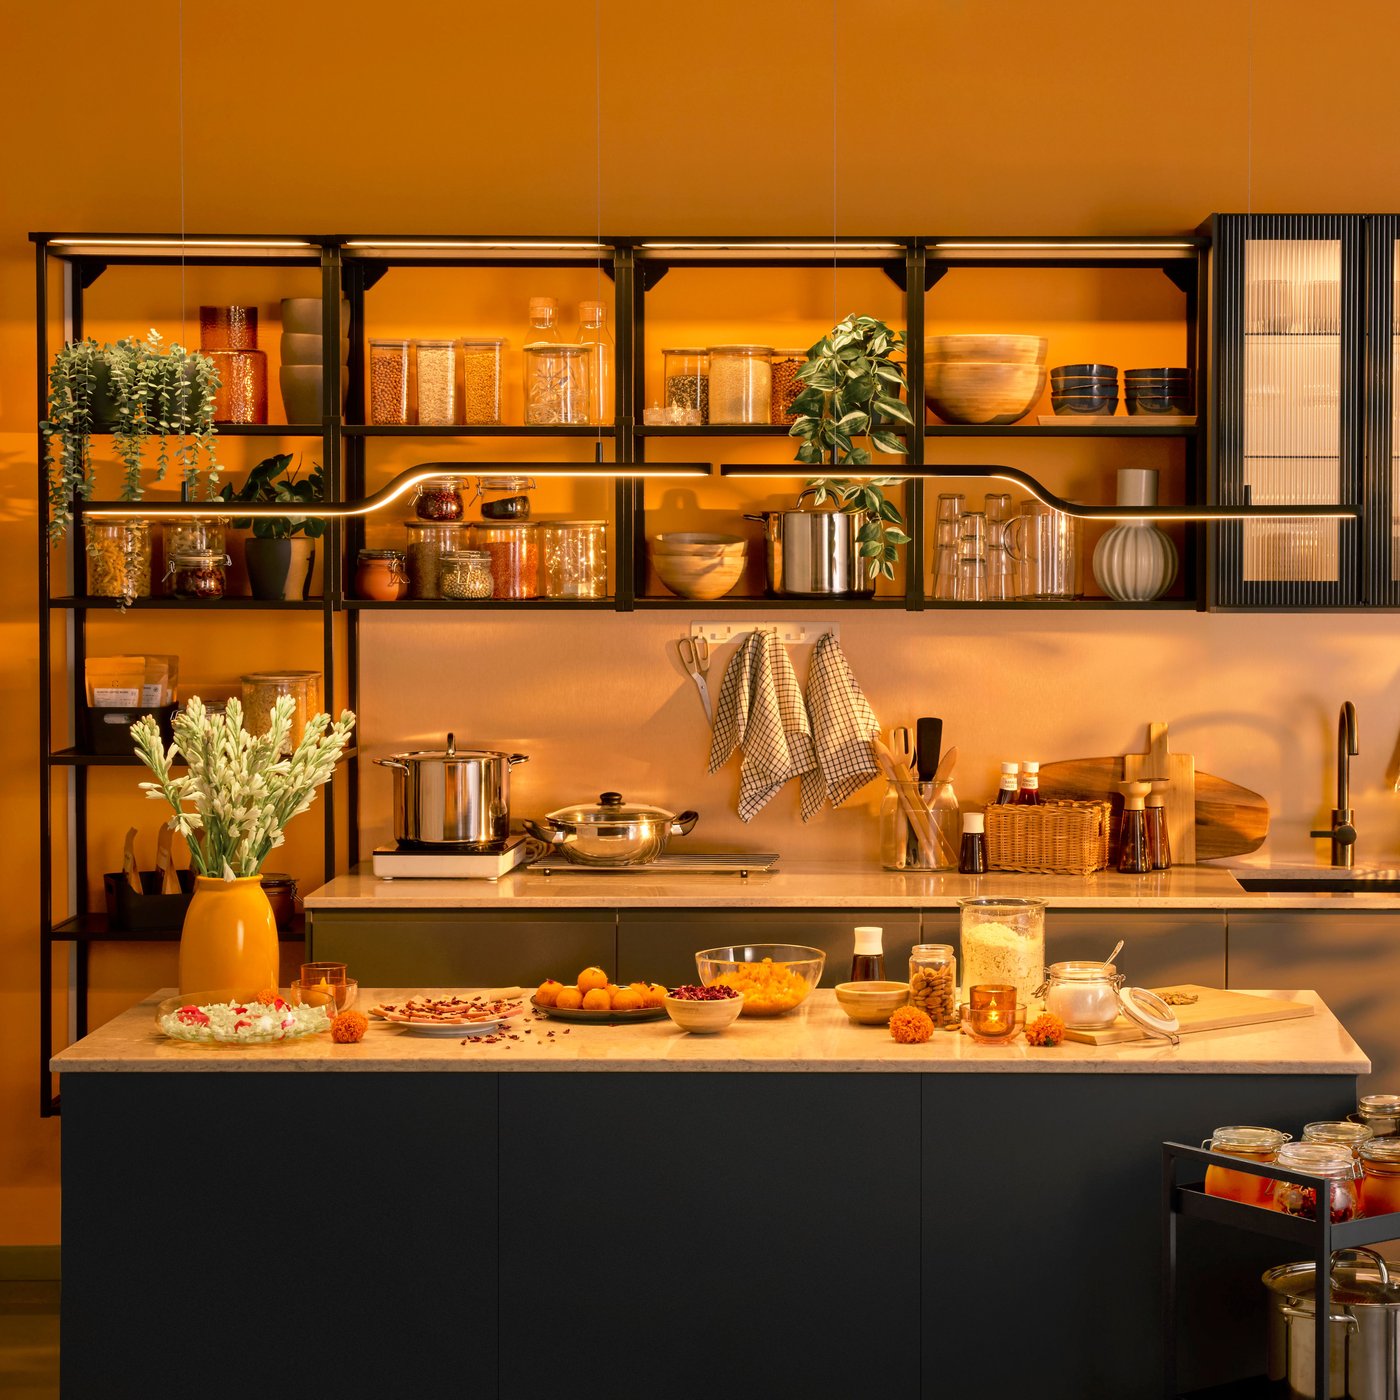
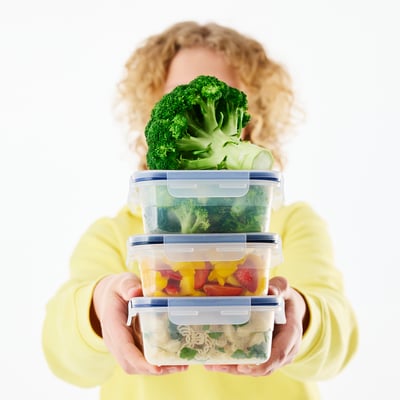
Containers are kitchen essentials — to store leftovers, bring lunch to work or school, or organise your fridge and pantry — but the clutter they cause can be a real nuisance. Get rid of the frustrating mess of mismatched containers and missing lids and check out how you can get them sorted once and for all.
- Product information page
How do you declutter food storage containers?
First, take out every item and assess what you already have at home. Get rid of broken or miscoloured containers and the ones that lack a matching lid. Then take some time to identify your habits — they determine how many food storage containers you need. Replenish your stock so that you’ll always have the right solution for every occasion.
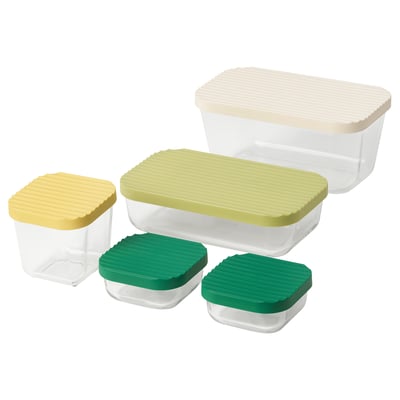
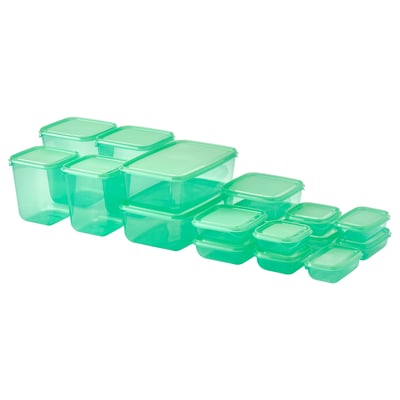
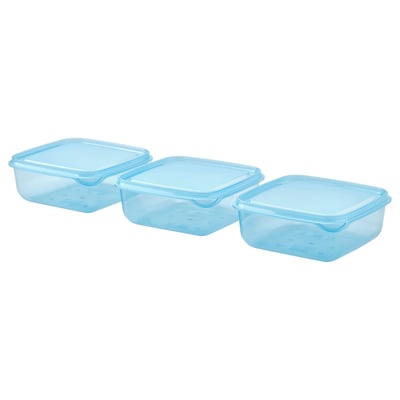
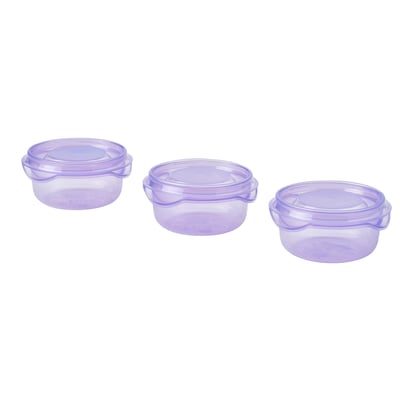
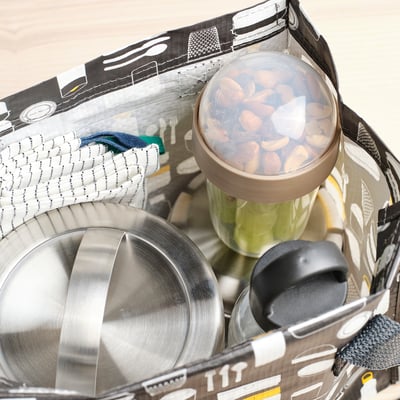
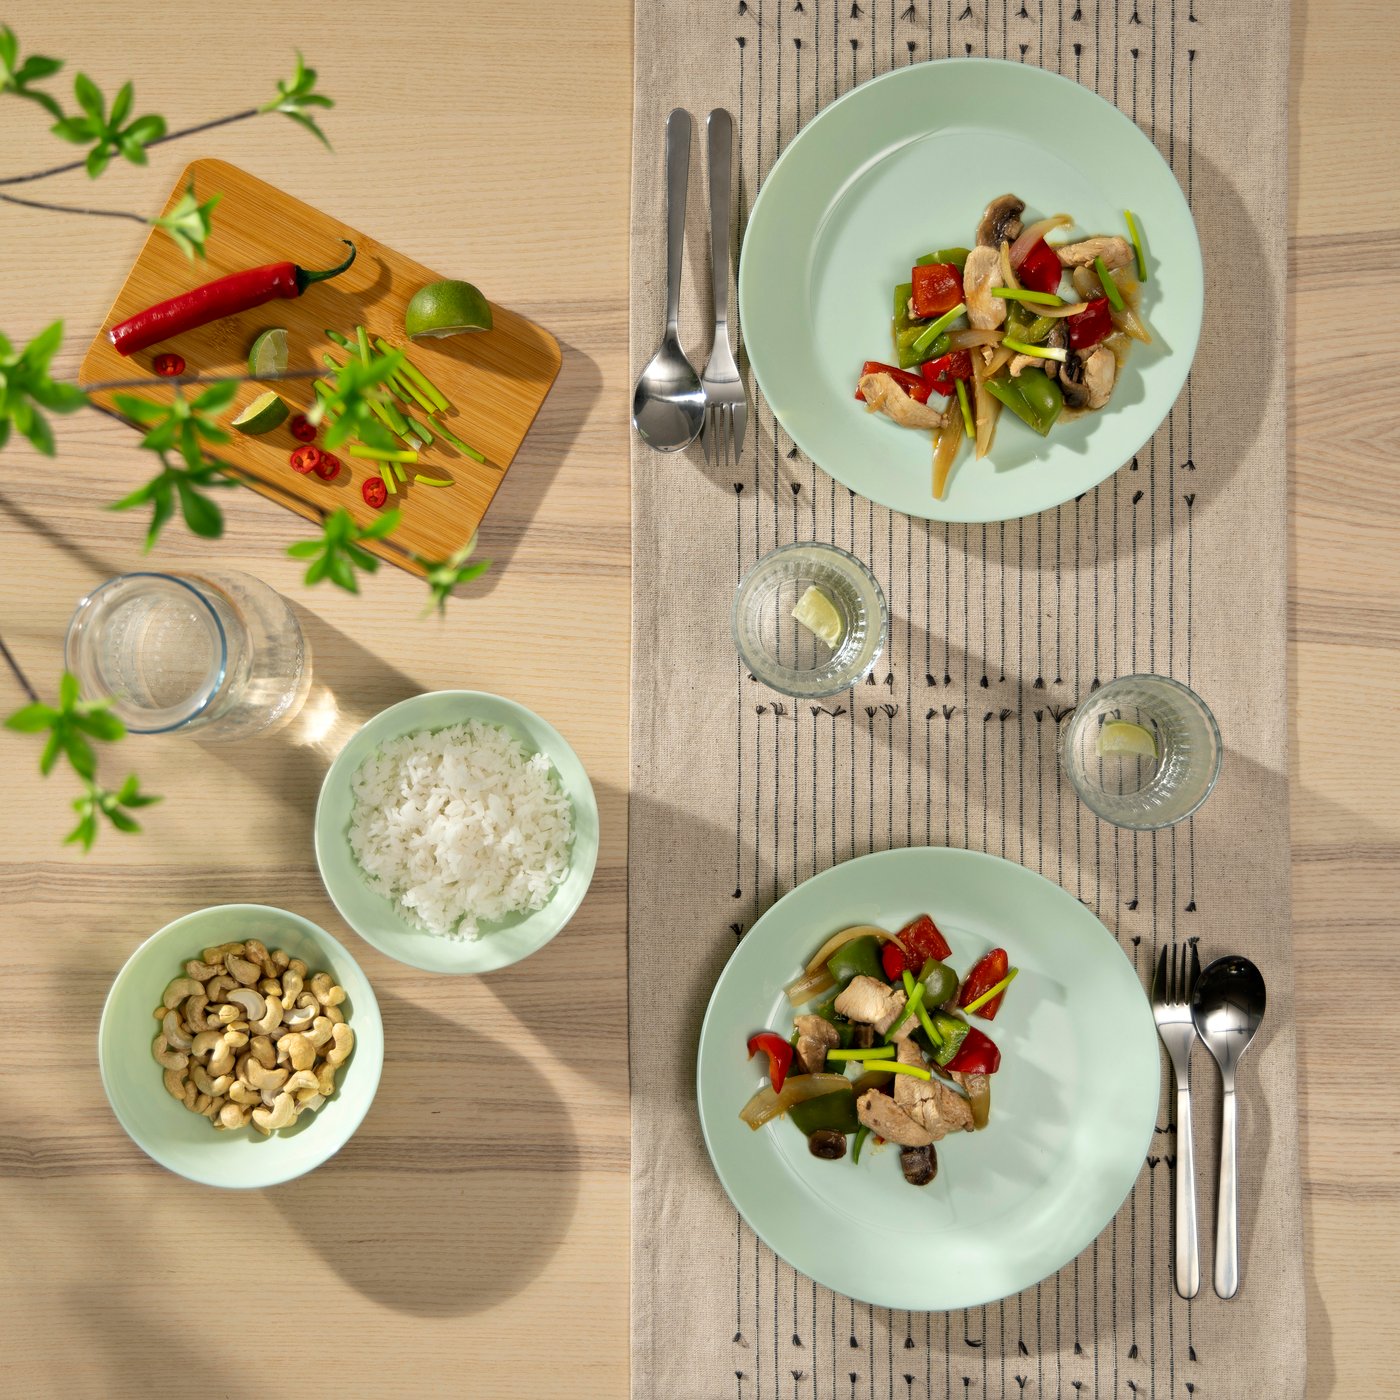
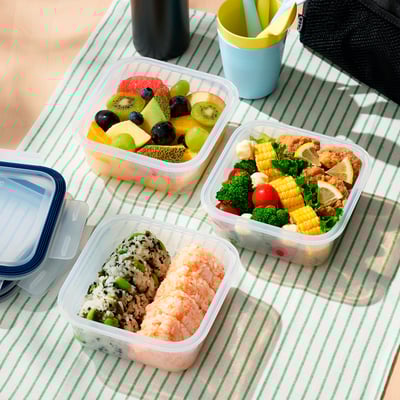
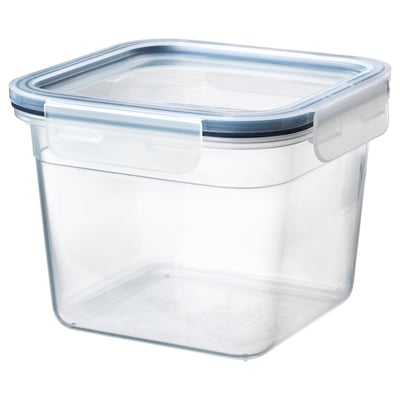
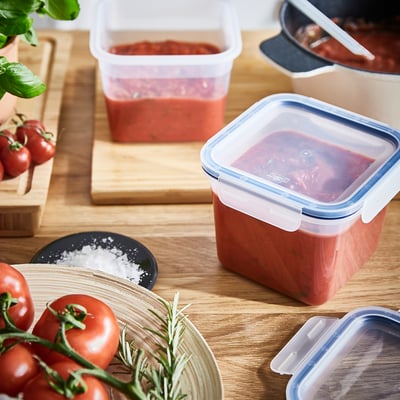
- If you bring packed lunches to work or school, or if weekend picnics are your thing, you’ll benefit from light plastic containers in different sizes, with tight lids.
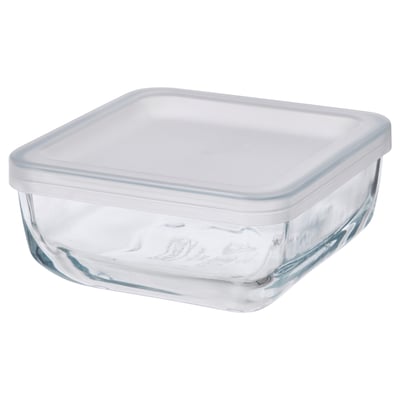
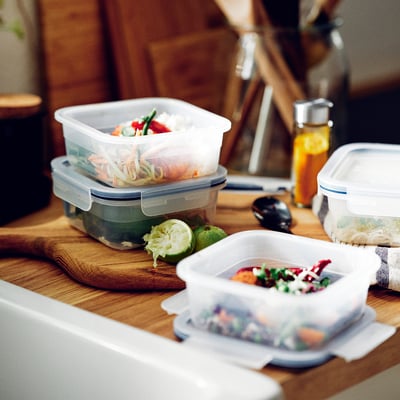
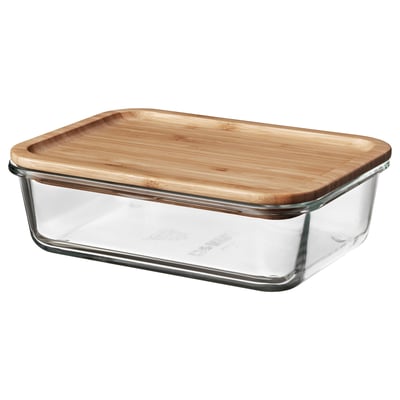
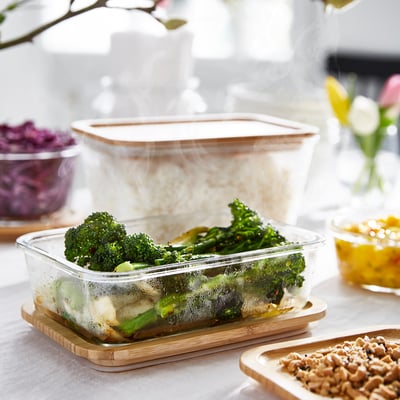
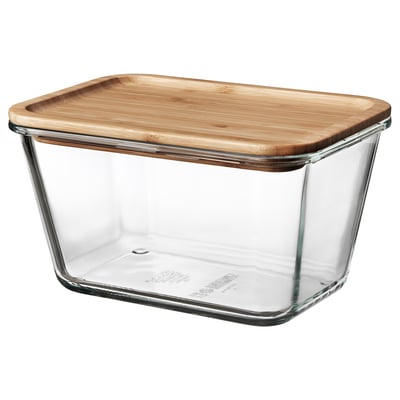
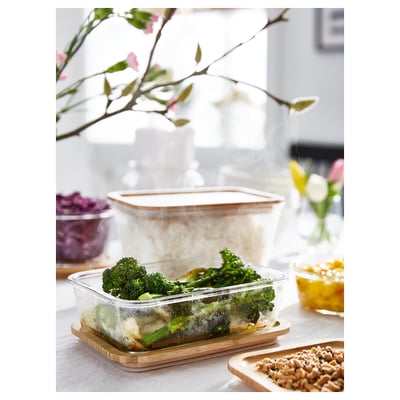
- Are you used to preparing a week’s worth of meals to keep in the fridge and reheat? Oven-safe glass containers are ideal for you. Just put the container straight into the oven or microwave oven when it’s time for dinner.
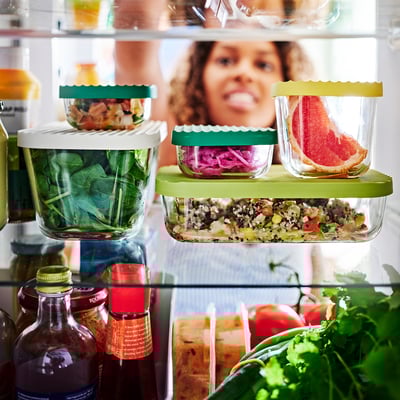
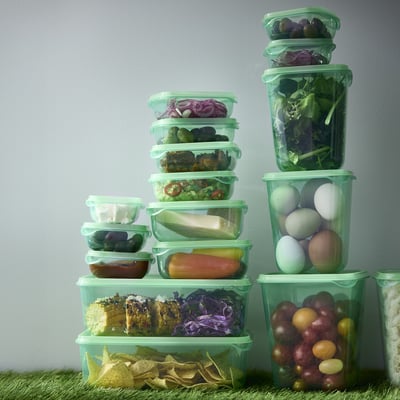
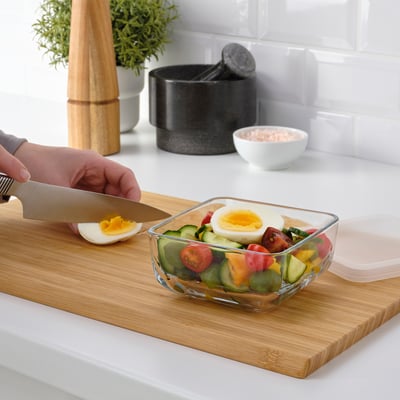
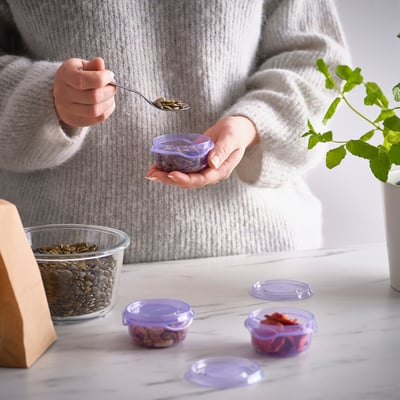
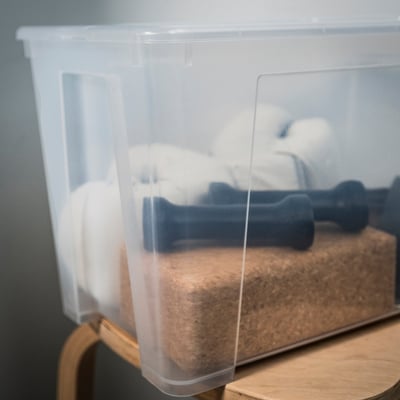
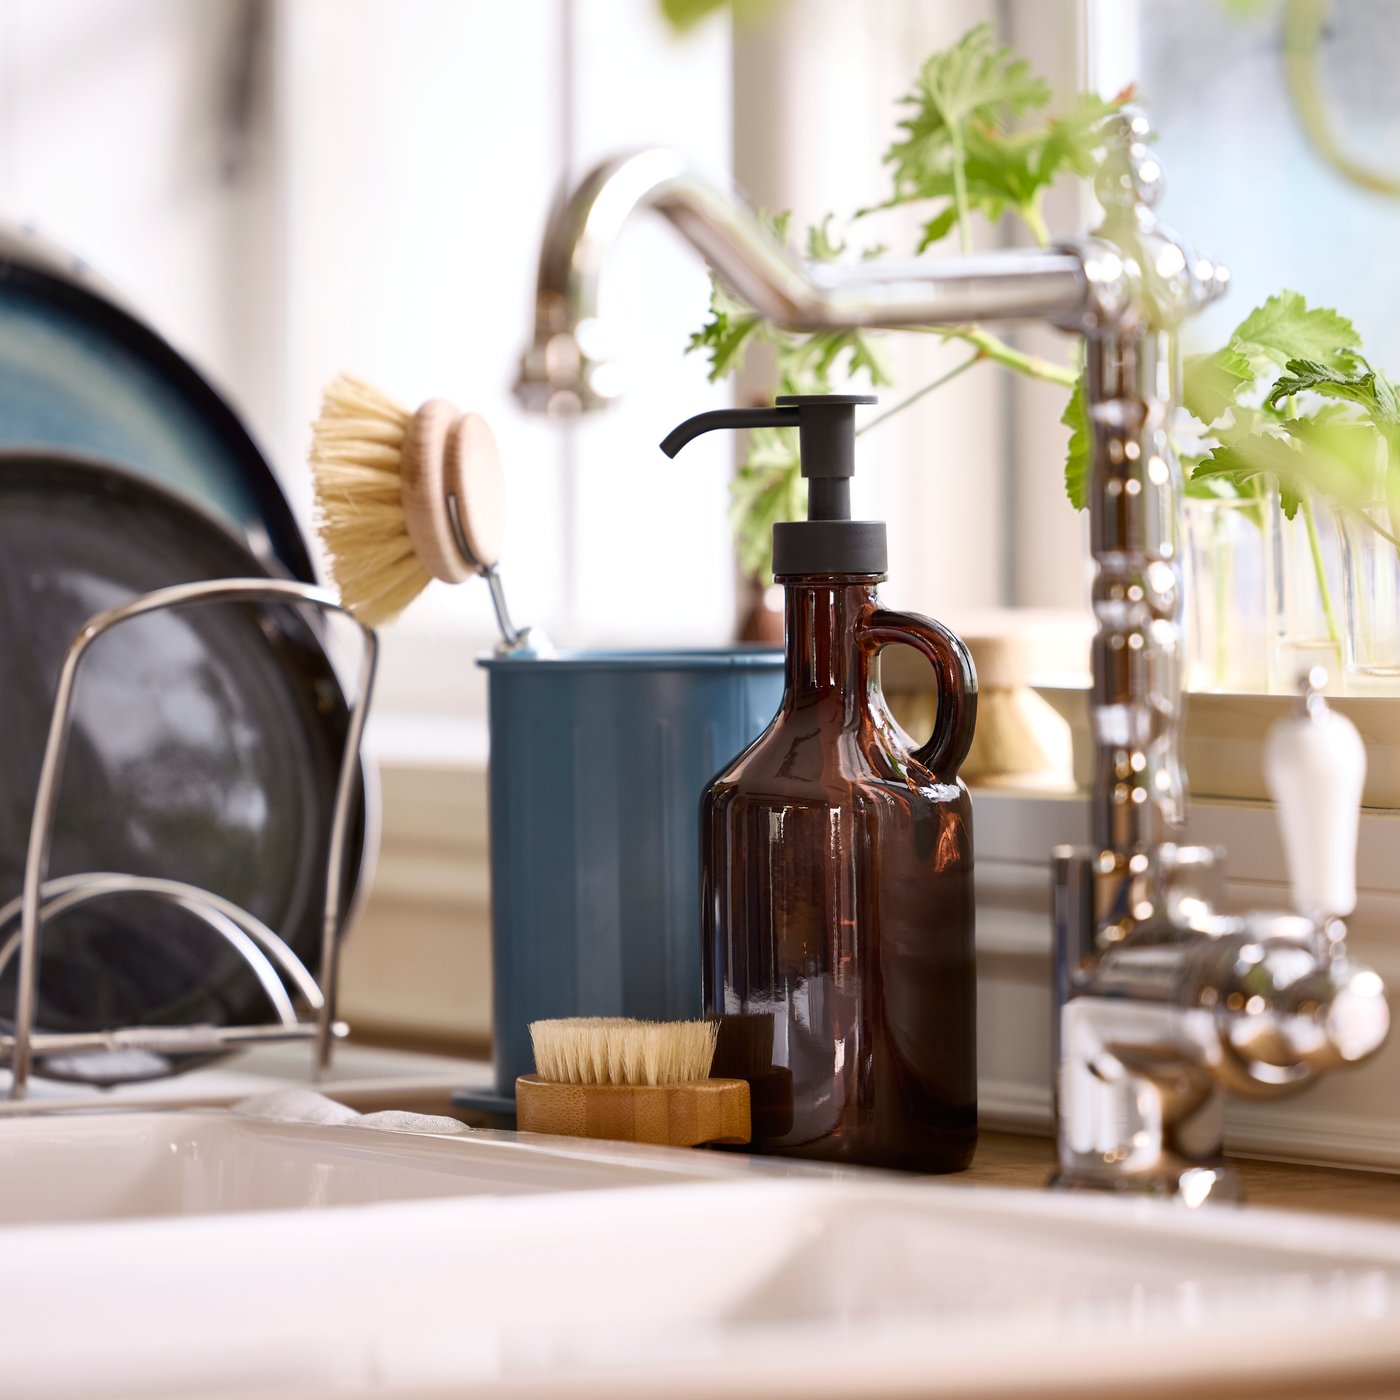
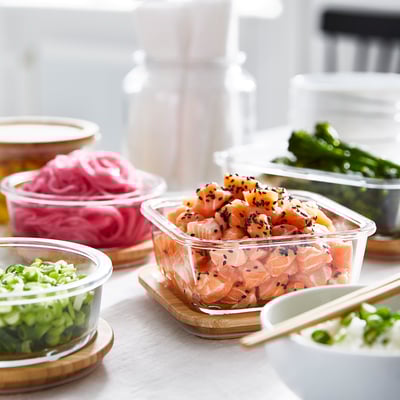
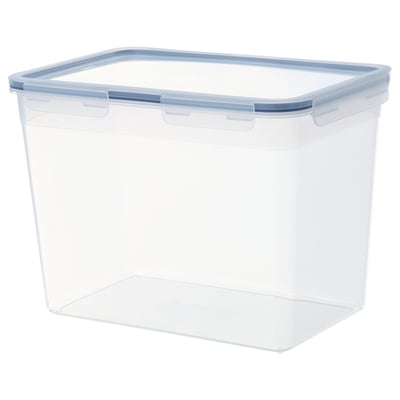
- Eager to decrease accidental food waste? With transparent containers you’ll always know what you have at home, encouraging you to use the food that you buy. Tight lids make both raw ingredients and leftovers stay fresh for longer.
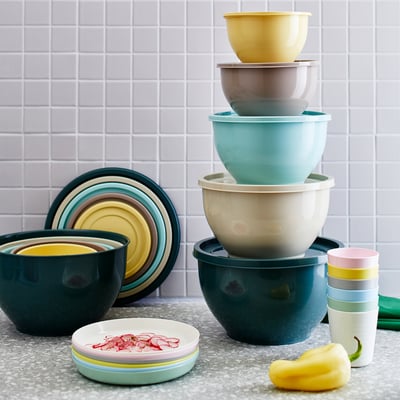
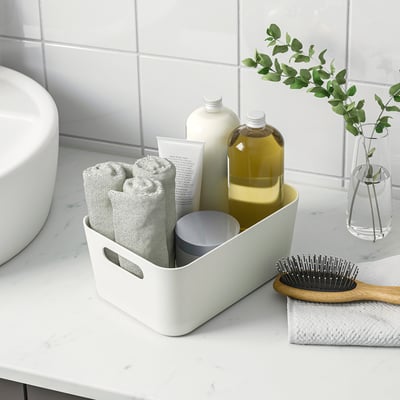
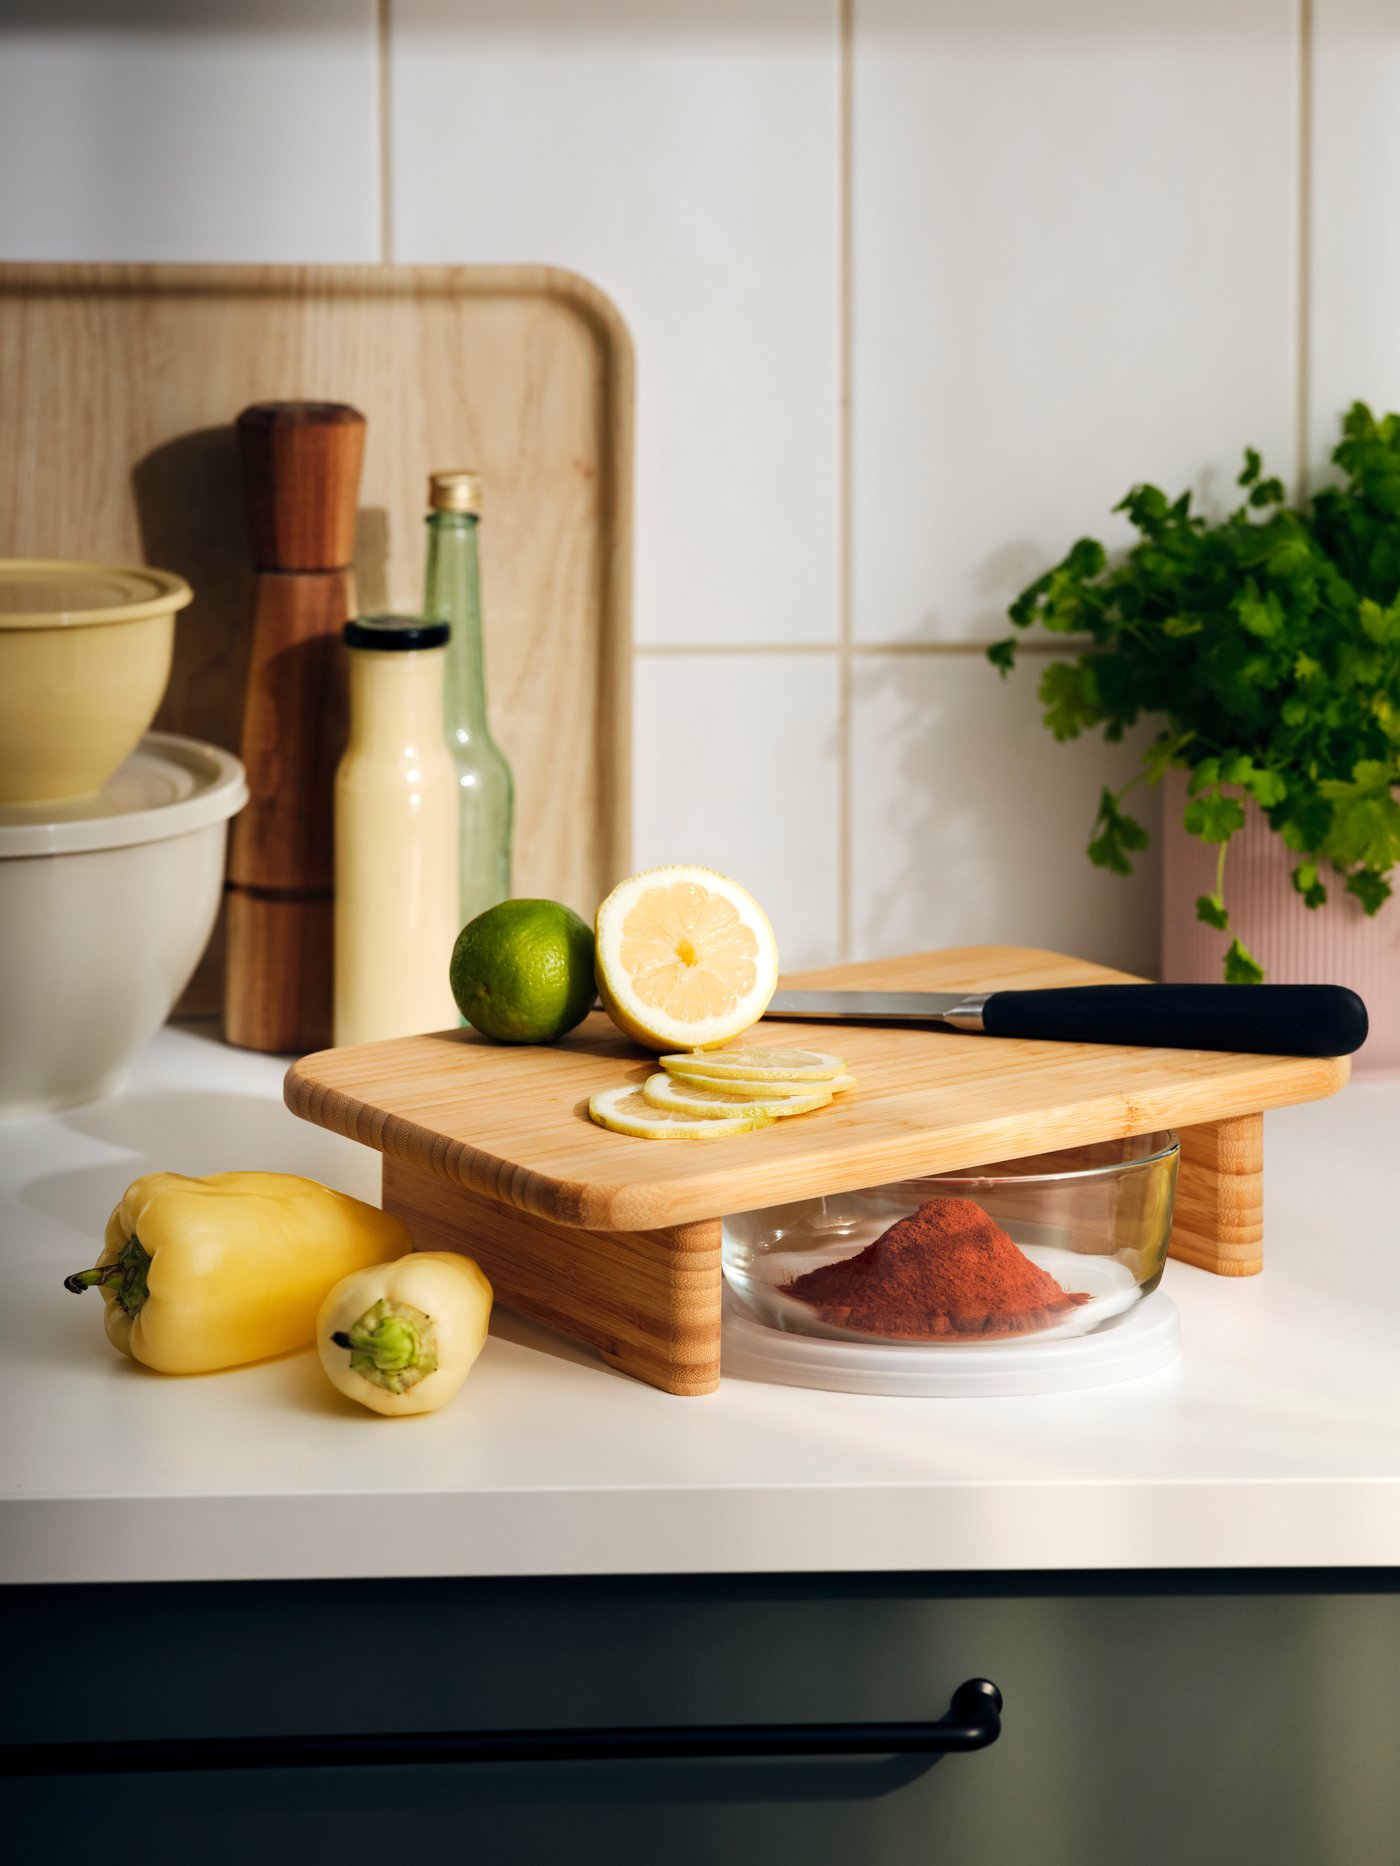
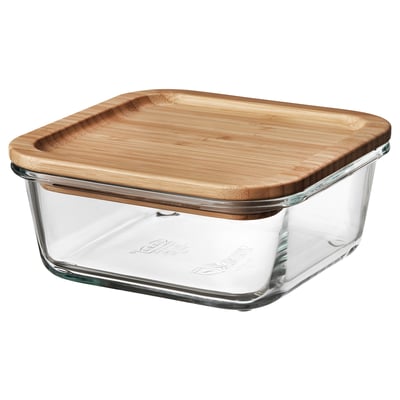
- If you like a touch of nature in your kitchen, containers with lids of wood or bamboo can be just what you’re looking for. The aesthetically appealing lids can be used as trivets to protect your table from heat damage.
- Are you enjoying canned fruits and pickled vegetables from your own garden? Glass jars and bottles will keep them tasty through the winter months.


- Product information page
How do you organise containers in a drawer?
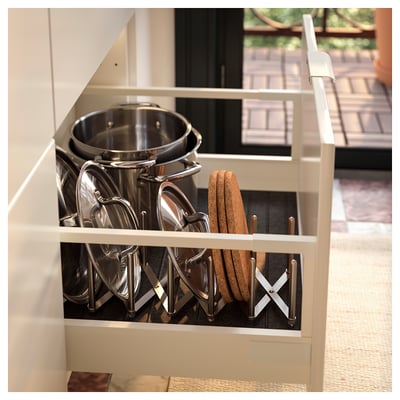
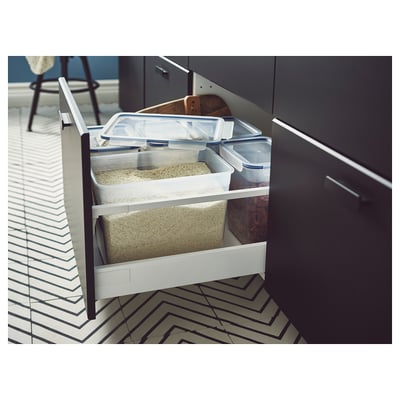
A kitchen drawer is an excellent place for empty food containers, as you get an eagle-eye’s view and will quickly find what you’re looking for. With some practical and affordable accessories, you can get organised in no time.
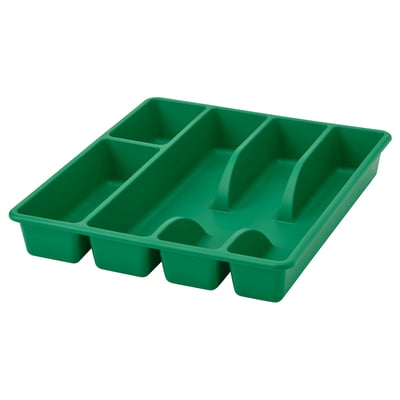
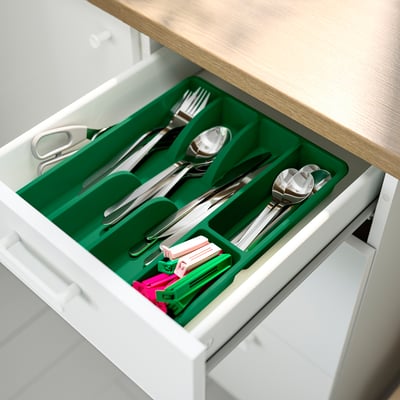
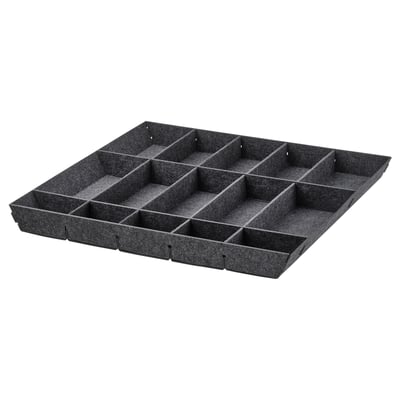
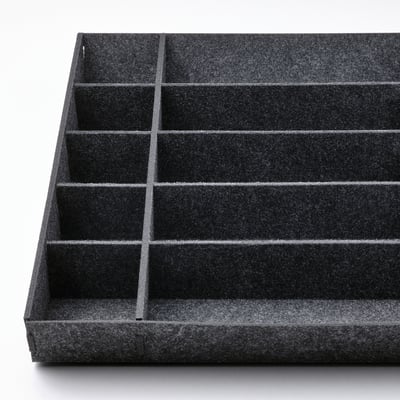
- Drawer dividers prevent containers from sliding around and getting disorganised or chipped. The dividers are easy to adapt to the height of the drawer and can be moved around to fit your needs. Here, containers are placed in one compartment and the lids are sorted according to type in the other two
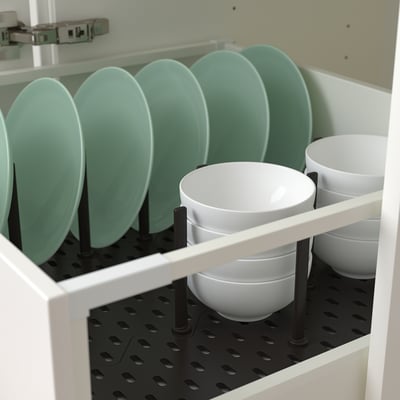
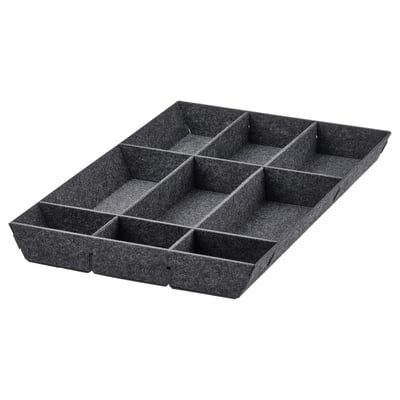
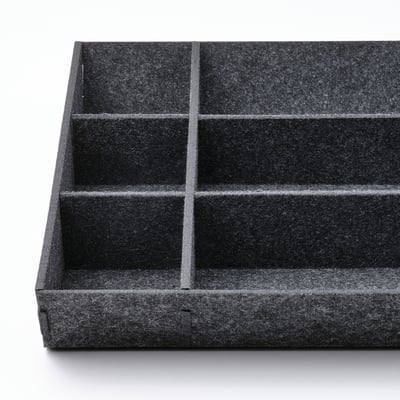
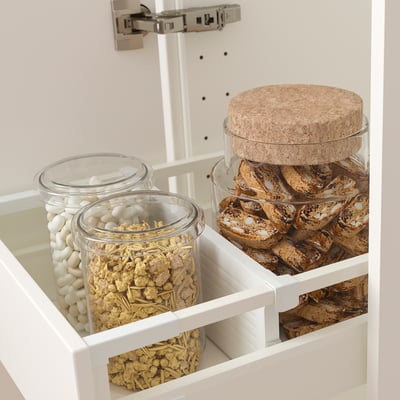
- A pegboard is another way to organise the drawer, keeping all items neatly separated and easy to find. The adjustable pegs make it easy to customise the drawer according to content.
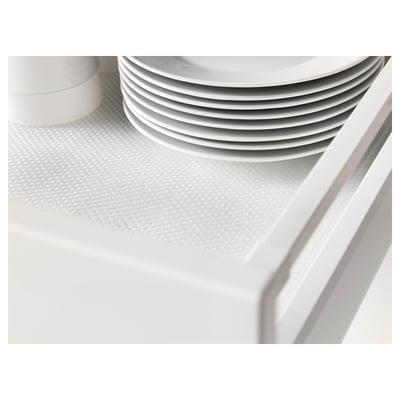
- If you have glass containers, you may want to consider a drawer mat to protect both the kitchenware and the drawer from scratches.
Whether you’re using a drawer divider or a pegboard, it’s best to store the lids vertically. It allows them to airdry if they’re still a little wet after the washing up and you can easily find the one you’re looking for.


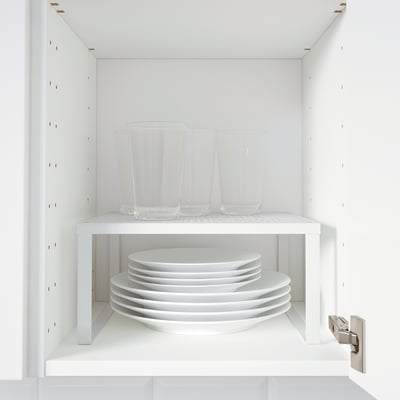

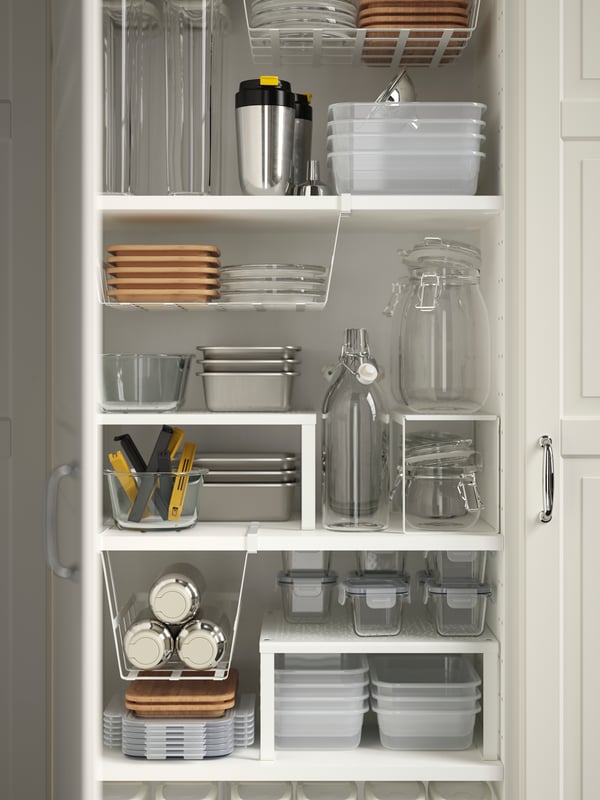
Maximise cabinet space with shelf inserts and baskets


How to organise food storage and containers
Every kitchen, no matter its size, faces one common challenge — a drawer or shelf overflowing with mismatched containers and missing lids. Learning how to organise food storage and containers can transform this chaos into an efficient system that saves time, reduces food waste, and makes your kitchen a joy to use. With a few smart strategies and the right tools, you can turn clutter into calm.
Step 1: Declutter and take inventory
Begin by emptying your entire food storage area — every container, lid, and basket. Lay them all out on your countertop so you can see exactly what you own. Match lids with containers and discard any that are cracked, warped, or missing parts. This simple sorting step helps you identify what you truly need and eliminates clutter that takes up valuable space.
Once pared down, group containers by size or purpose — small ones for sauces or leftovers, larger ones for meal prep or dry goods. IKEA encourages sustainable living, so consider reusing any containers that can serve as organisers for other household items before recycling the rest.
Step 2: Choose the right containers for your needs
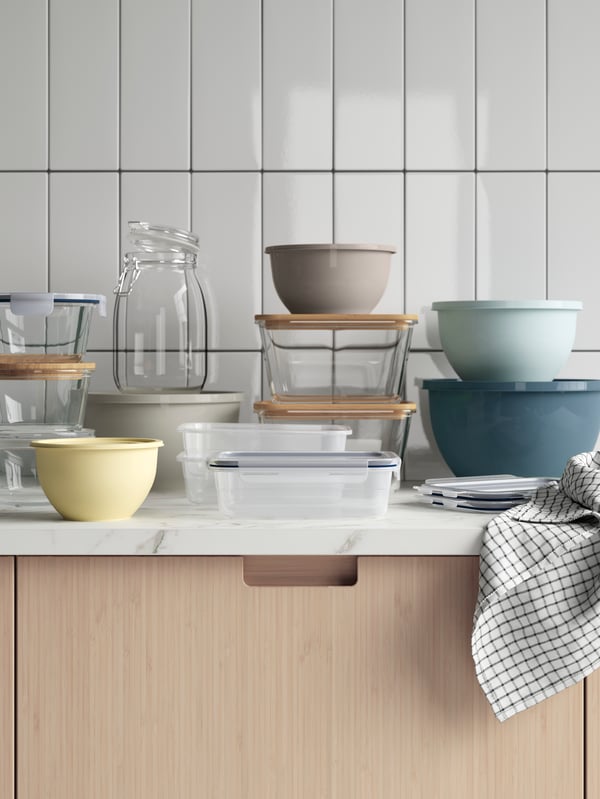
The best storage system begins with choosing the right containers. Think about your habits and daily routines — do you meal prep, store leftovers, or carry packed lunches? For busy households, lightweight and stackable plastic containers are practical for everyday use. If you prefer a more durable, long-term solution, IKEA 365+ glass containers are a versatile choice. They’re oven-safe, microwave-friendly, and come with tight-fitting lids that lock in freshness.
Transparent containers help you see contents at a glance, reducing waste from forgotten food. You can also add aesthetic appeal by choosing designs that fit your kitchen style — glass with bamboo lids, such as IKEA’s BLANDA MATT range, combines function and natural warmth beautifully. For dry goods like rice or pasta, airtight jars like KORKEN keep food fresh while displaying contents clearly.
Step 3: Maximise kitchen storage space
Once you’ve selected your containers, it’s time to arrange them efficiently. Dedicate a drawer or cabinet specifically for containers so everything is easy to access. Drawer organisers or dividers, such as IKEA’s VARIERA series, keep containers upright and prevent them from sliding around. Store lids vertically in a small basket or file rack so they stay paired and easy to grab.
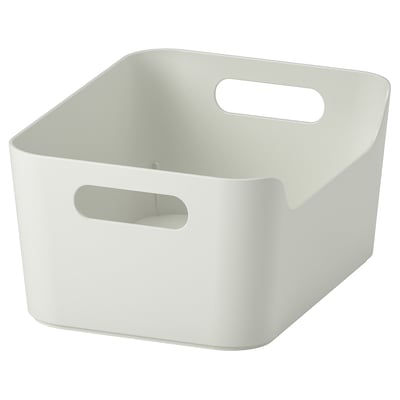
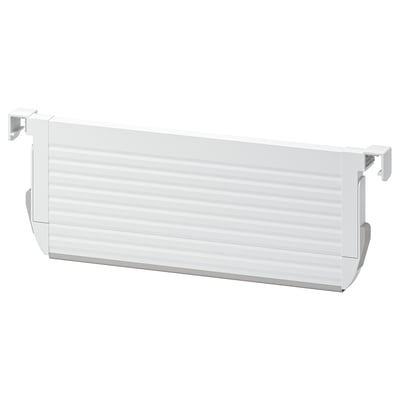
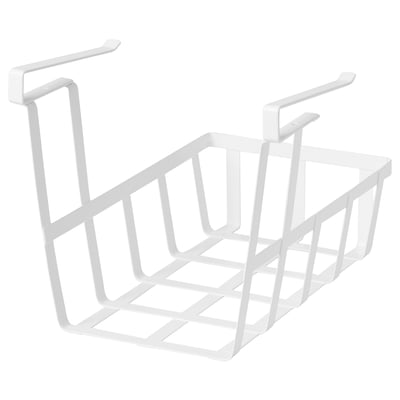
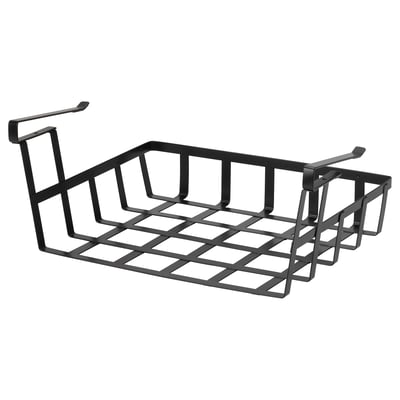
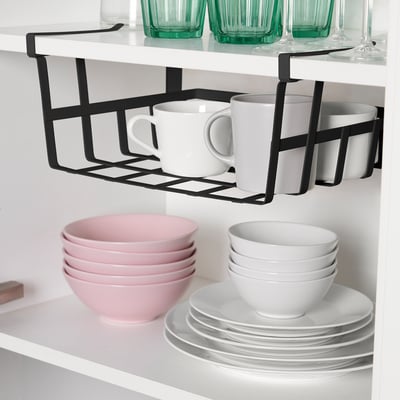
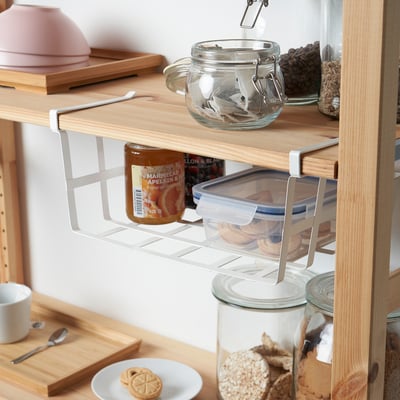
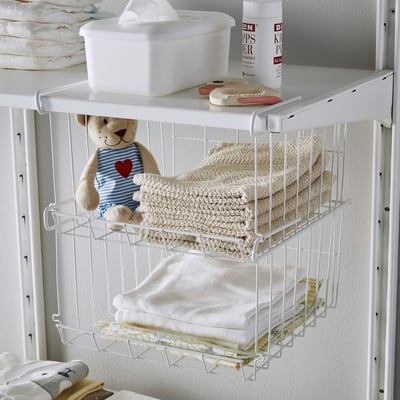
Cabinets can easily become overcrowded, so think vertically. Use shelf inserts like VARIERA to create two levels instead of stacking containers too high. Clip-on baskets such as PÅLYCKE add bonus layers under shelves for smaller items like lids or measuring cups. These simple storage tools transform wasted space into functional, organised areas.
Step 4: Maintain your organised system
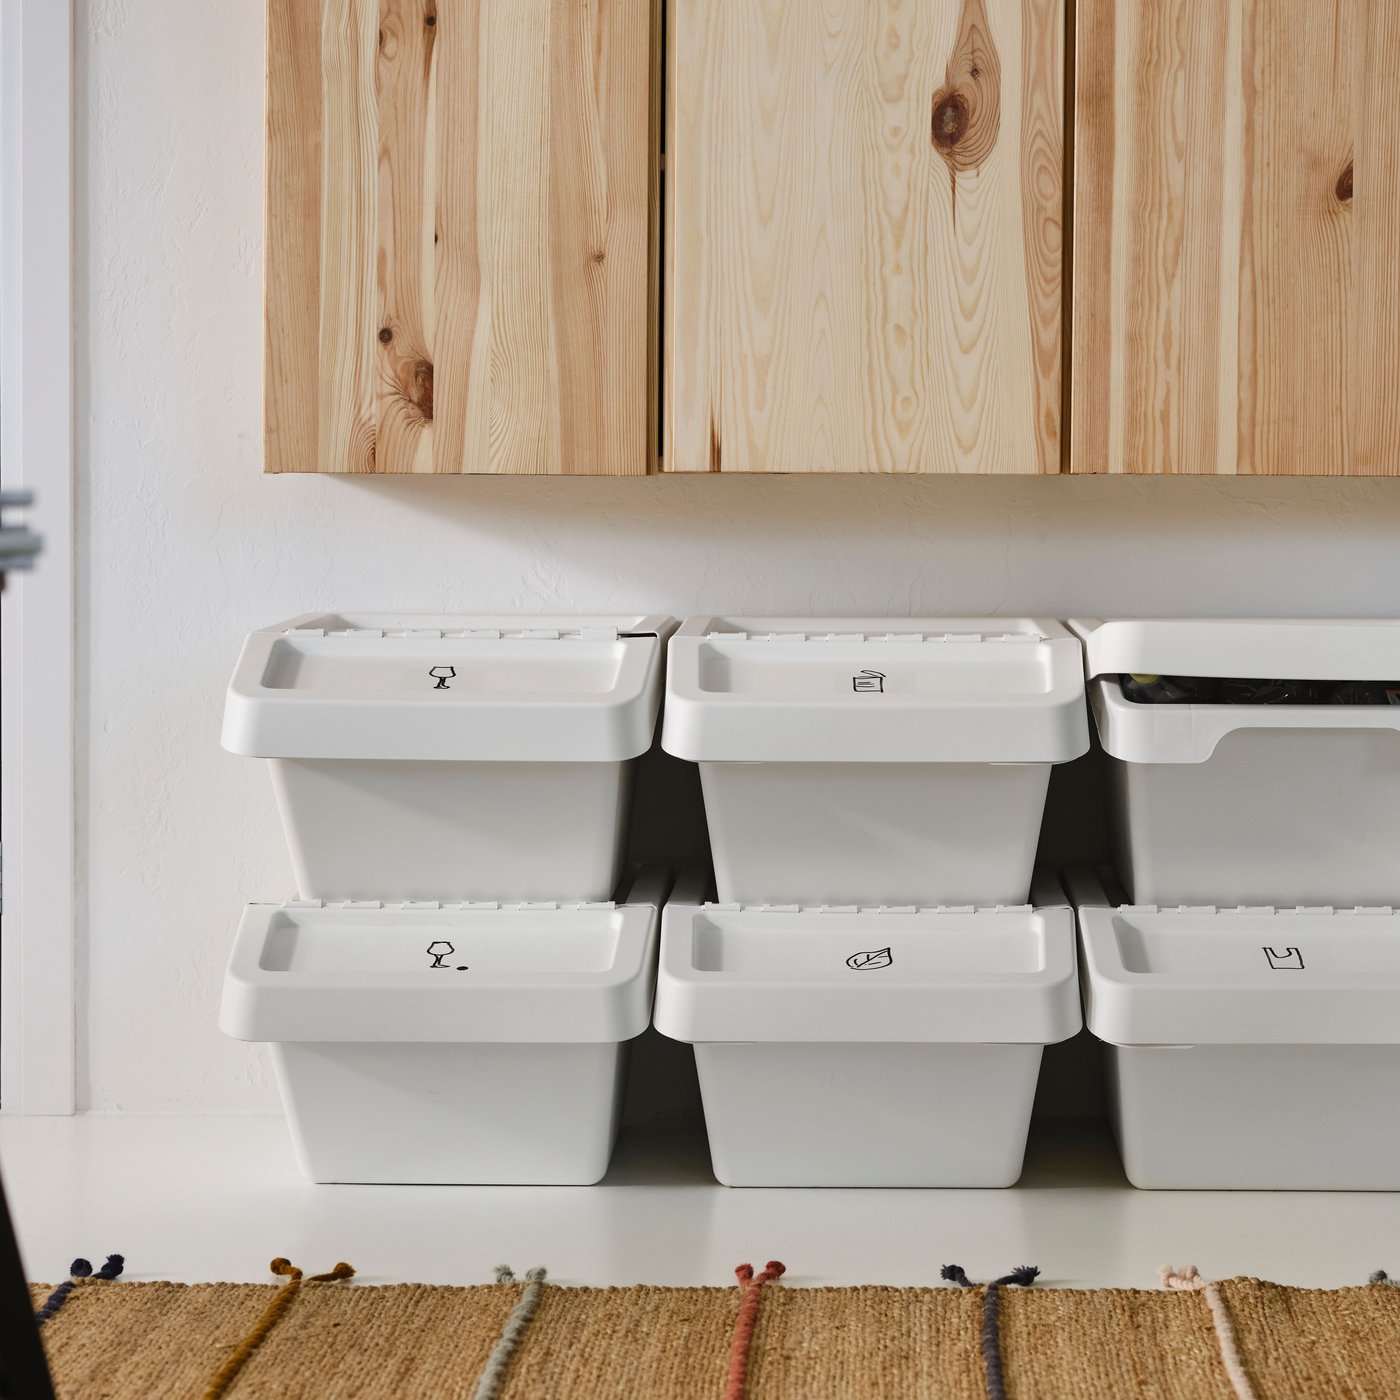
Organisation is easiest when it’s built for maintenance. After washing containers, always dry them completely before stacking to prevent odours or stains. Designate specific spots for each type of container — one section for glass, one for plastic, and another for lids. If space allows, label your shelves or bins so everyone in the household knows where things belong.
Consistency keeps the system working. Every few months, review your containers again and remove any that are damaged or unused. Over time, this small habit ensures your kitchen stays functional and clutter-free.
Benefits of organising your food containers
Organised food storage isn’t just about aesthetics — it has tangible benefits. Airtight containers keep food fresher for longer, reducing spoilage and waste. An efficient layout also saves time, helping you find exactly what you need without rummaging through piles. Studies suggest that tidy spaces can lower stress levels and increase productivity in daily tasks like cooking.
By investing in quality, reusable containers, you also contribute to a more sustainable lifestyle. IKEA’s food storage range is designed to help you store smarter, waste less, and enjoy every meal with ease.
More inspiration for kitchen organisation
Organising food containers is just one step towards a functional kitchen. You can continue your journey with these helpful IKEA guides:
- Easy ways to organise your fridge
- Tips for waste sorting in the kitchen
- How to organise kitchen cabinet and drawer
Frequently asked questions
Why is it important to organise food storage containers?
A well-organised system saves time, prevents food waste, and reduces clutter. Airtight containers like IKEA 365+ help preserve food longer, while clearly arranged drawers make it easier to plan meals and maintain a tidy space.
What’s the best way to store container lids?
Store lids vertically using a rack or divider to prevent them from slipping around. You can also keep them in a separate bin or inside a clip-on basket under a shelf to save space.
Are glass containers better than plastic?
Glass containers are durable, odour-resistant, and ideal for reheating. Plastic containers are lightweight and convenient for on-the-go meals. Both have their advantages — choose based on your usage and lifestyle.
How often should I declutter my containers?
Check your collection every three to six months. Remove any damaged or unused containers and reorganise the space to keep your system efficient and manageable.