DIY idea: How to make your own candles
Create a unique and cozy atmosphere in your home with homemade candles! If your old candles leave behind wax remnants, don't throw them away anymore. This simple and creative DIY guide will walk you through the process of making candles in a sustainable way, step by step. It's a fantastic way to reduce waste, personalize your interior, and share a fun activity with children. Discover how to transform those leftover candle wax scraps into beautiful creations here.

Step 1
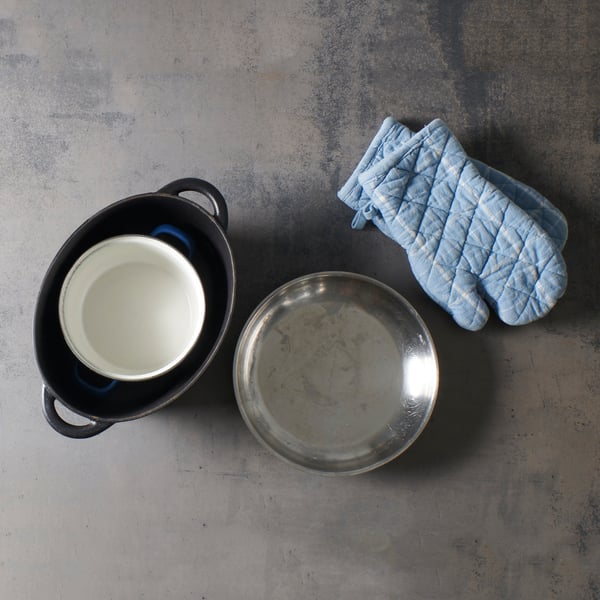
Gather all the necessary items:
- Candle remnants
- Glass candle holder
- Wicks
- Wick holders
- Cocktail sticks
- Scissors
Step 2
To melt the candle remnants, we use the au bain-marie technique. For this, you will need the following:
- Two pots that fit inside each other (a smaller one that fits inside a larger one). It is advisable to use old pots, as candle wax is difficult to remove.
- A fireproof dish, such as a baking dish.
- Two oven gloves to avoid burning your hands.
Step 3
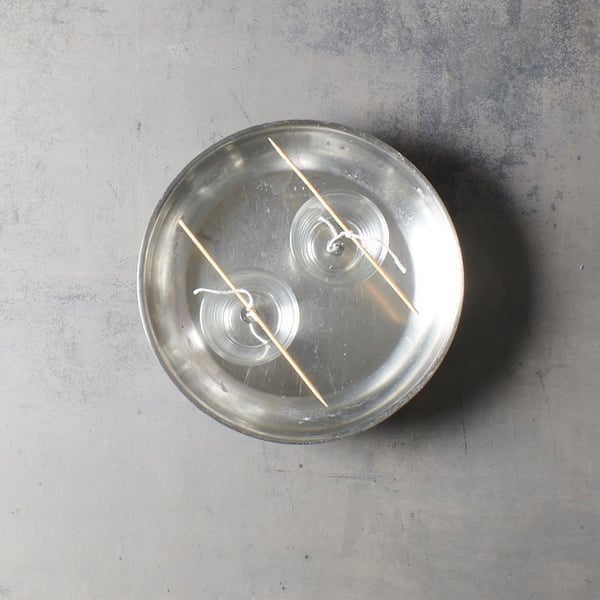
Prepare and center the wicks
Now we prepare the holders to receive the hot wax. Good preparation is essential for a beautiful result.
- Attach the wick: Thread a wick through a wick holder and place it exactly in the center of each candle holder.
- Center the wick: To keep the wick perfectly straight, wrap the end around a cocktail stick. Place the stick across the edge of the holder, as shown in the photo. Make sure the wick is taut.
- Prepare everything in the dish: Place the prepared holders in the fireproof dish. This provides stability and protects your work surface from any wax splashes.
Step 4
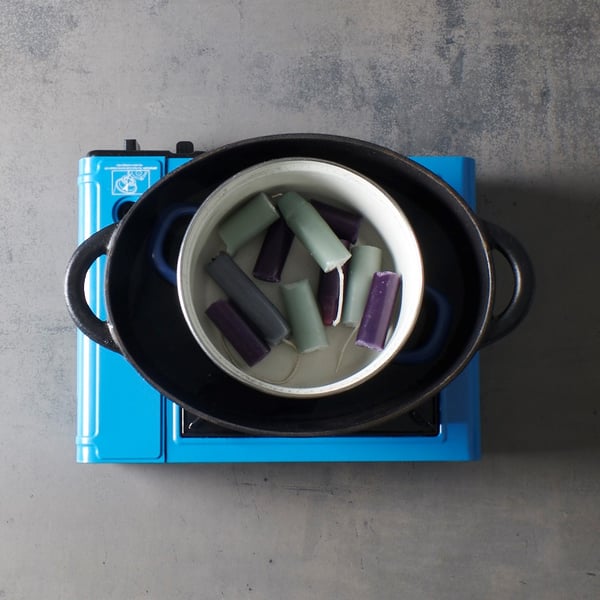
Melting the wax
- Place the candle pieces in the smallest pot and place it in a double boiler in the large pot, which has been filled with a layer of water beforehand.
- Place the whole thing on medium heat. Note: the water should not boil.
- Stir occasionally with a wooden stick so that the wax melts evenly and completely.
- Once the wax has completely melted, carefully remove the old wicks.
Step 5
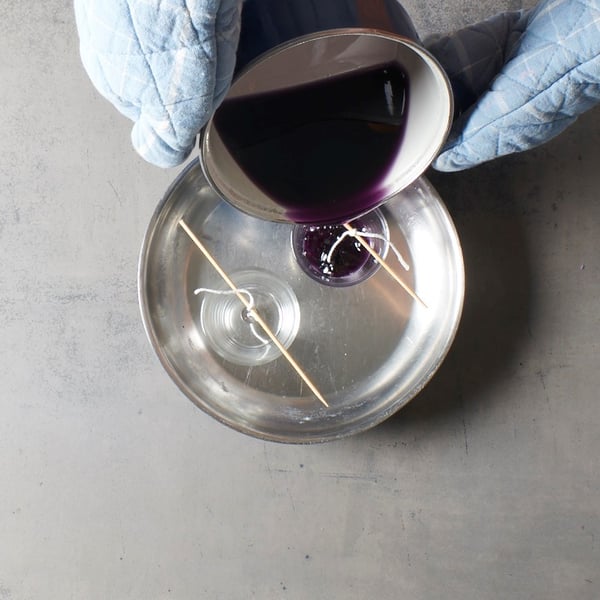
Pouring the wax
Carefully pour the melted wax into the glass holders. Start with a small layer to cover the bottom. This layer will quickly harden due to the cold glass, securing the wick holder firmly in the center. Once the base has hardened, you can pour in the rest of the wax to the desired level.

Step 6
The finish
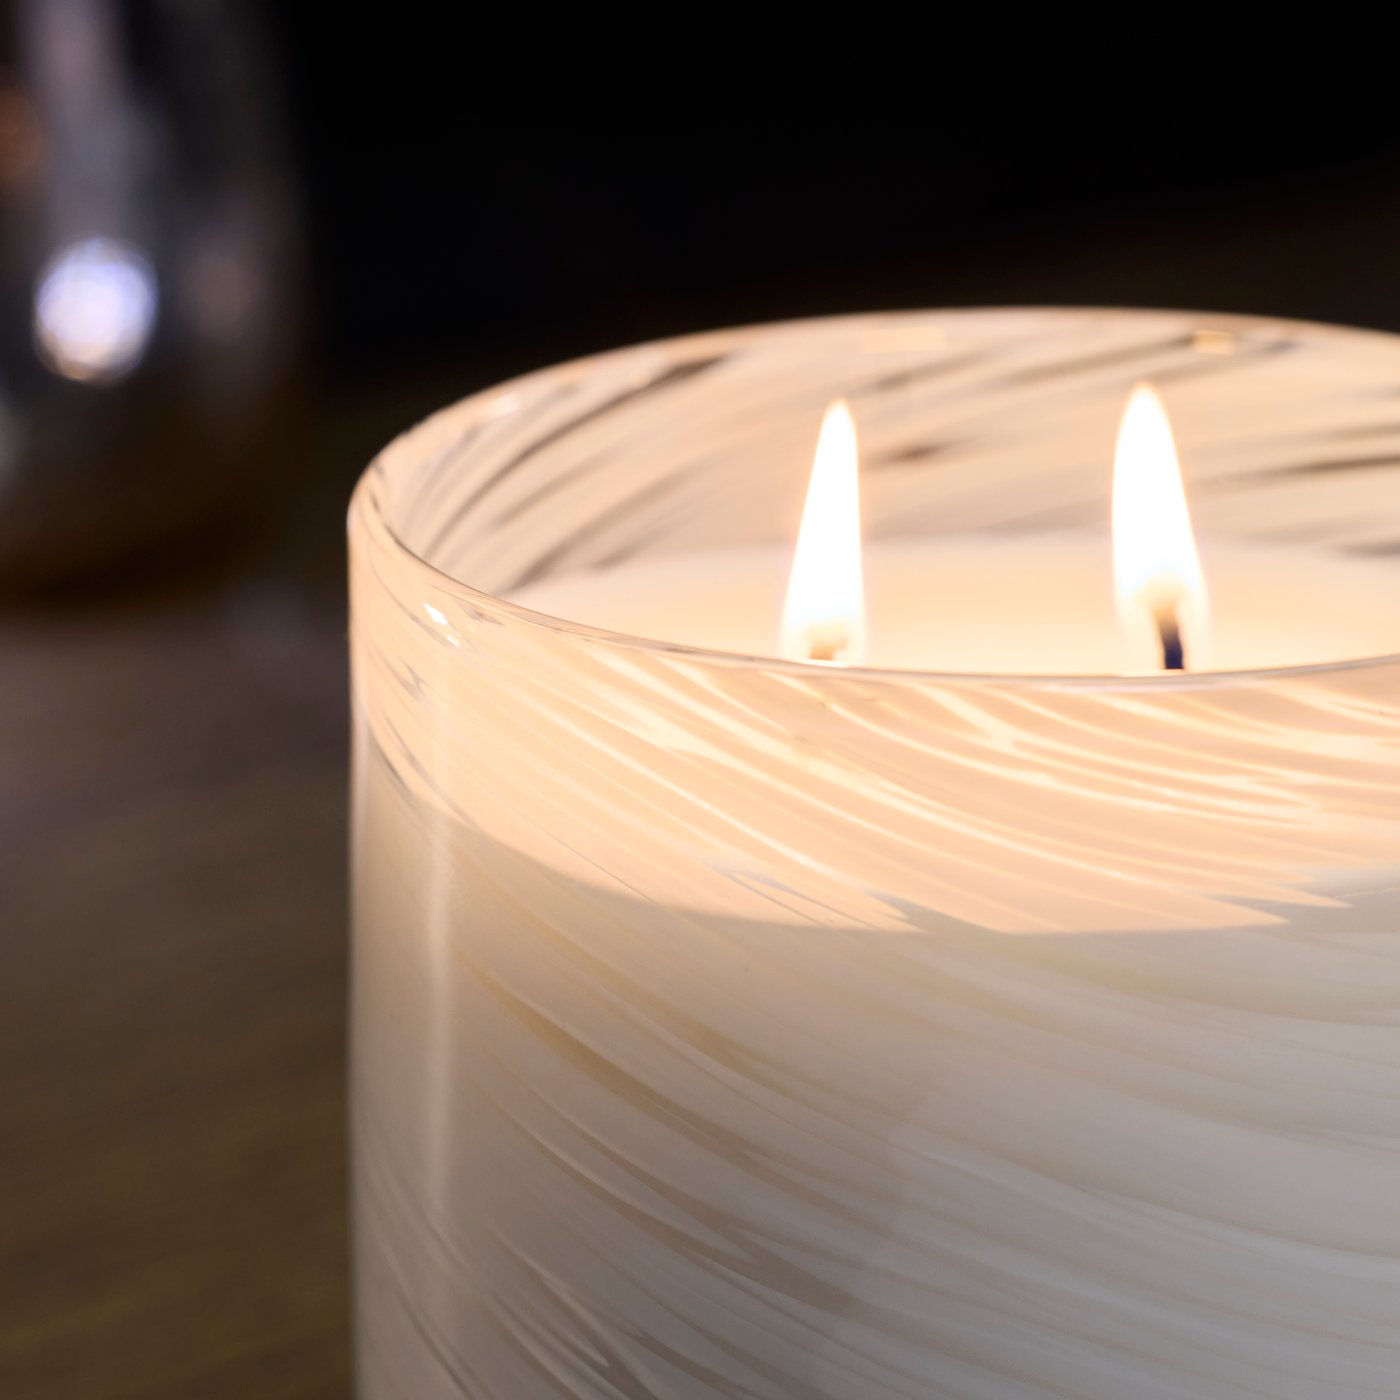
Allow the candles to cool completely and harden. This may take several hours, so be patient! Once the wax is completely solid, carefully remove the cocktail stick and trim the wick with scissors to about 1 cm above the surface. Your recycled candles are now ready. Enjoy their cozy glow!
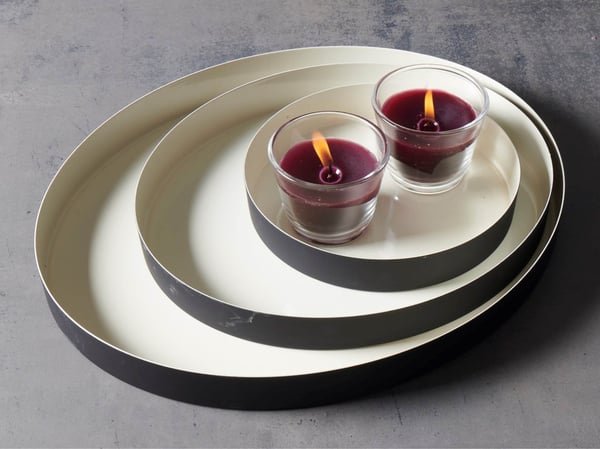
Result
This method not only helps you avoid waste, it's also a fun and easy task to do. Looking for a bit more of a challenge?
Create layers:
Vary with different colors of wax to create your own creations with different layers.
Mix colors:
Melt different colors of wax together to create new colors.