
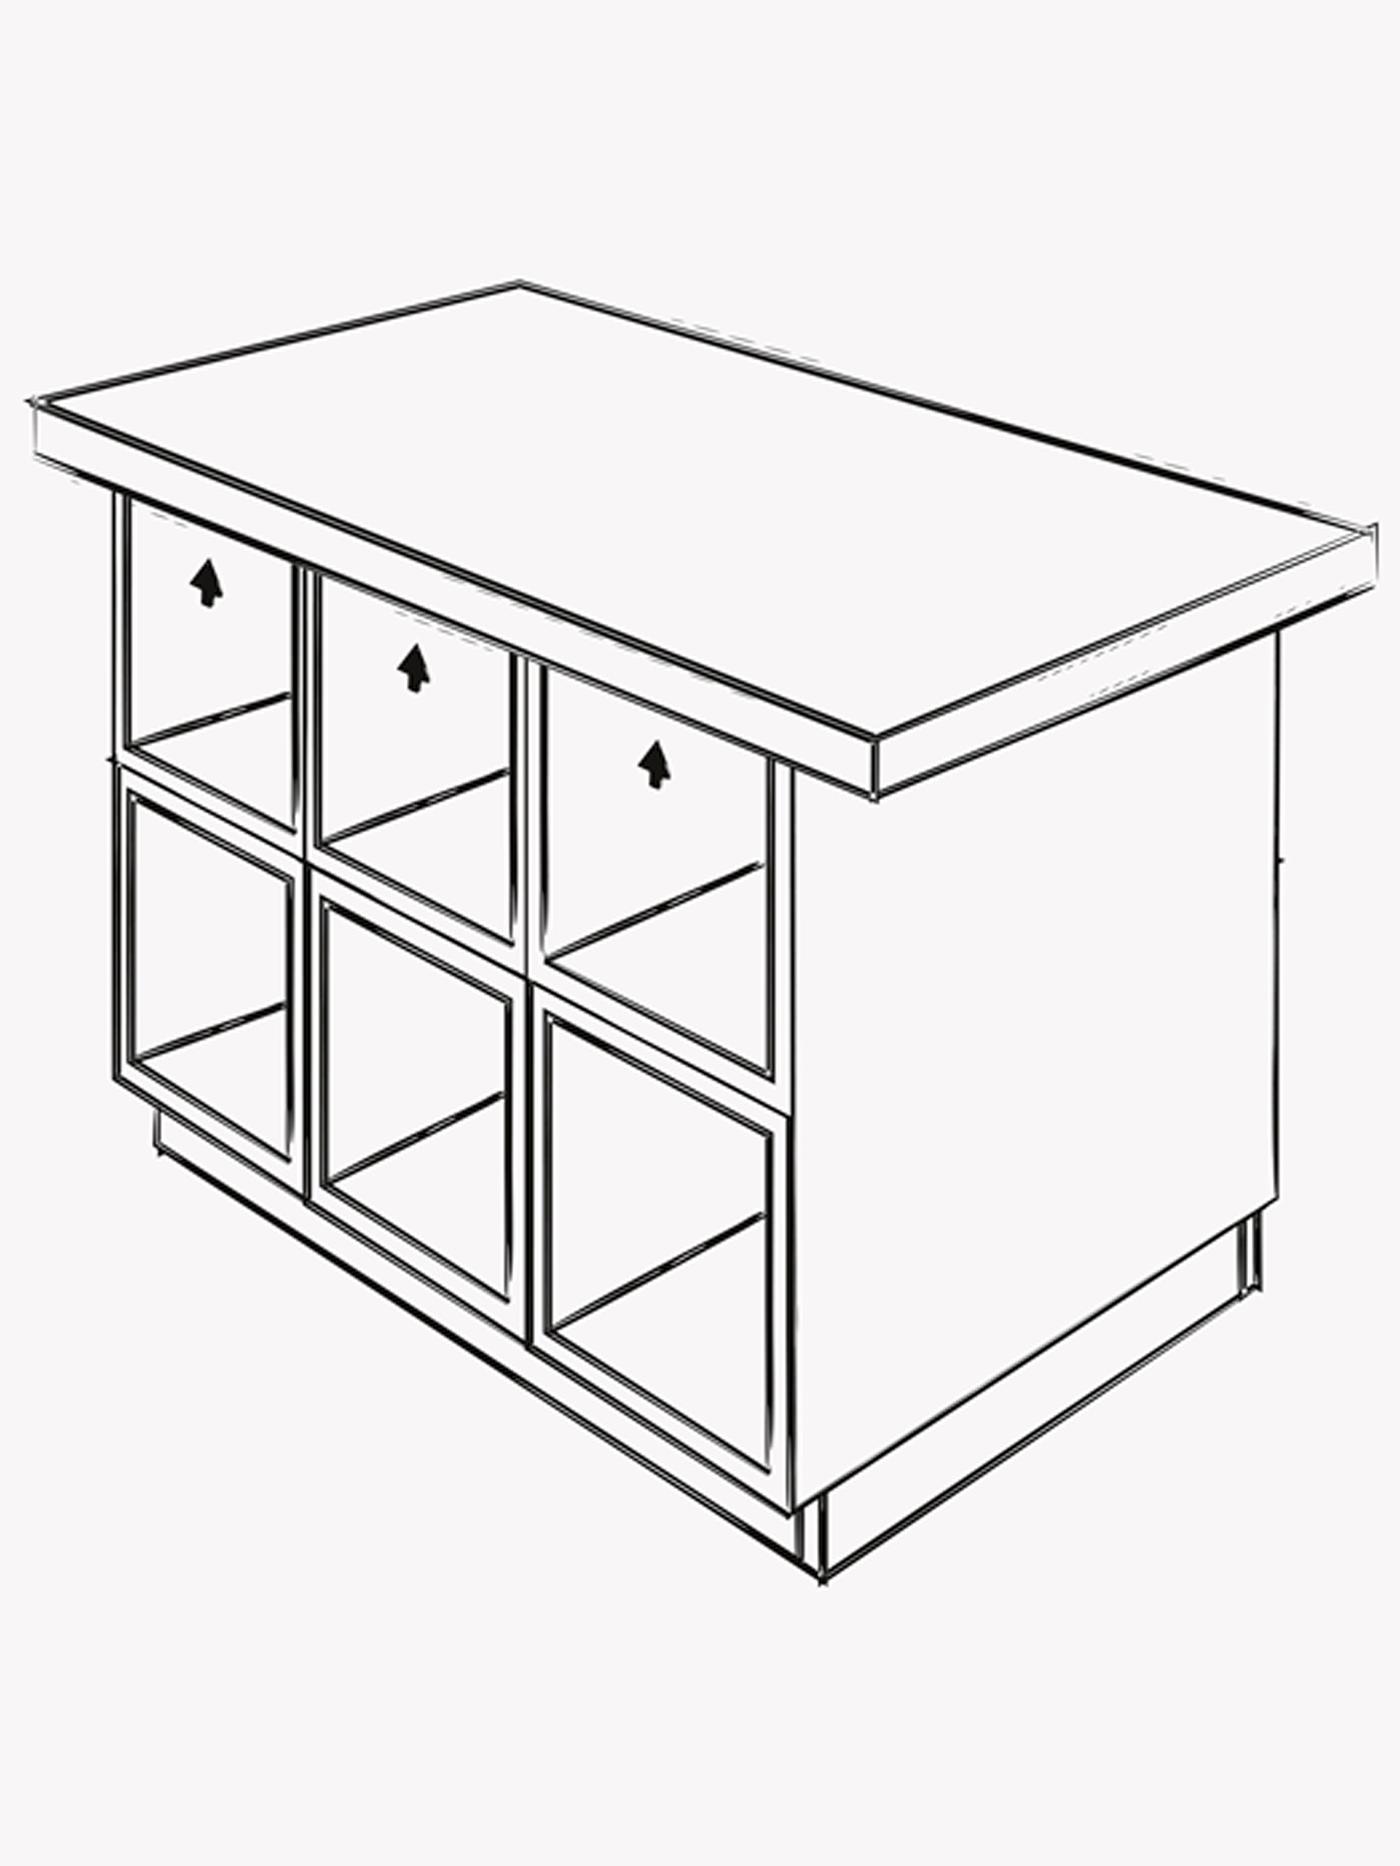
How to build a kitchen island

Need more space to roll out your homemade creations? Here’s how to make a spacious kitchen island that gives you lots of room for baking and your favorite cookbooks.

A kitchen with a white island with a wooden countertop with baking tools, glass containers and a black pestle and mortar.

A DIY multipurpose kitchen island

A kitchen island is perfect for baking on and storing your cookbooks and baking tools.

See the SEKTION system
A close-up of a white kitchen island with a wooden countertop showing open cabinets storing cookbooks.
See the SEKTION system

Step 1: build the frame

Build a 39 inch x 23 1/2 inch wooden frame and fasten it to the floor.

See all frames, rail, legs & plinths
A black and white illustration of a 39 inch x 23 inch wooden frame.
See all frames, rail, legs & plinths

Step 2: build the cabinet frames

Stack 6 SEKTION wall cabinet frames (15 inches x 15 inches each) in 2 rows of 3, then screw them tightly together where the arrows indicate. Do the same thing with a group of 6 more cabinets.

See the SEKTION system
An illustration of 12 IKEA SEKTION cabinets in 2 rows of 3 on each side. Arrows indicate how to attach them together.
See the SEKTION system

Step 3: screw the cabinet frames together

Place the 2 groups of cabinets back-to-back, and screw them together. You can use one side to store cookbooks and the other for baking tools.

See the SEKTION system
A black and white illustration of a screw and bolt plus a drawing of cabinets stacked on top of each other.
See the SEKTION system

Steps 4 and 5: mount the base

Mount the island’s base onto the frame and secure it by screwing them together according to the arrows in the image. Do the same for the 3 cabinets on the other side. Place a cover panel on each end (may need to be cut to size) to hide the joints and create a clean finish.

See all backsplashes & wall panels
A black and white illustration of cabinets combined together to form a kitchen island on top of a frame.
See all backsplashes & wall panels

Step 6: add a countertop

Add a countertop that’s just slightly larger than the base, and screw them together to fasten where the arrows in the image indicate. Do the same for the 3 upper cabinets on the other side. Get baking!

See all kitchen countertops
An illustration of cabinets forming an island on top of a frame with a cover panel on the side and a larger countertop.
See all kitchen countertops

We love to see our customers get creative with our products. Go for it! But please note that altering or modifying IKEA products so they can no longer be re-sold or used for their original purpose, means the IKEA limited warranties and your right to return the products will be lost.