4 DIY ideas for renovating your IKEA furniture
We are all increasingly aware of the need to take care of our planet and become more sustainable. We shouldn't buy things at random and we need to make the most of what we already have at home, especially when it comes to decoration. We always encourage you to reuse and renew your furniture. How? Learn how to breathe new life into some IKEA products or other similar items in your home. Try our DIY furniture renovations and take satisfaction in doing it yourself!

1. Refresh your tableware with a little paint
Give your white plates a totally unique touch with some ceramic paint. We used three different methods. Remember, if you use water-based paints it will be very easy to remove if you don't like the result!
- The first thing we tried was a watery effect: we painted the edge of the plate and then immersed it briefly in a bowl of water (so that the paint diluted a little).
- We then proceeded to paint the plate with a brush.
- Finally, also with the help of a brush, we created a splash effect.
When you have the desired result, follow the paint manufacturer's instructions to set the design (with ours the plates had to be baked in the oven).


2. Industrial style decoration
One of the strongest trends in decoration in the last two years is the industrial style. Our HYLLIS shelf fully embodies this style, but we can give it a renewed and different look for spaces where you want to add something that stands out in another colour. Here's how:
- We searched for a metal mesh in a DIY centre and asked to have it cut to the size of the shelf.
- We then screwed it into the holes already made in the framework.
- Finally, we painted it completely white with spray paint. You can choose any colour, depending on the decoration of the room where you are going to put it. We recommend using white, black or green, if they match your needs, for the latest fashion in your home.
You can get an idea of current trends and colours in our shelving section.


3. Transform the LACK into a piece of vintage furniture
Turning your LACK into a more classic and personalised table can be done without much effort:
- First, fix some decorative mouldings (you'll need 8).
- Spray paint the whole table and let it dry.
- Then, measure the tabletop and place the decorative tiles in the order you like best. When you have your design ready, use a hot-melt glue gun to fix the tiles to the surface.
- We added a final touch with stripes on the floor painted in the same colour as the table, but this is entirely optional, because it looks great without them too.


Here are some more ideas for customising your LACK table!


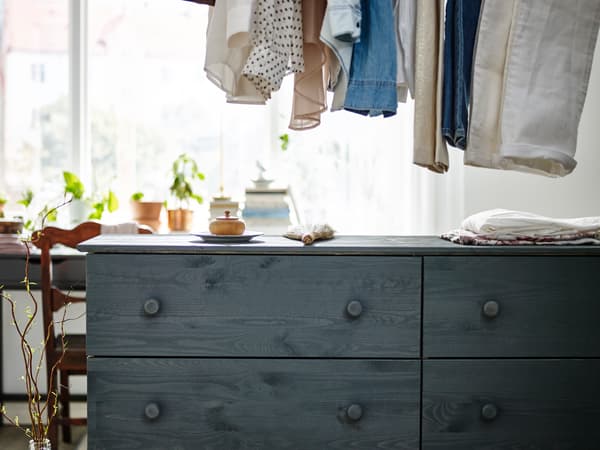
4. Go retro!
This suggestion will leave you speechless. Here's an easy way to change the look of basic drawers, like our RAST chest of drawers, to look like retro-style filing cabinets:
- First, remove the knobs.
- To create the visual effect of having twice as many drawers, you'll need to fix two new pieces of wood on the front of each drawer.
- Measure the front of the original drawer and cut two new fronts each (6 in total) from a wooden board.
- Place the pieces on each drawer leaving a space between the two to achieve the effect of having two drawers. Glue them to the front of the original drawer and allow them to dry completely, using clamps.
- Repeat the process with the remaining two drawers. When everything is dry, paint the entire chest of drawers with a coloured dye; if you apply two coats, the tone will be more intense.
- Drill the holes for the new knobs, fasten them and decorate with some stickers to achieve the full effect.


Did you like our suggestions? Here are two other articles with many more ideas to renovate your furniture and give your home a new look at a low cost.
We love it when customers use our products in a creative way. Why not try to do something new with them yourself? But do remember, any modifications or changes that you make to IKEA products will prevent them from being resold or used for their original use, thus invalidating IKEA product warranties and your right to return.