
How to design your perfect SKYTTA sliding door solution
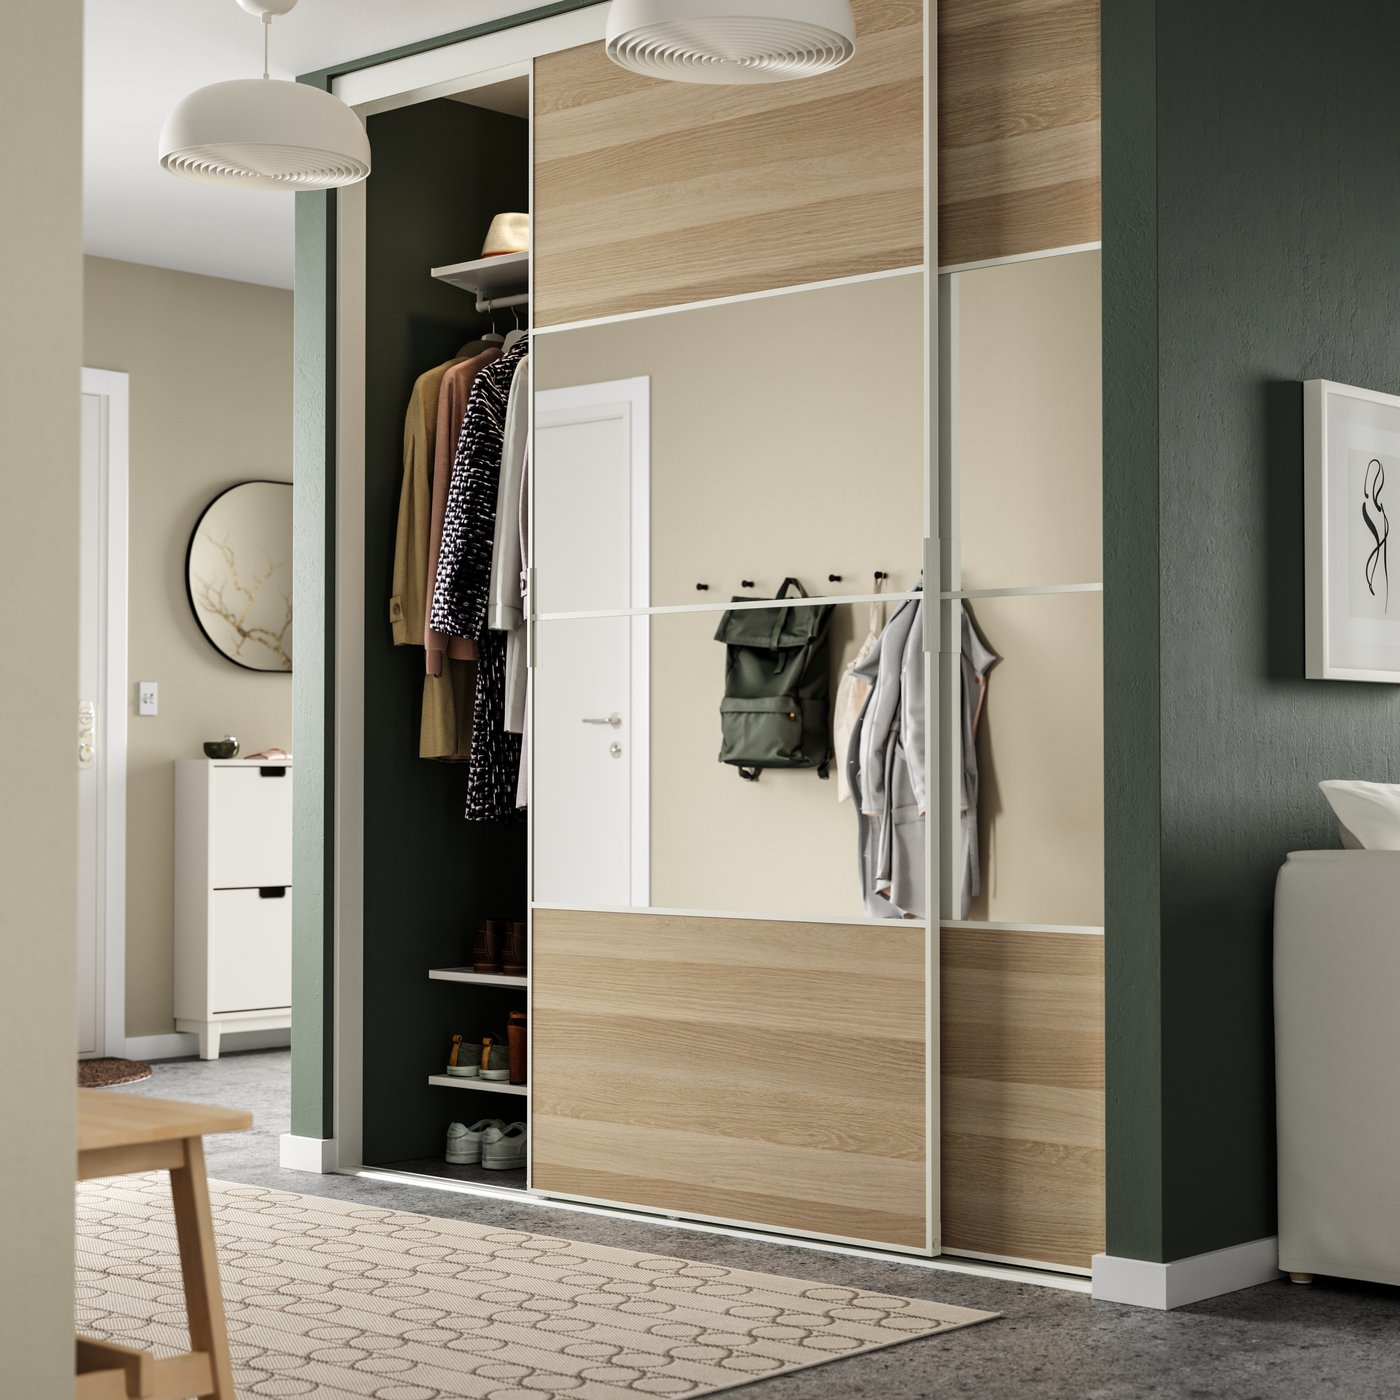
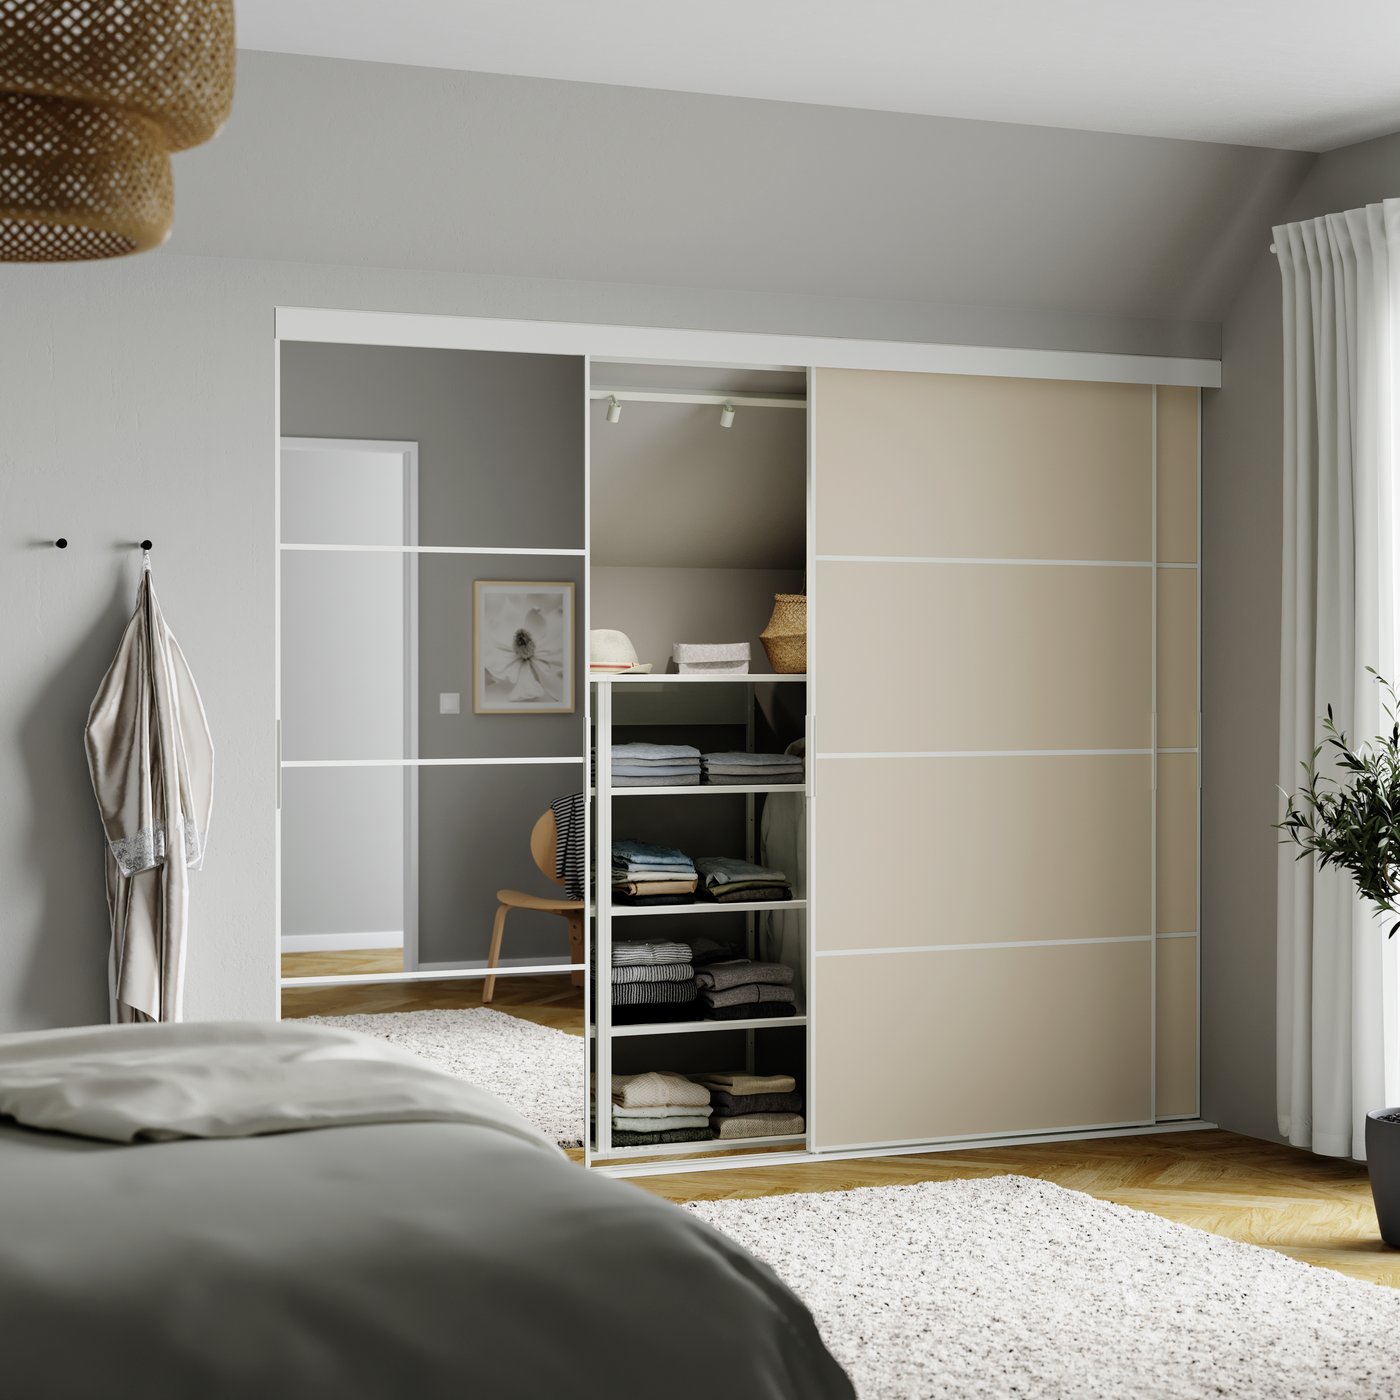
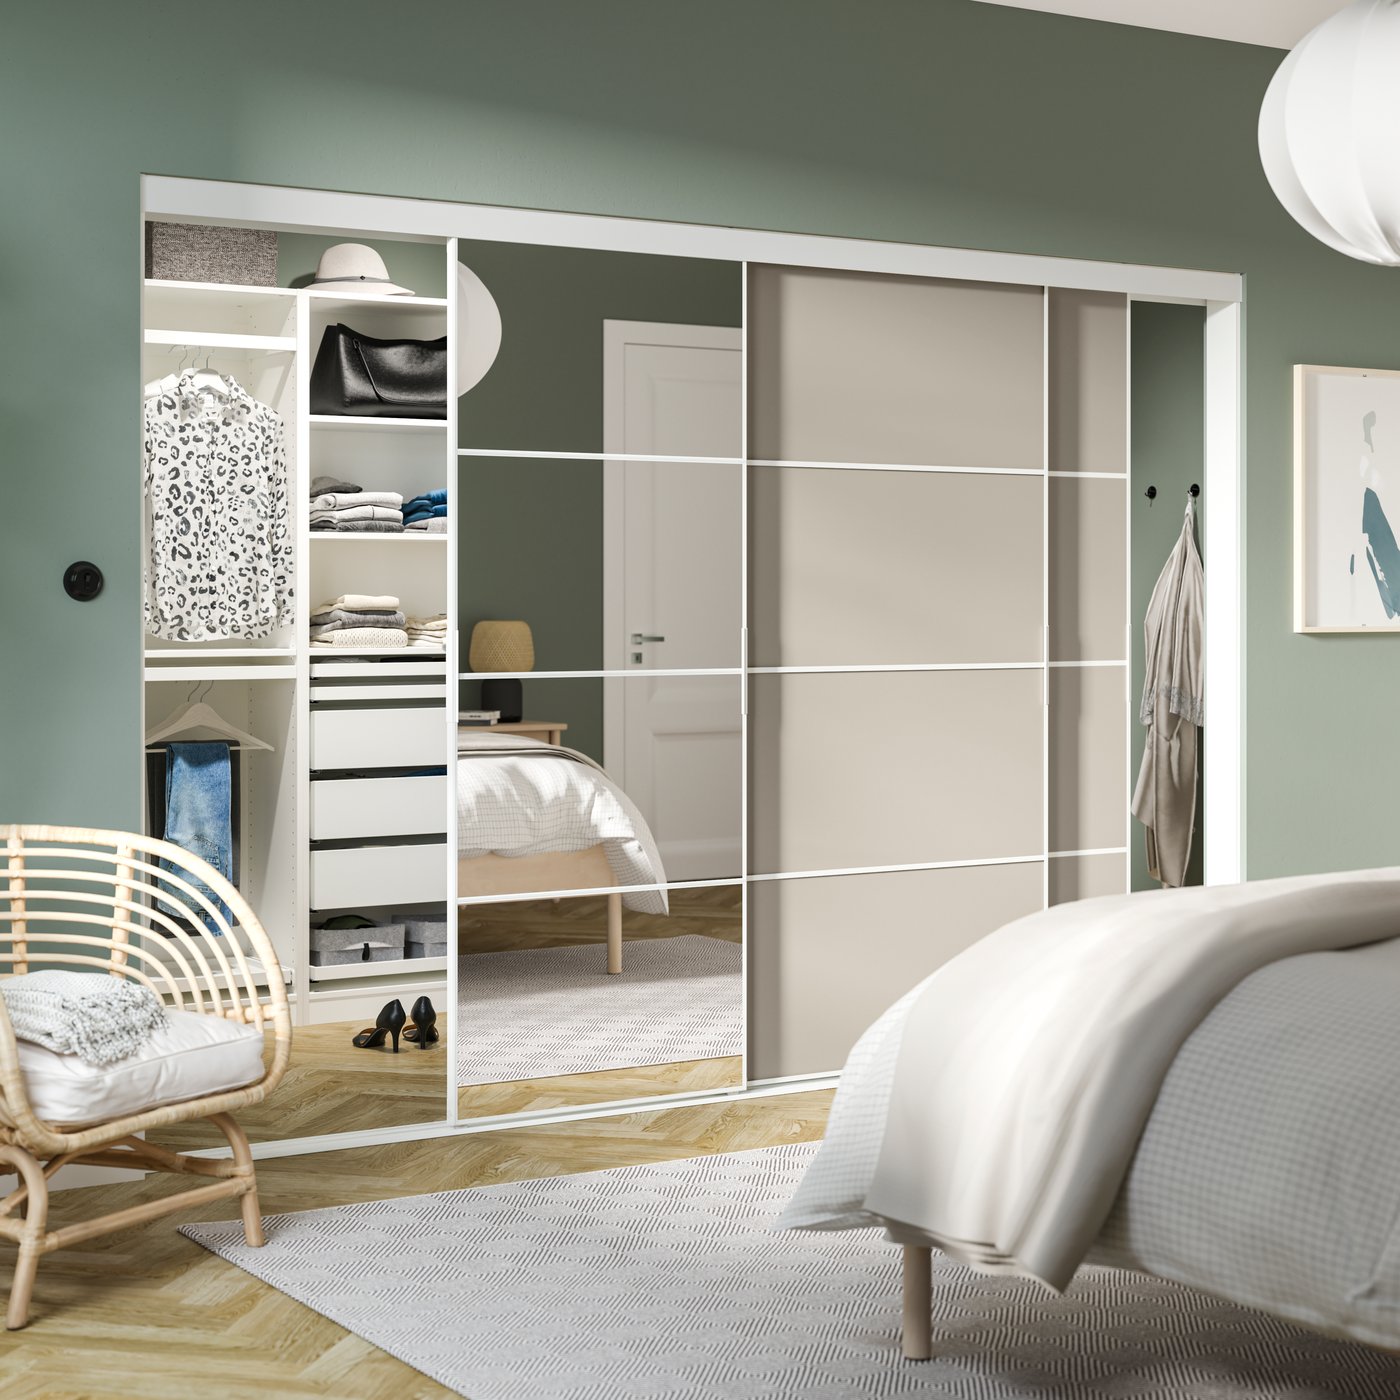
Save space, create new space or hide space with SKYTTA sliding doors. The door frames and rails are available in three different colours and can be combined with panels from the PAX range to create a personalised solution. Made to run between the ceiling and floor, so no wardrobe frames are needed.
They can be used with all our storage systems, so you are guaranteed to find something that fits the space you have available. Choose a sleek, minimalistic door or an industrial looking glass door to set the style of your room. The SKYTTA sliding door system has a 10-year guarantee.
Click here to jump to the step by step guide.

Let's find what you're looking for
1. Measure. Measure again. And measure once more.
Tip: Spend some time here, and the rest will be easier.
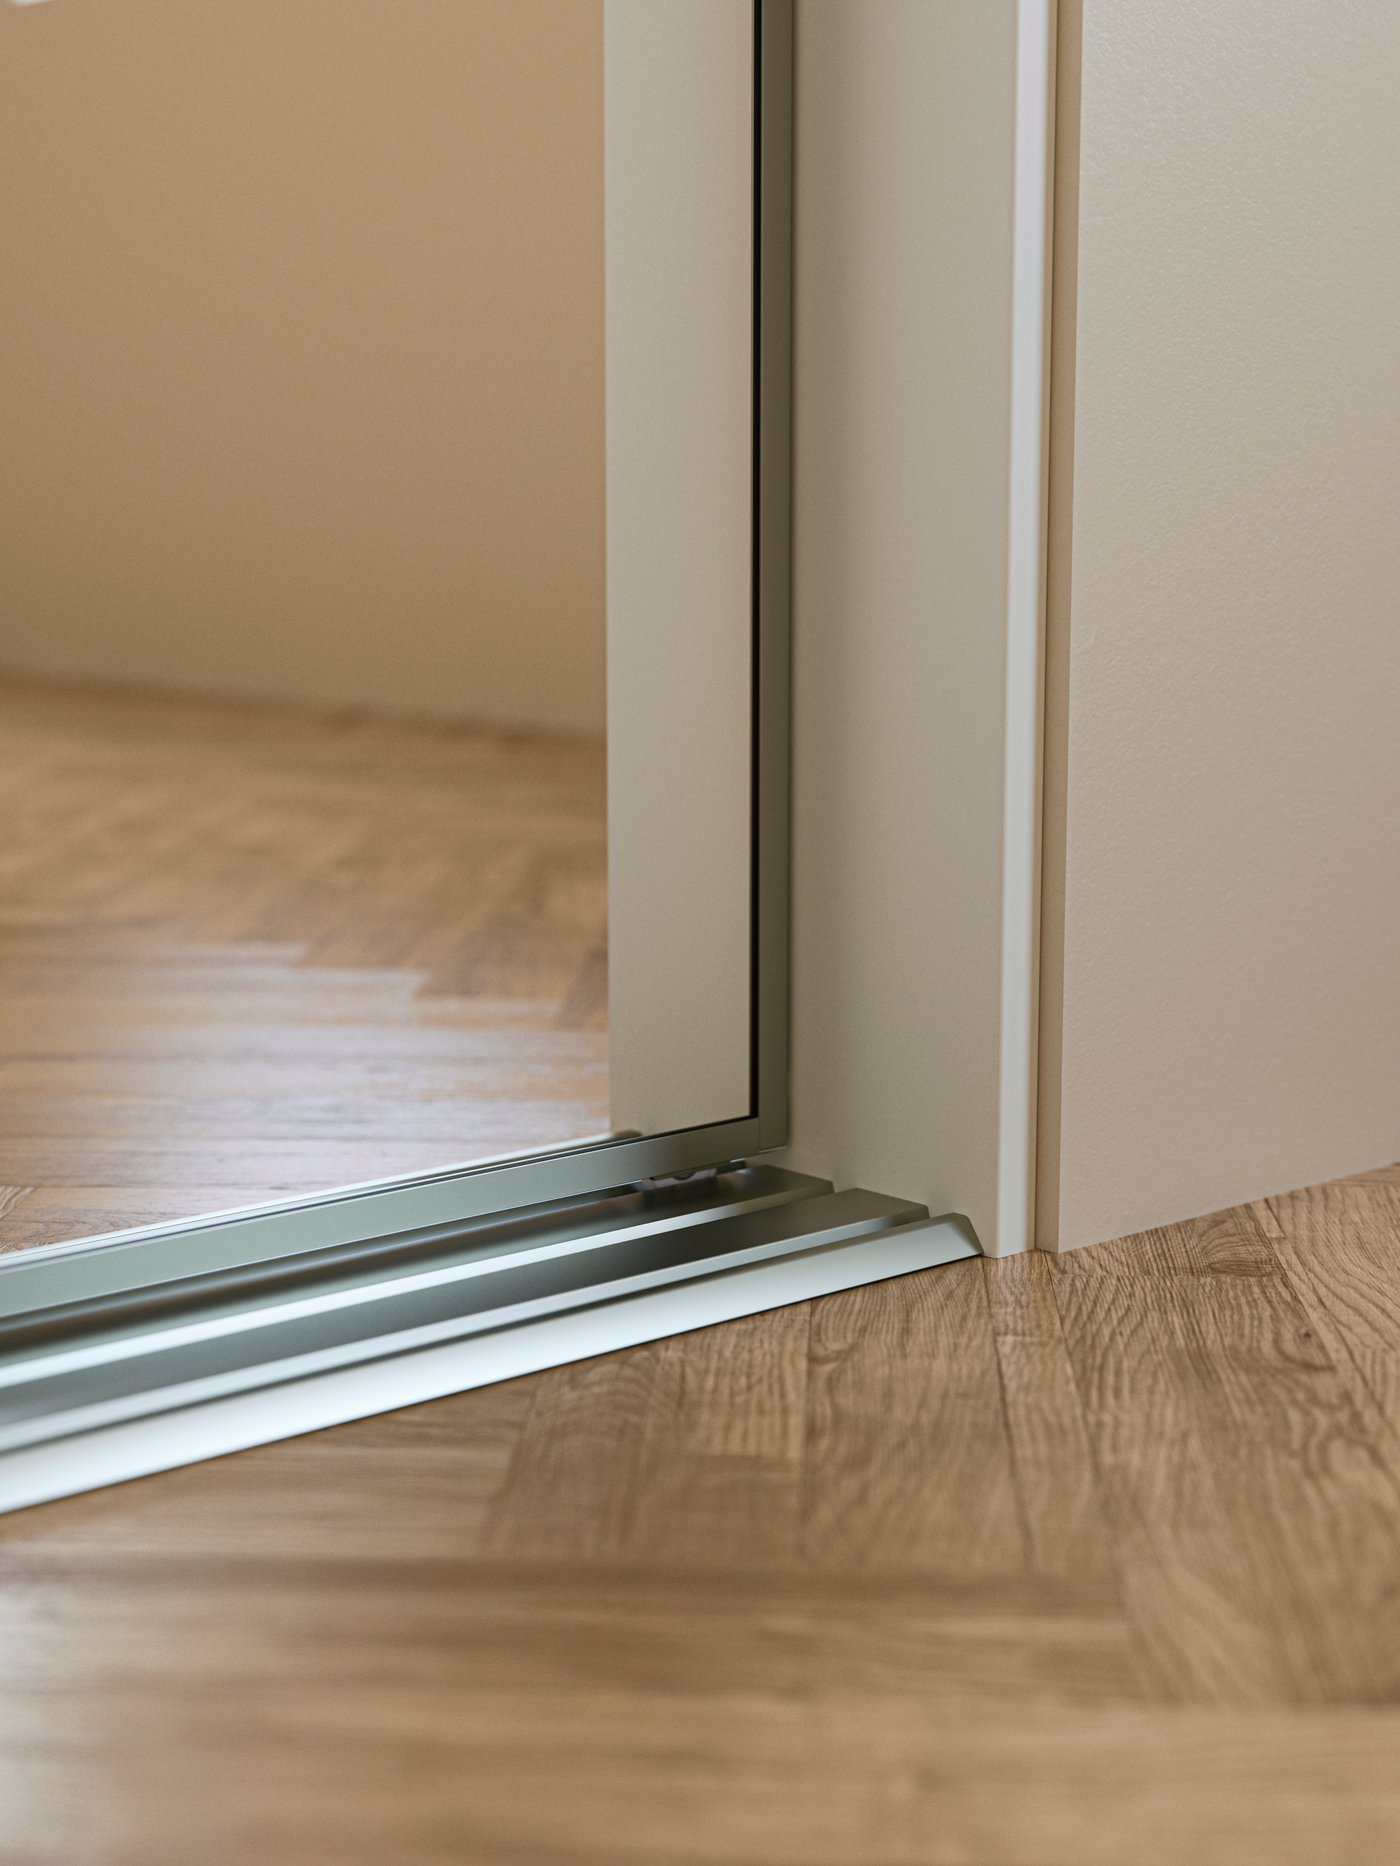
Measure the width and height where your solution will be. Measure the height in at least three places, as the ceiling or floor may be slightly uneven.
Will you store things behind your doors? Measure the depth of what you’ll store and adapt your solution to it.
1. Measure. Measure again. And measure once more.
Tip: Spend some time here, and the rest will be easier.
Measure the width and height where your solution will be. Measure the height in at least three places, as the ceiling or floor may be slightly uneven.
Will you store things behind your doors? Measure the depth of what you’ll store and adapt your solution to it.
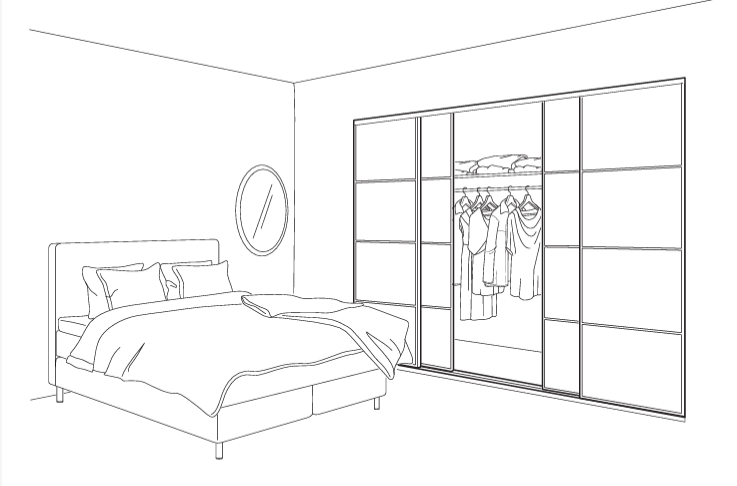
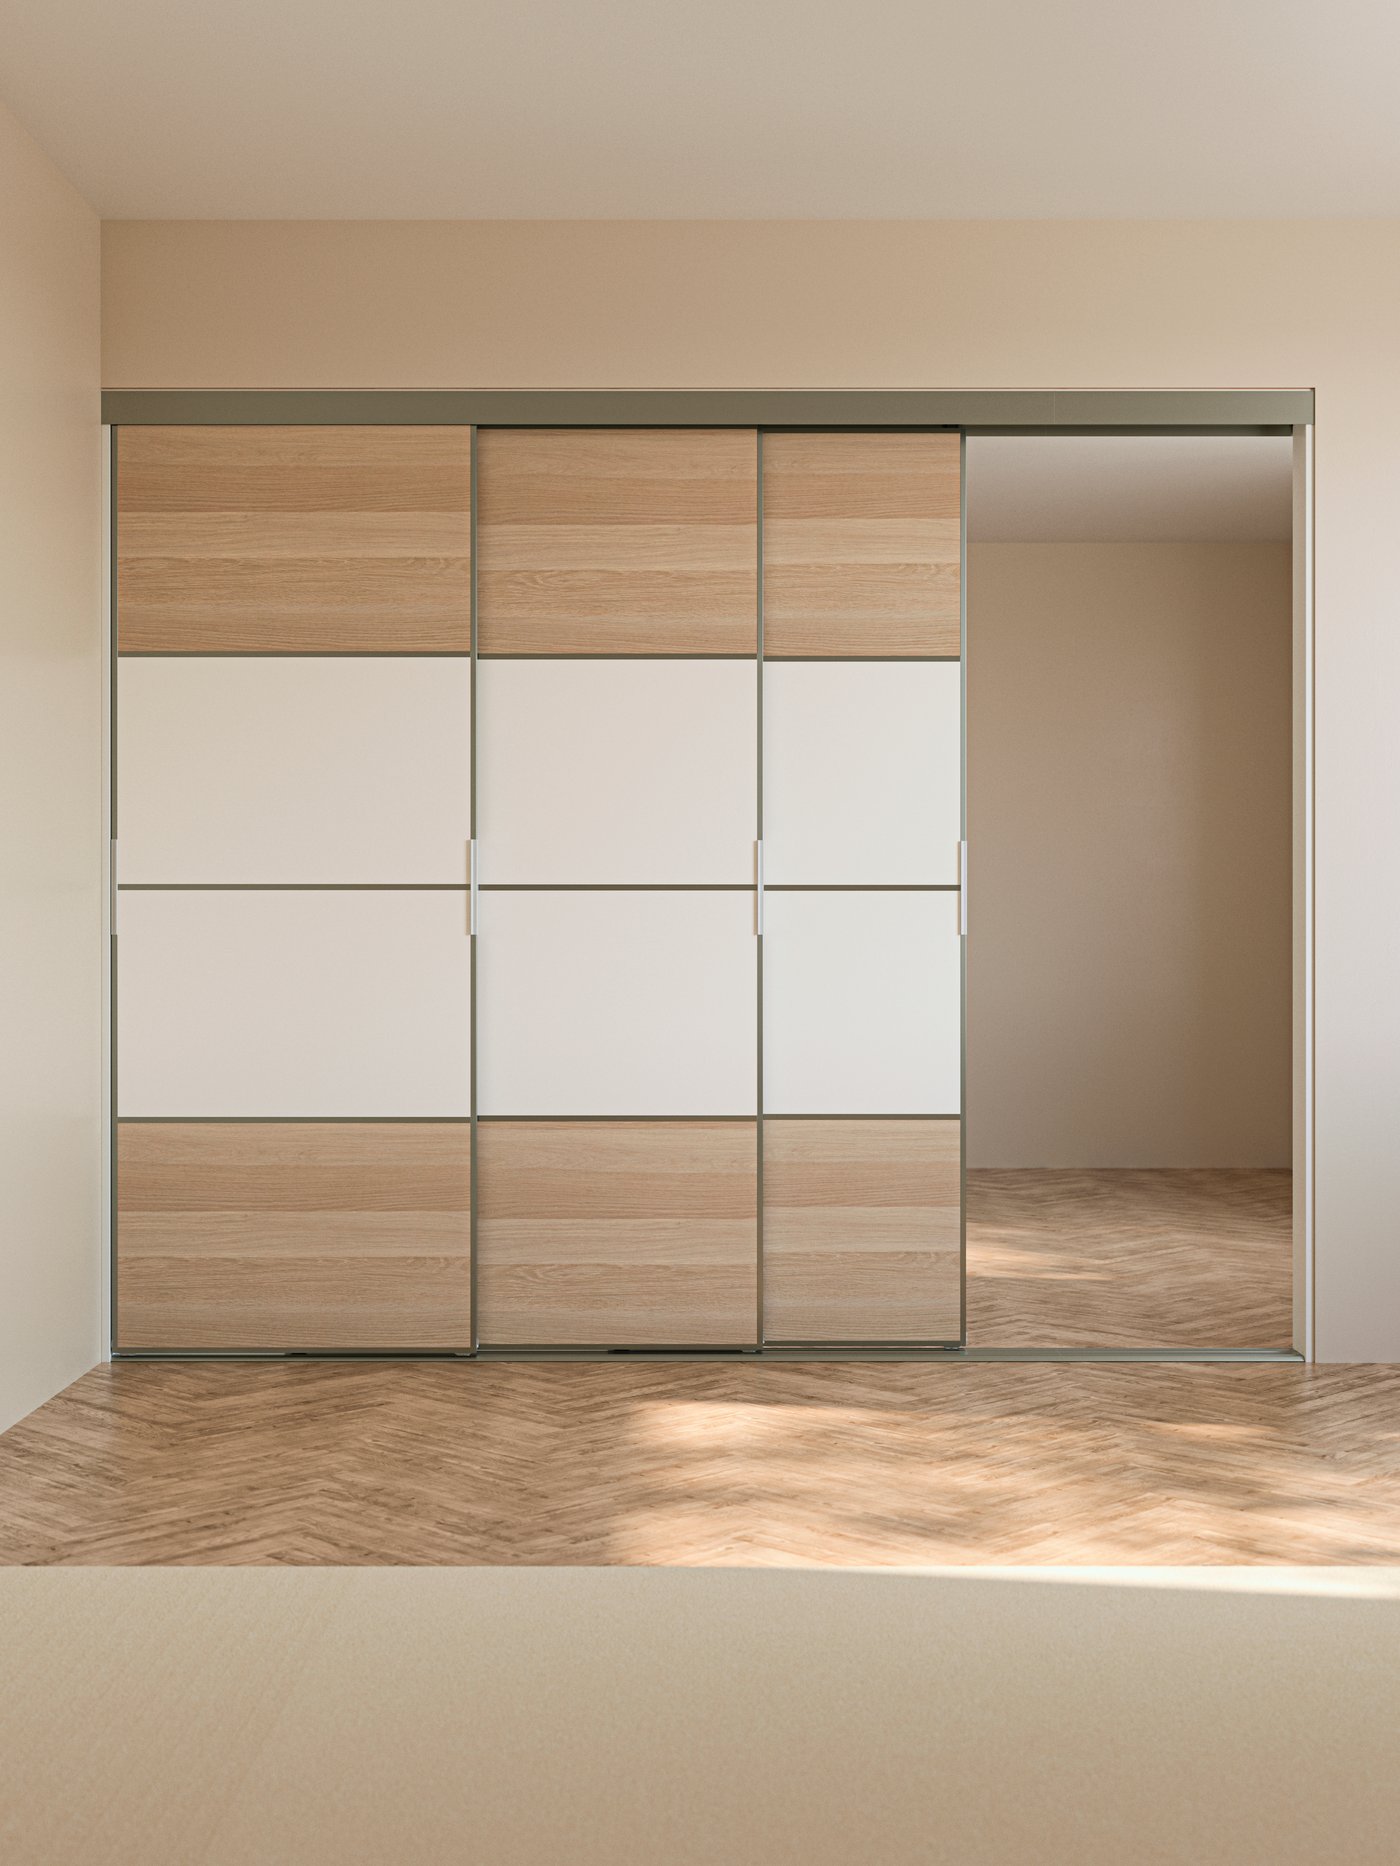
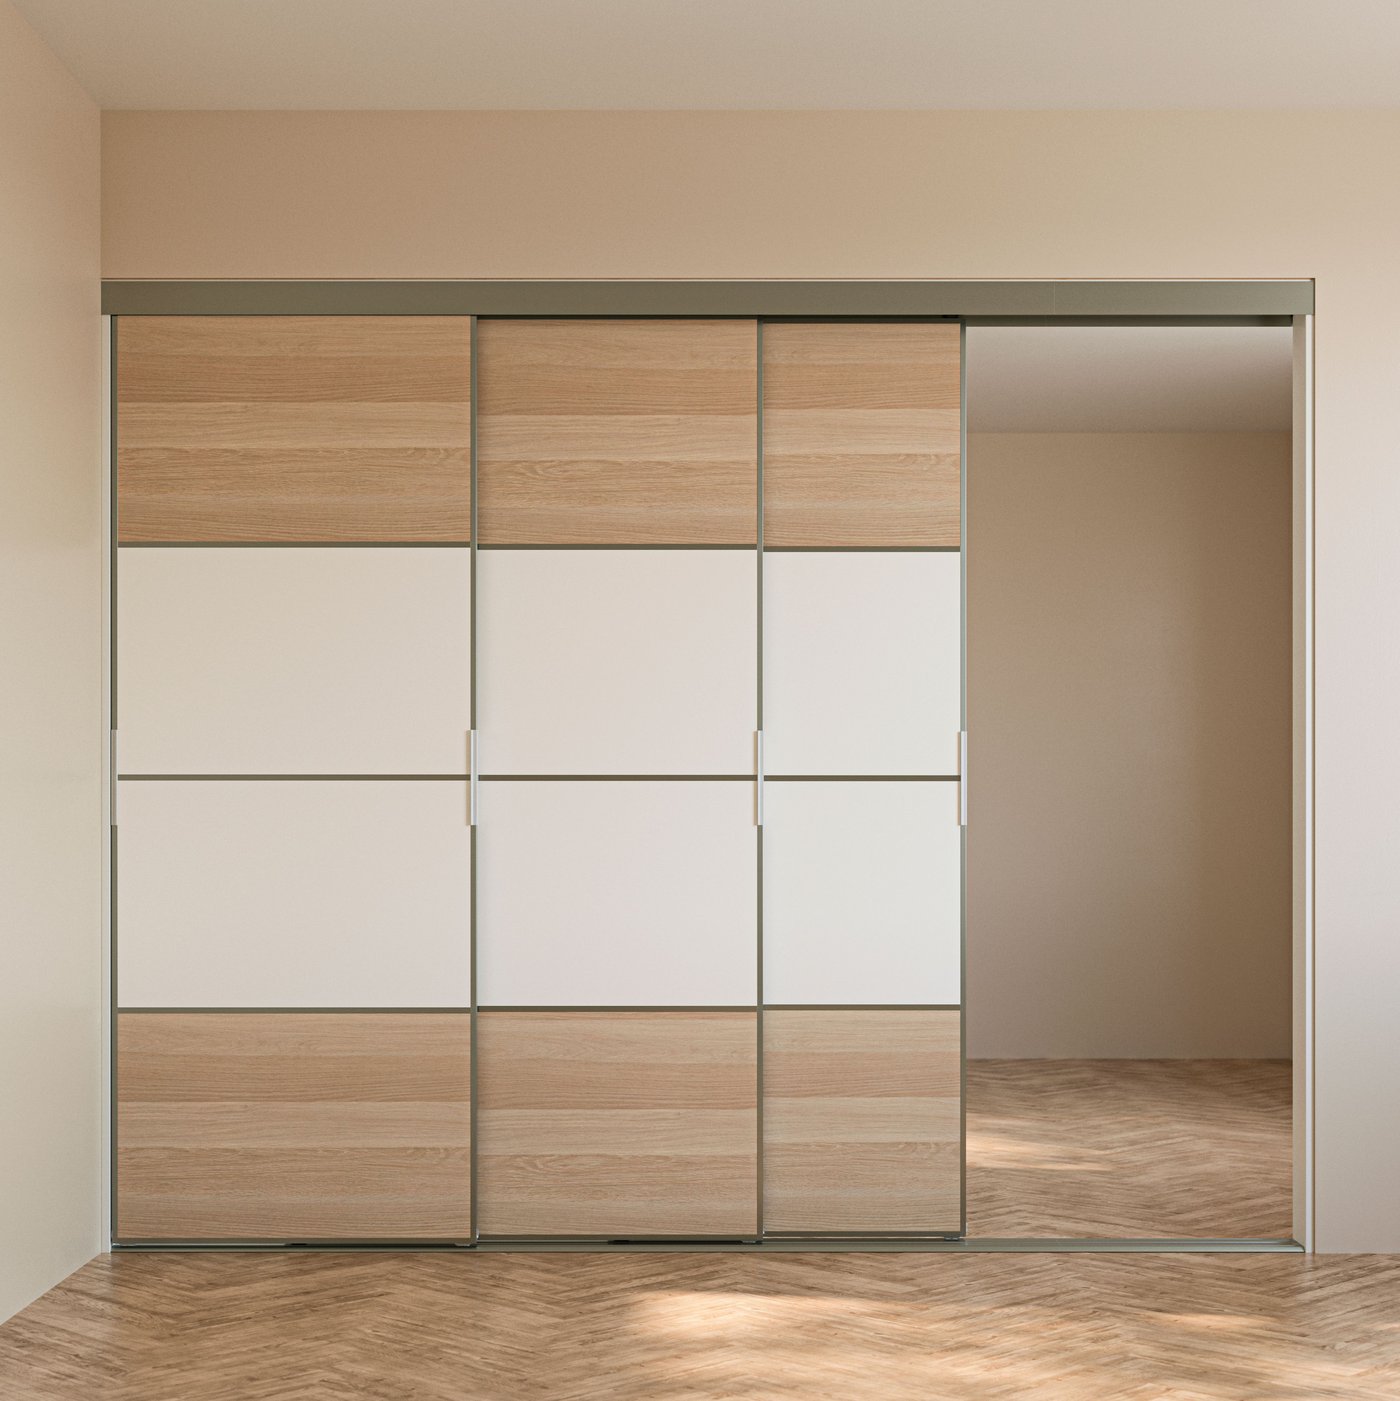
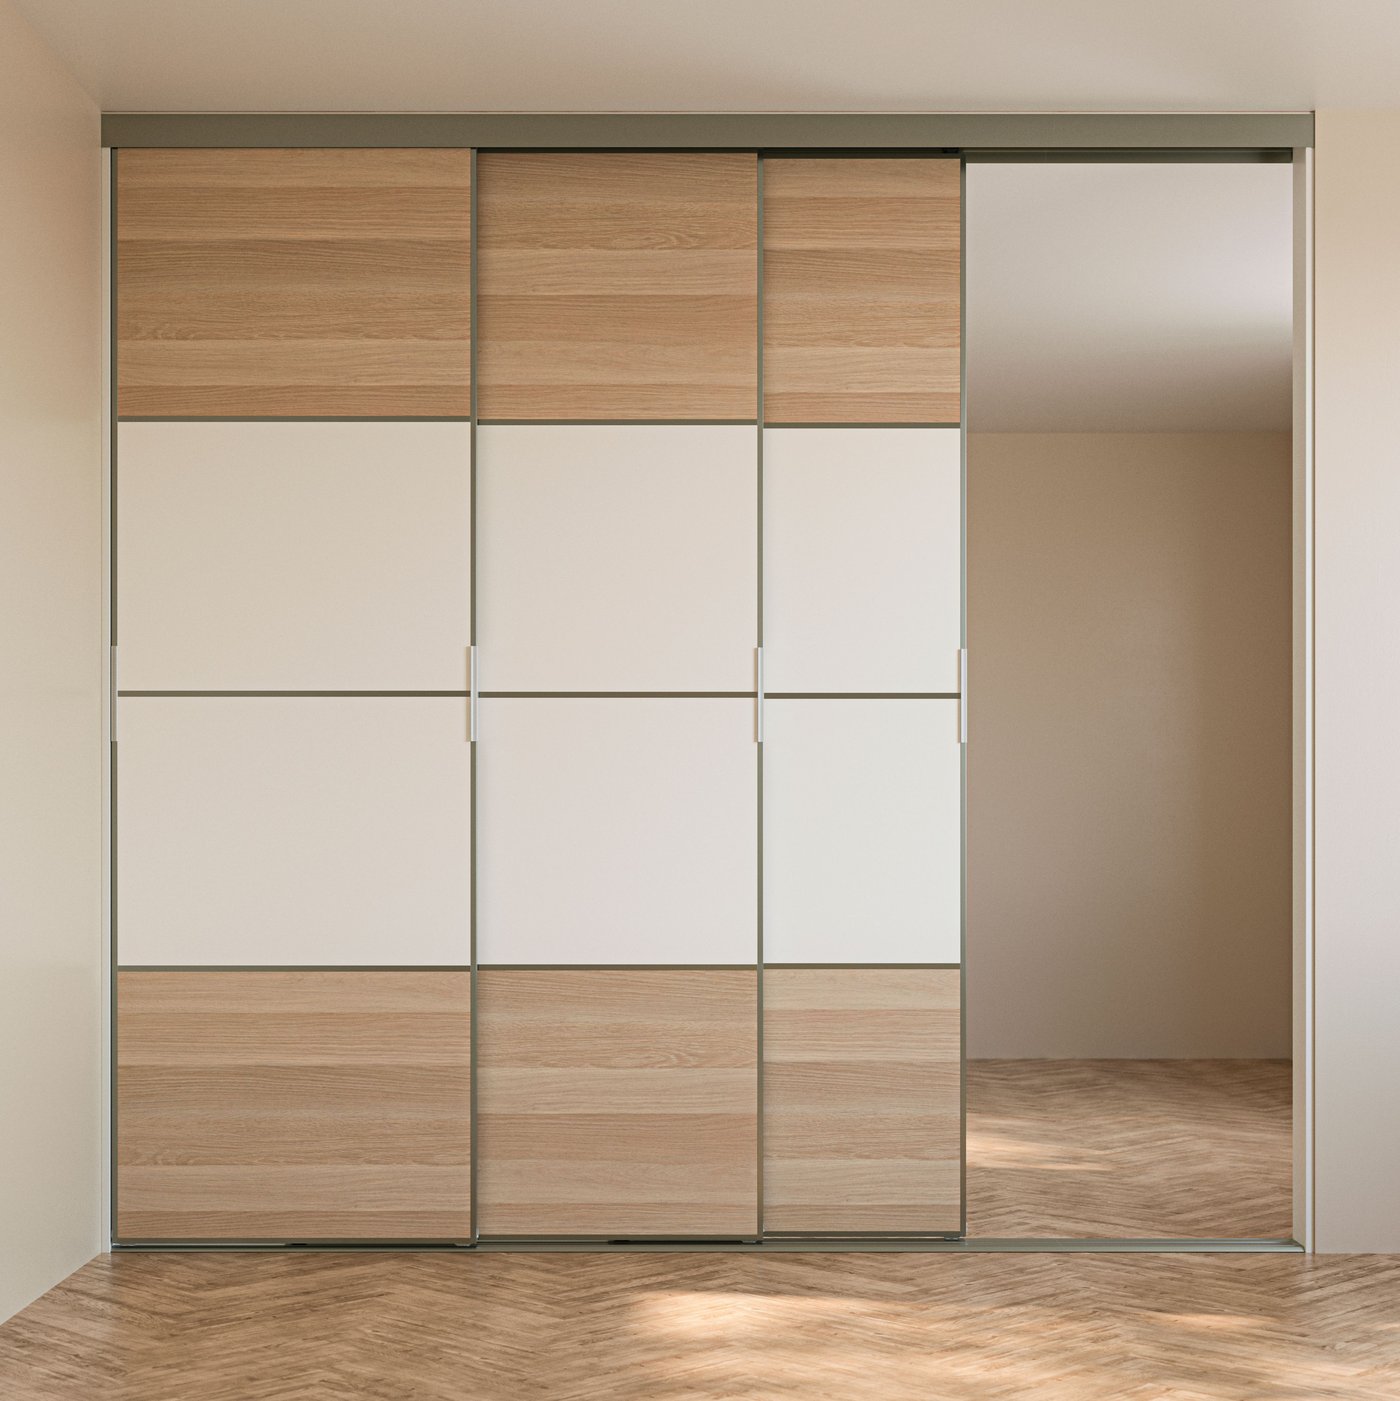
2. Choose your layout
There are two door frame widths (77 and 102 cm) and two types of rails (2-track and 3-track).
Depending on the total width of your space, you may be able to choose different door layouts.
Depending on the door layout you prefer, you might also be able to choose between 2-track and 3-track rails. A benefit of a 3-track solution is that it increases the opening width.
Sounds complicated? Don’t worry - the SKYTTA planner will guide you!
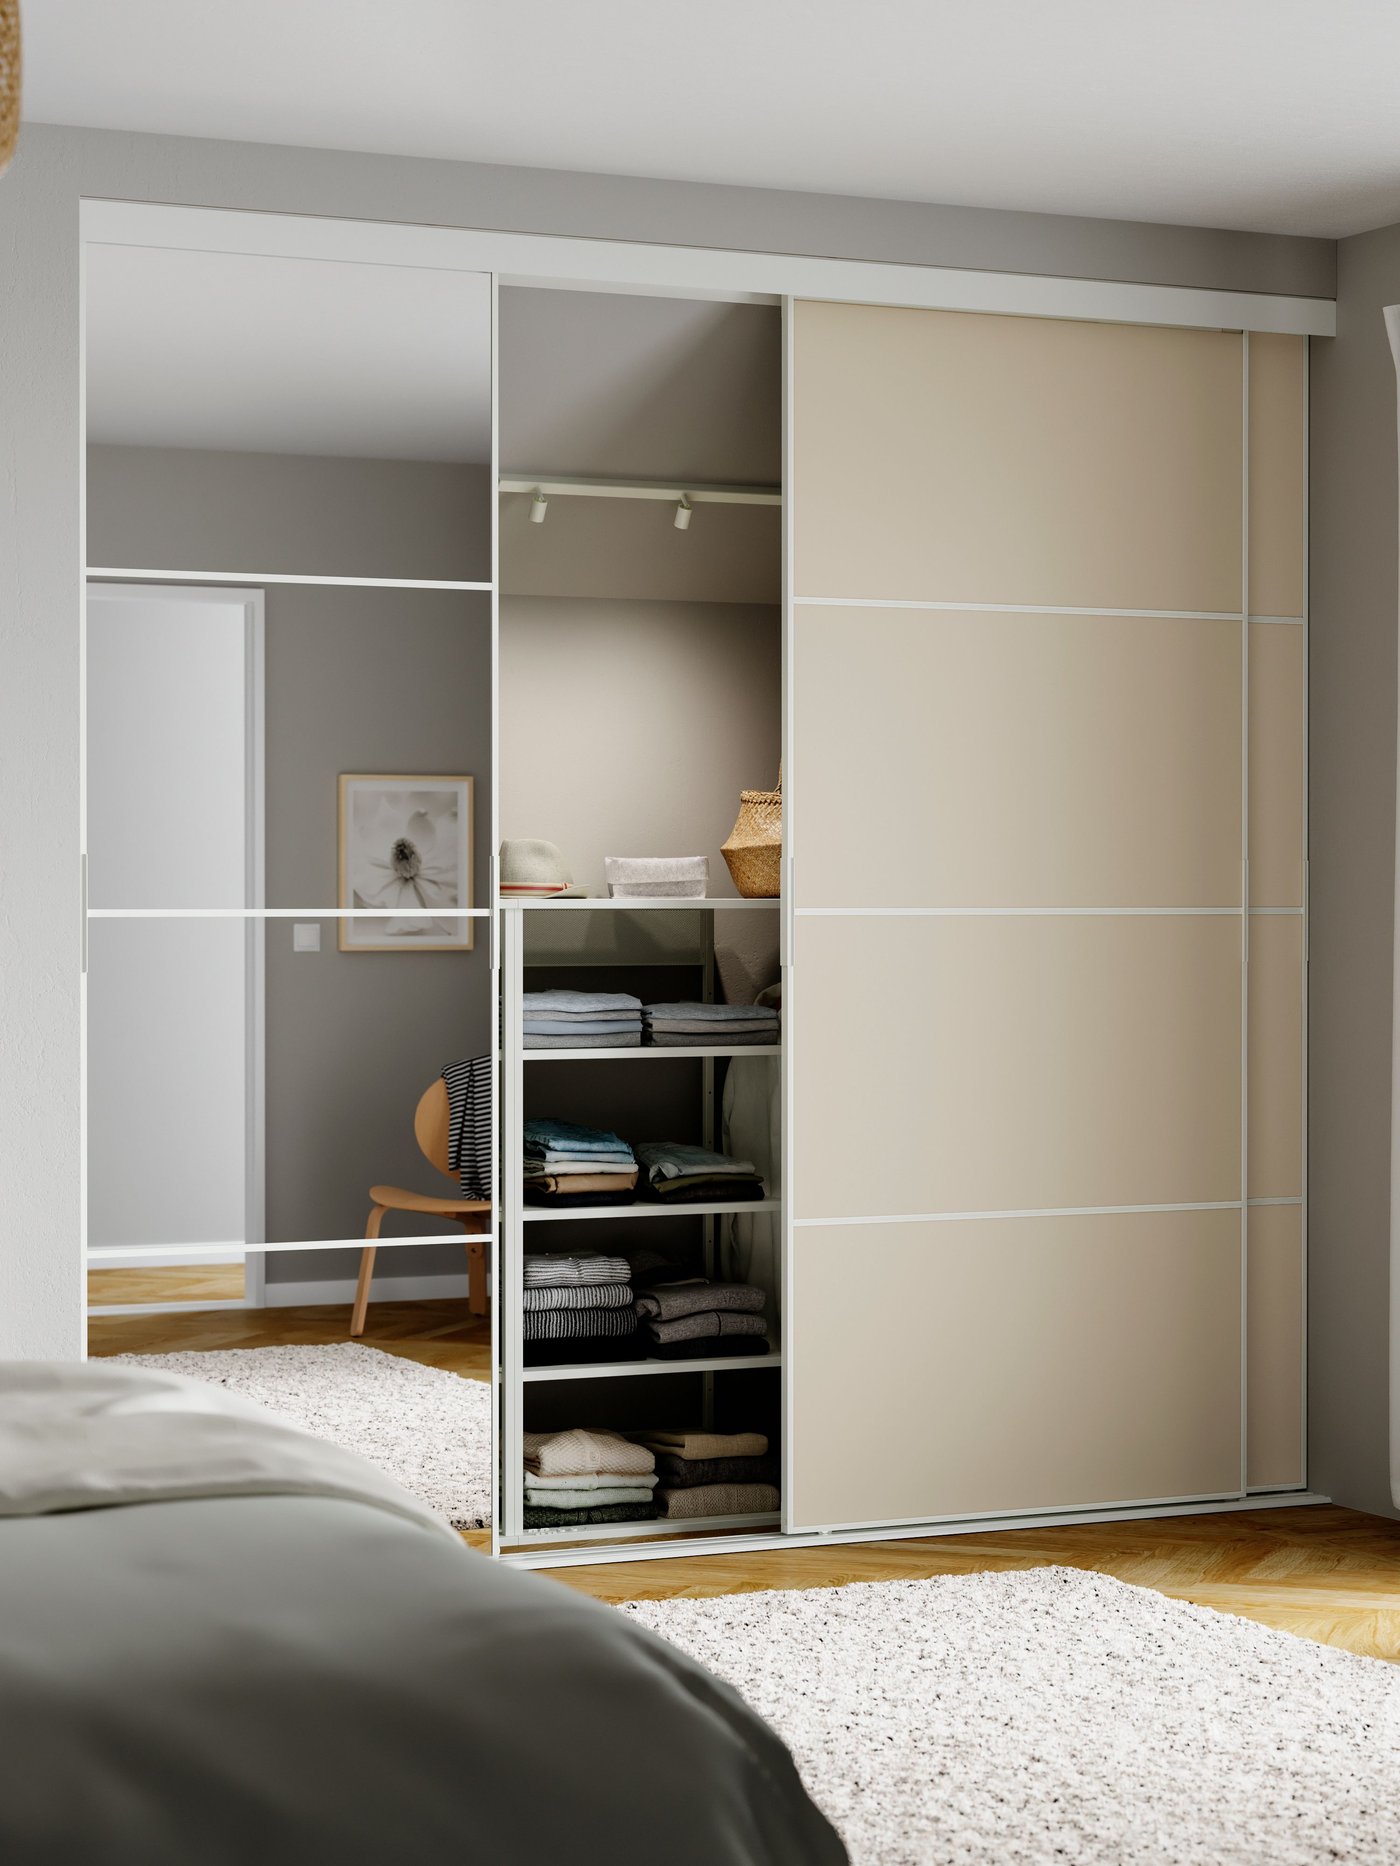
3. Choose your design
The SKYTTA door frames and rails come in black, white, or aluminium finish.
Browse the options and choose your favourite in the SKYTTA planner.
Or mix and match! Just keep in mind that some panels have a different colour or finish on the backside. That’s good to know if your solution will be visible from both sides.
4. Choose door frame height
There are two SKYTTA door frame heights (196 and 231 cm). Naturally, your choice depends on the height of your space, and the SKYTTA planner will suggest the best option for you.
Wait! Do I need a ceiling height reducer? Is your ceiling higher than the door frame?
A SKYTTA ceiling height reducer could help bridge the gap. The SKYTTA planner will suggest one if needed, along with SKYTTA top cover panels to be attached to both sides of the height reducer and painted to match.
What’s your gap?
Gap between solution and ceiling: up to 55 mm - use spacers against the ceiling. Gap: 56–365 mm - use a ceiling height reducer cut to the right size. Gap: 365+ mm - install a custom-built ceiling-to-door structure. Seems too complicated? Consider professional help!
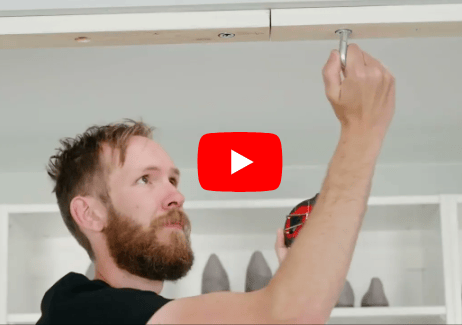
Assembly videos
SKYTTA sliding door wardrobe - Installation of rails

SKYTTA sliding door wardrobe - Installation of doors

SKYTTA sliding door wardrobe - Changing the panels

SKYTTA - installation guide (PDF)
SKYTTA measuring & installation
Our independent assembly partners can help install your new SKYTTA sliding doors and will first visit your home to take accurate measurements.
Learn more