
Renovating your kitchen: tips and process for your project
Lack of storage space, damaged countertops, an outdated sink, and outdated appliances. If these words describe your kitchen, you're probably thinking about renovating it. Whether you're looking for small or large renovation ideas, there are several ways to refresh one of the busiest rooms in your home. But what exactly does a kitchen renovation entail? Here are our tips for a cost-effective kitchen renovation without replacing the cabinets.
If you just want to change a few small things, here are our tips to spruce up your old kitchen.
How can I renovate my kitchen cost-effectively?
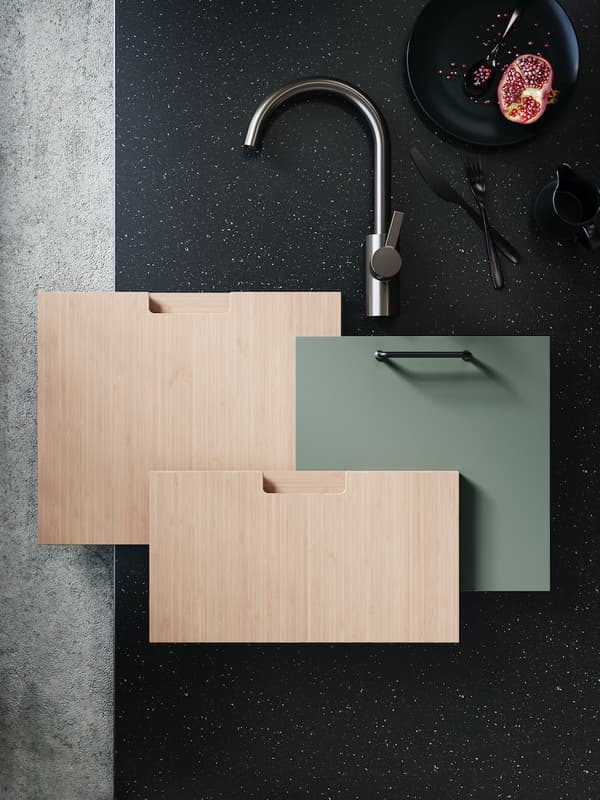

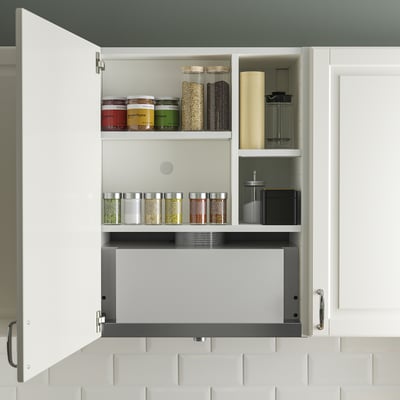
Replacing kitchen fronts

METOD kitchen? New fronts, new kitchen feeling!
Have you read the information on the page "Redesign your kitchen: How to bring a breath of fresh air into your home" and now know that you want to renovate your kitchen and replace the cabinet fronts? Then you've come to the right place!
Simply follow our handy guide, which will guide you step by step through replacing your cabinet fronts. This will make your kitchen renovation a breeze!
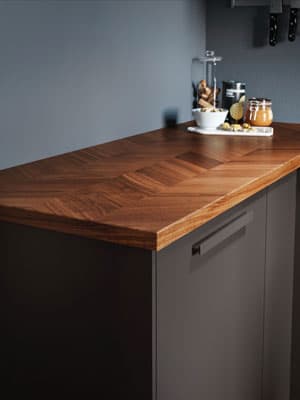
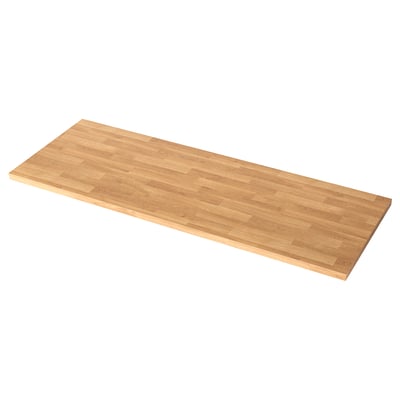
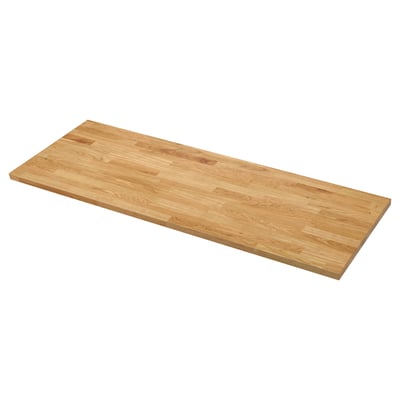
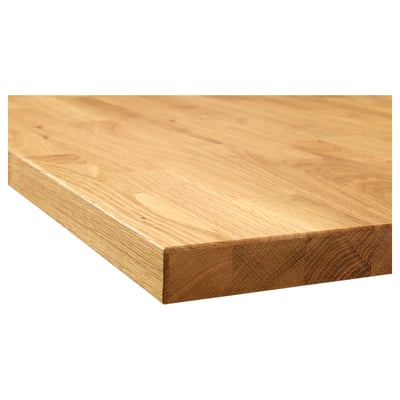
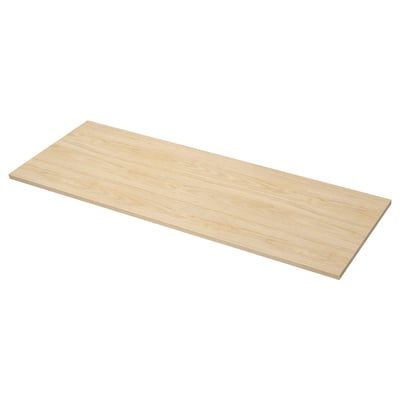
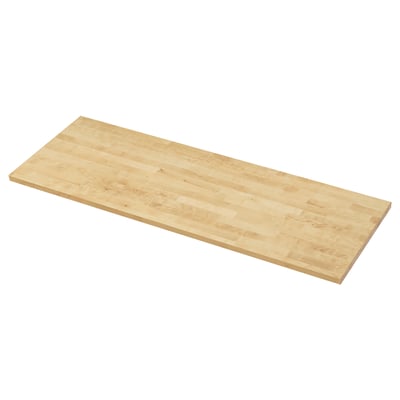
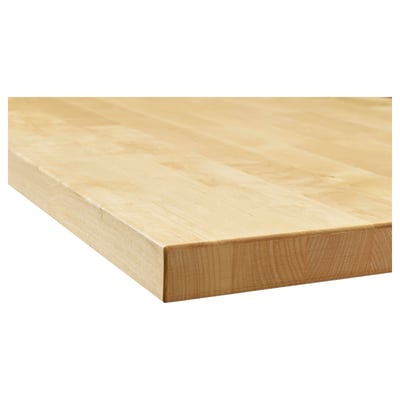
Replacing kitchen worktops
Whether it's damaged or simply no longer your style, you can easily replace your worktop without having to tear down the entire kitchen.
What you need:
- Consider what material your kitchen worktop should be made of (laminate or veneer) and whether you want a standard or custom-made worktop.
- If you are unsure about your choice, you can find tips for choosing your worktop here.
- Want to customize your worktop? Start our kitchen worktop configurator now.
- For removal and installation you will need: tape measure, drill, cutter, jigsaw, silicone, trestles, protective materials…You will find all the details in the assembly instructions for your new worktop.
Step-by-step instructions
- Safety first:
Turn off the electricity and water before you start – this way you can avoid unpleasant surprises. - Remove old appliances:
Remove all built-in appliances that are installed in the worktop (e.g. sink, hob, tap). - Remove the countertop:
Carefully cut through the silicone sealant and loosen any screws. Be careful not to damage the base cabinets. - Cutting:
Measure your new worktop precisely and saw it to size if necessary – including cutouts for the sink, tap, and hob. - Assembly:
Place the new panel on top. If you're joining multiple pieces, use an adhesive suitable for the material. - Install & Seal:
Reinstall the sink, tap, and cooktop. Carefully seal everything—especially along the wall and toward the back wall—for a clean, watertight solution.

- Product information page


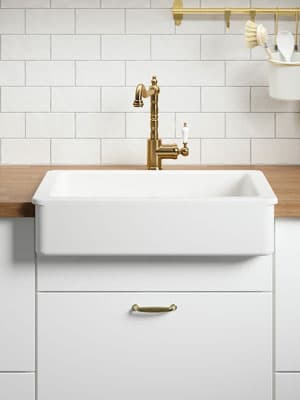
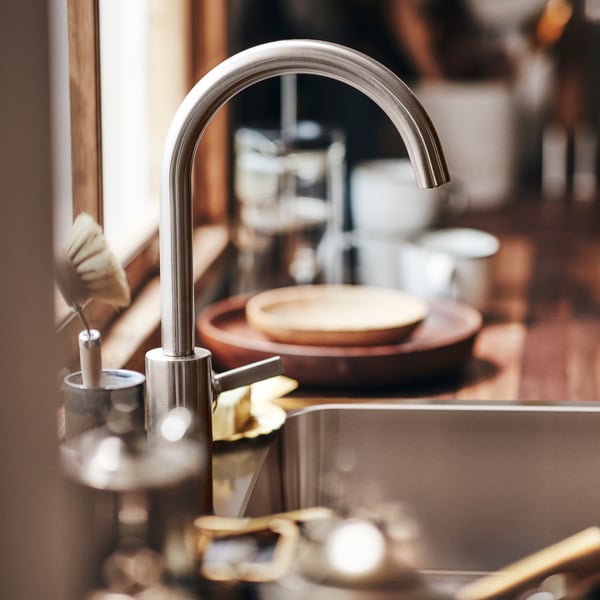
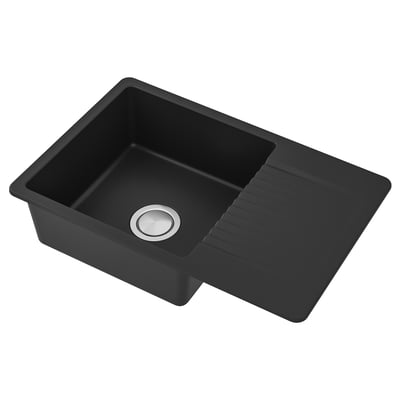
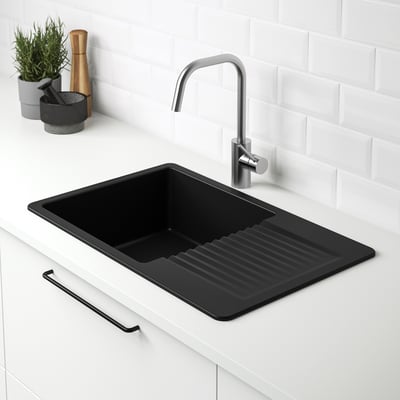
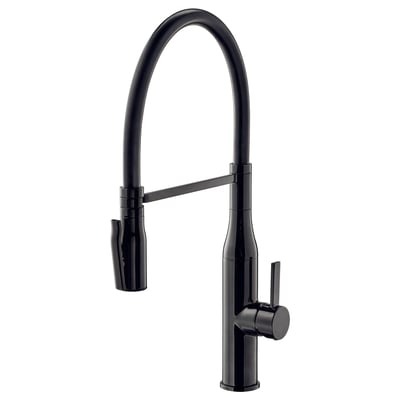
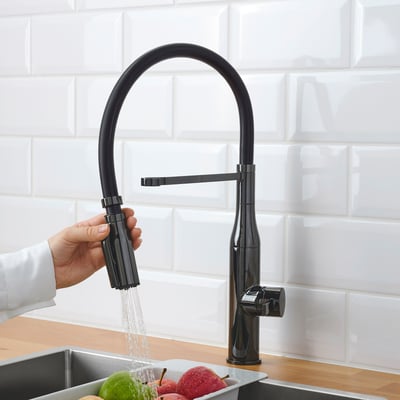
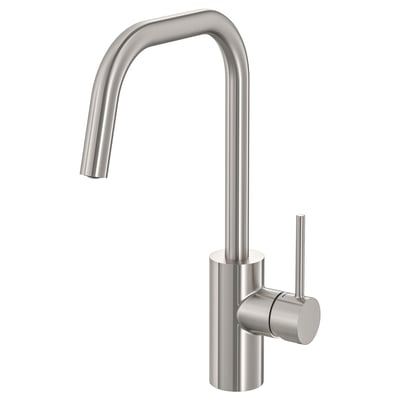
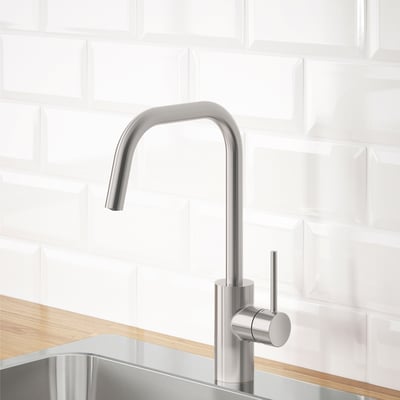
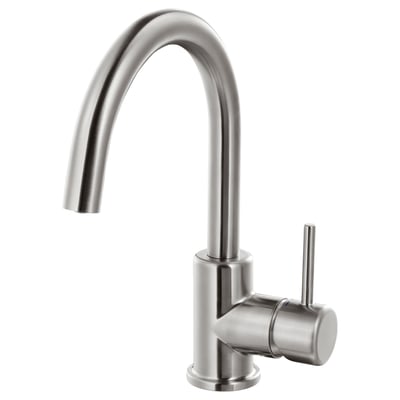
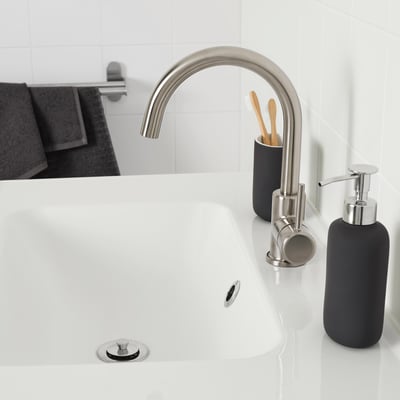
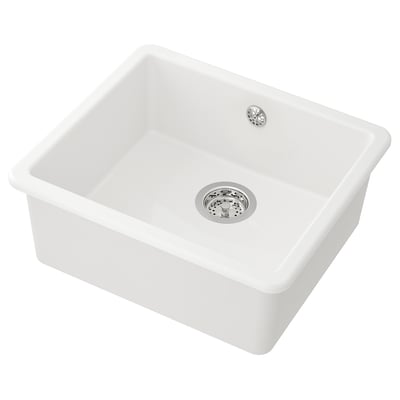
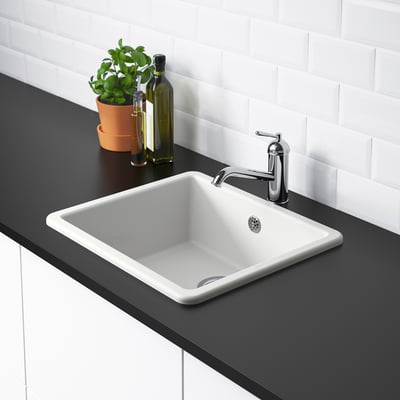
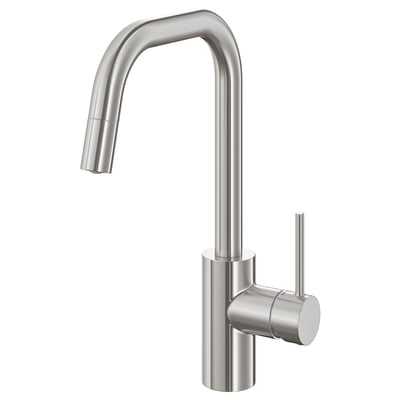
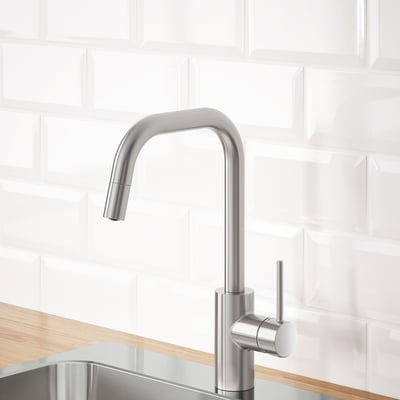
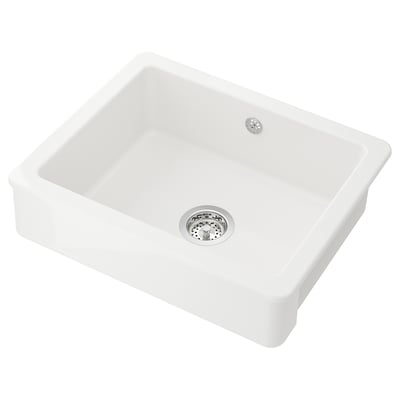
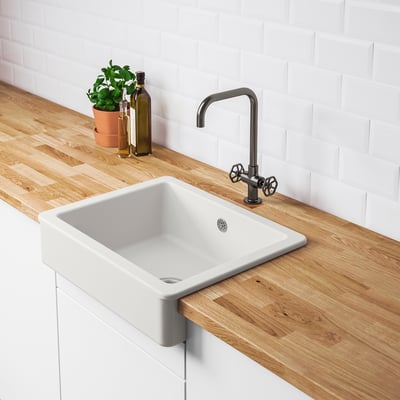
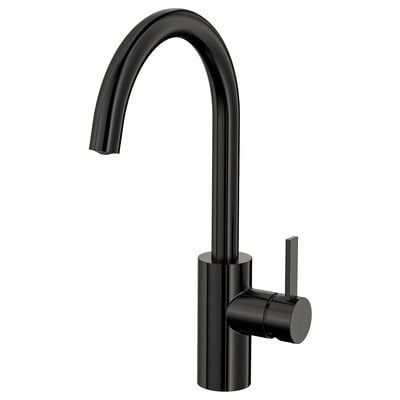
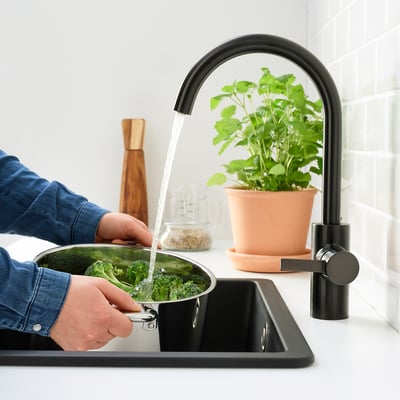
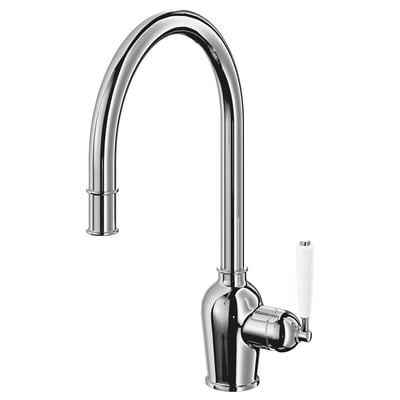
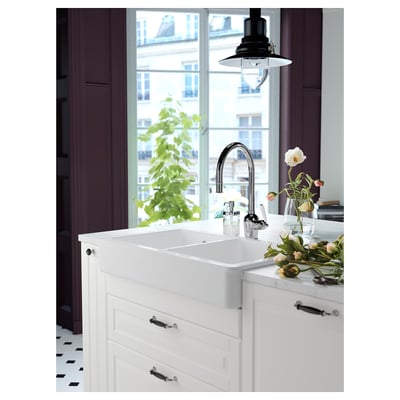
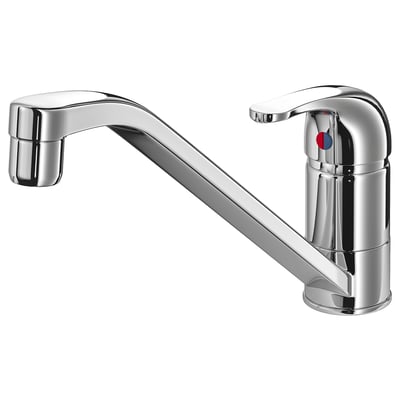
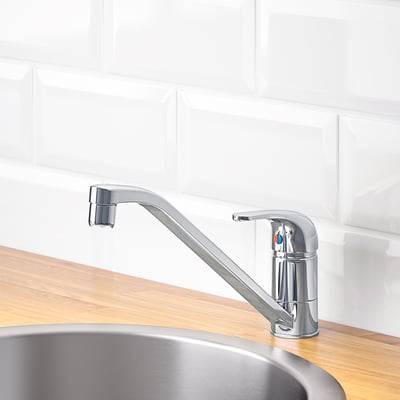
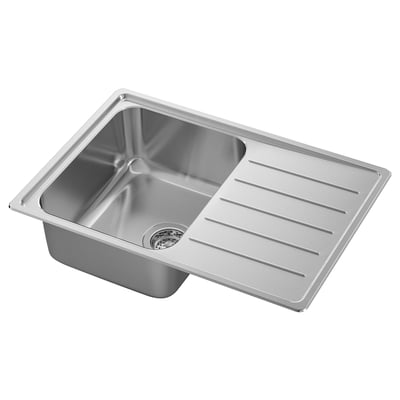
Replace sink & kitchen tap
The idea of replacing a sink or mixer tap yourself may sound complicated at first, but with a little preparation, it's easily doable. No need for a professional!
What you need::
- Your new sink and/or kitchen tap – including mounting accessories and siphon.
- The right tools: trestles, cutter, screwdriver, bucket, chisel, jigsaw, drill, protective gloves, sink wrench or pliers, damp cloth…
- The appropriate materials: silicone sealant, wood glue and special adhesive for PVC – depending on the installation situation.
Step-by-step instructions
- Turn off the water!
Turn off the water supply and unscrew the flexible hoses and siphon connected to your sink and drain. - Remove the old sink:
Remove the screws underneath the sink. Then carefully cut through the silicone sealant around the sink with a utility knife. If necessary, a gentle tap with a chisel will help—but be careful! Thoroughly remove all silicone residue. - Adjust the cutout:
If your new sink or tap has different dimensions or positions, re-cut the cutout accordingly. - Sealing & Gluing:
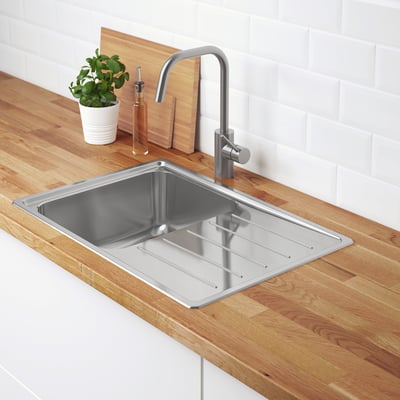
Apply silicone around the cutout and wood glue to the edges of the worktop – for a good seal between the sink and the worktop. - Installing the new sink:
Install the new sink, connect the flexible hoses, the siphon, and the drain fitting. Tighten the nuts with suitable pliers. - Install and seal the tap:
Install the new mixer tap and seal everything around it with silicone.T
hen, turn the water back on and check that everything is sealed.
- Product information page


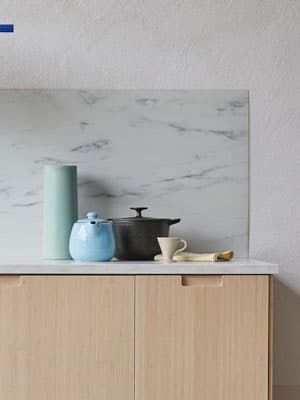
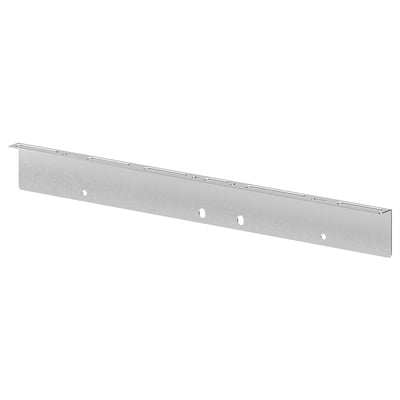
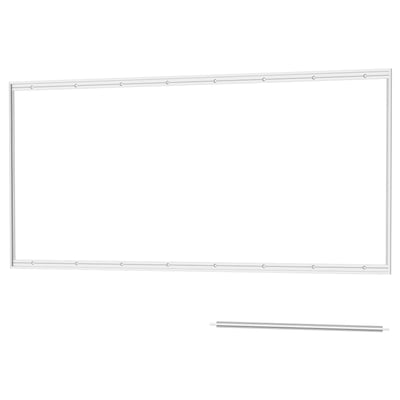
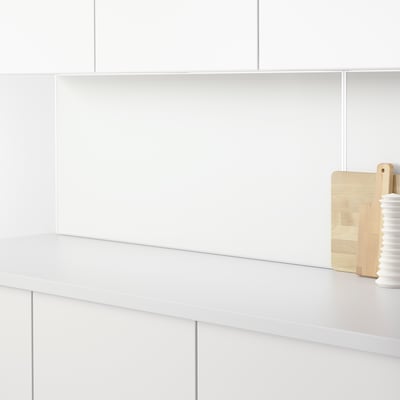
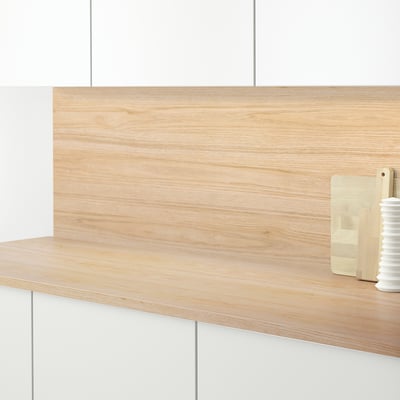
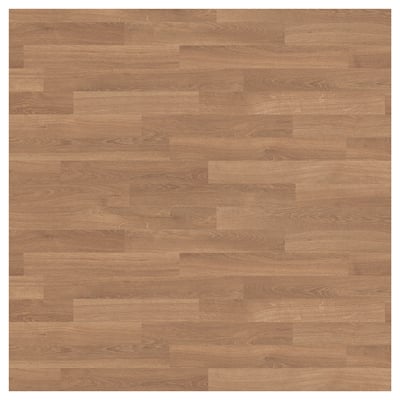
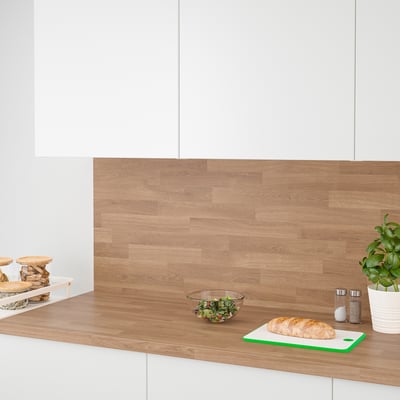
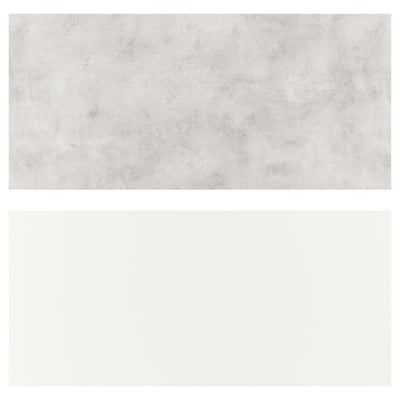
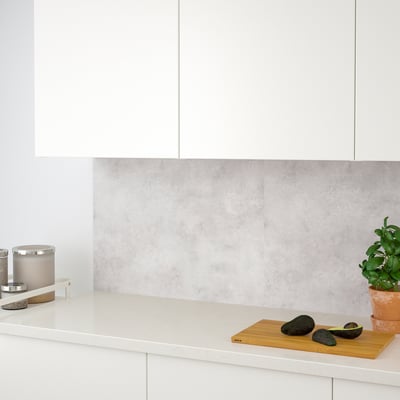
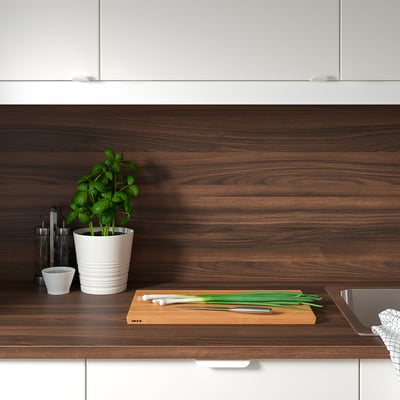
Complete kitchen back wall
When renovating your kitchen, you can easily add a backsplash if your kitchen doesn't have one yet, or replace it if you no longer like it.
What you need:
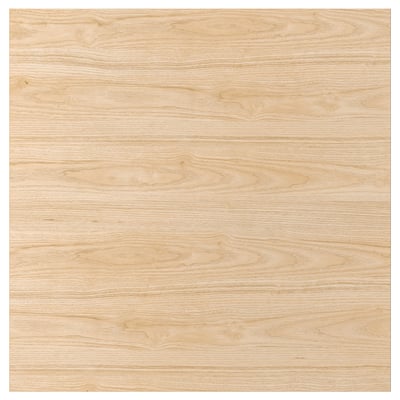
- Your new kitchen splashback:
Want to customize it? Use our configurator and order it directly from one of our store employees. - Mounting accessories
Depending on the type of back wall, you will need either mounting adhesive for the cartridge gun or double-sided adhesive tape, as well as silicone for the joints and masking tape to protect your worktop. - Tools
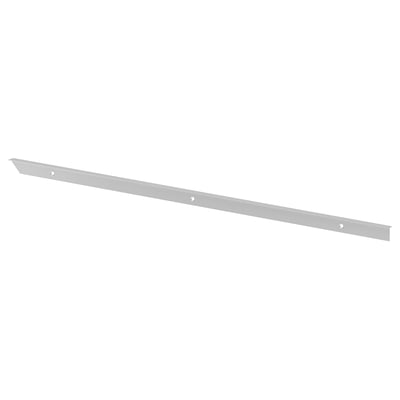
A jigsaw if you need to cut the back panel to size – and edge banding to nicely cover the edges.
Step-by-step instructions
- Carefully remove the old backsplash:
Remove the old backsplash carefully to avoid damaging your work area or the wall. A little patience pays off here! - Cut the new back panel to size (if necessary):
If your new back panel is made of wood and not custom-made, cut it to the desired size. Remember: You can neatly cover the edges with the edge banding that is usually included. - Prepare the wall:
If the wall is uneven, sand it smooth. Then clean it thoroughly with a suitable wall cleaning solution and a sponge to help the backing adhere better later. - Installing the back panel:
Apply the appropriate mounting adhesive to the back of the back panel using a cartridge gun. Then simply press it down – done! - Don't forget to seal:
For a clean and tight connection between the countertop and the back wall, apply a silicone sealant. Tip: Cover the countertop with masking tape beforehand to prevent spills.


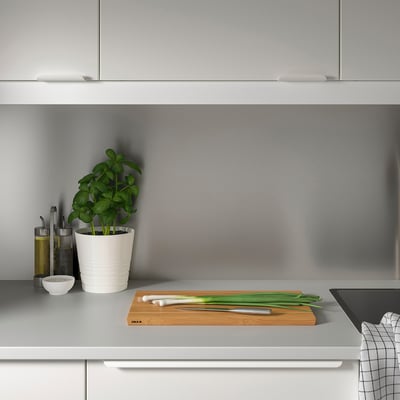
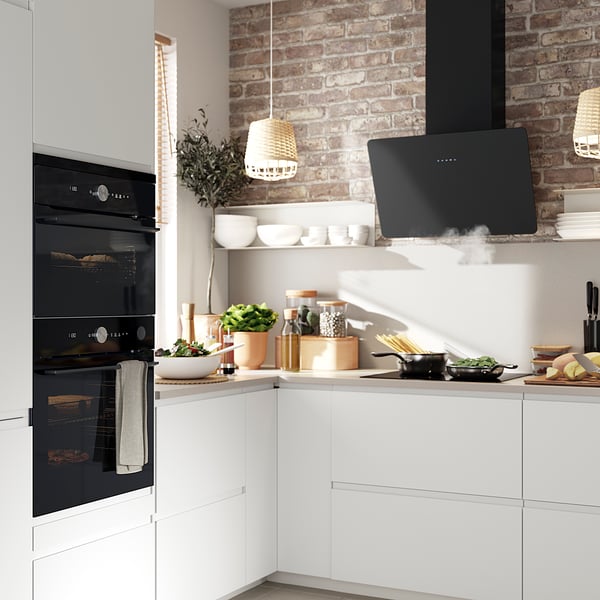
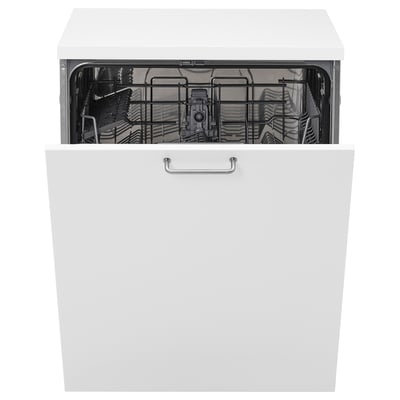
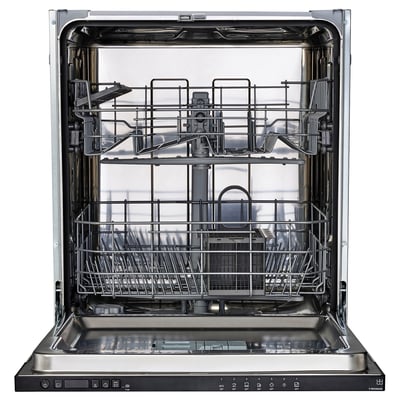
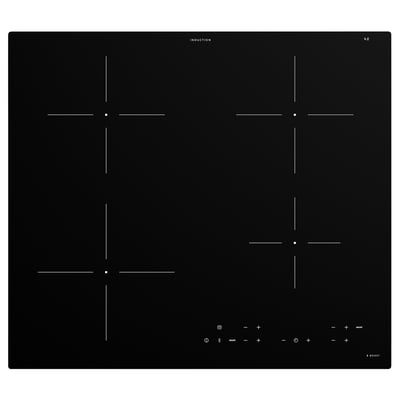
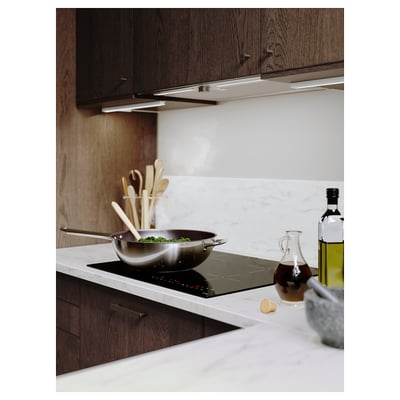
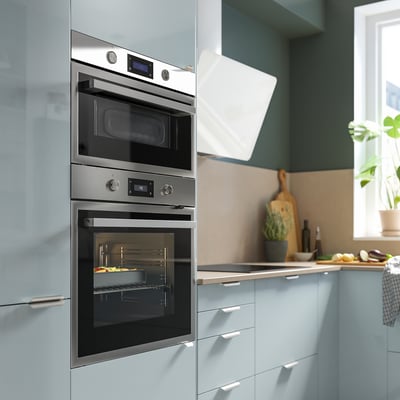
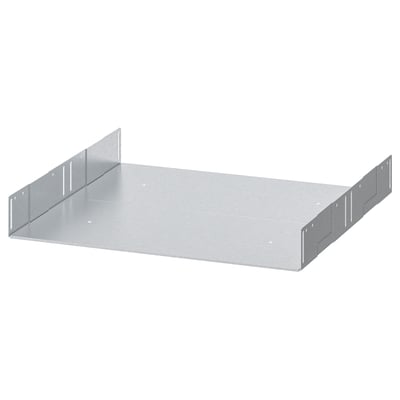
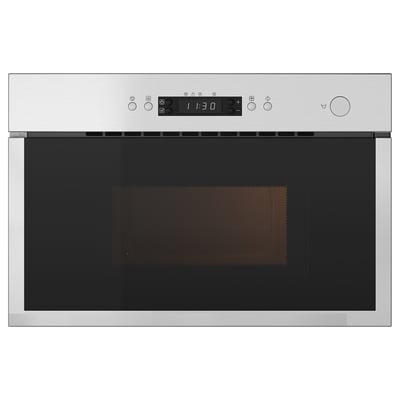
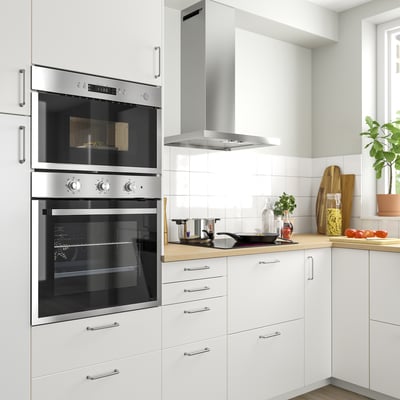
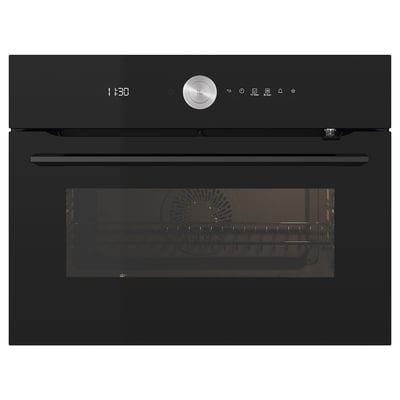
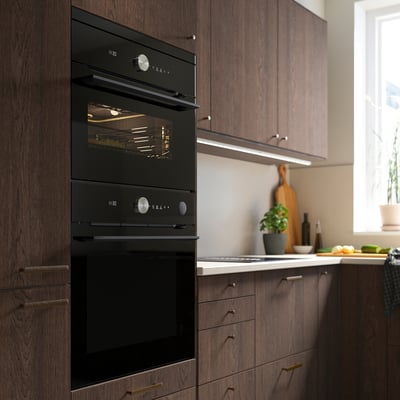
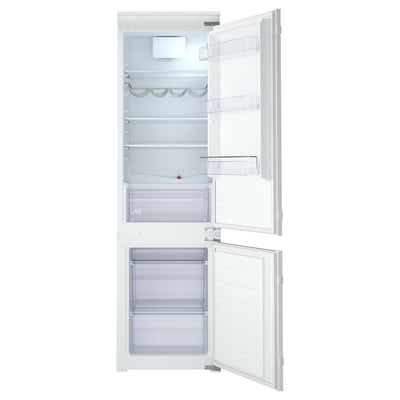
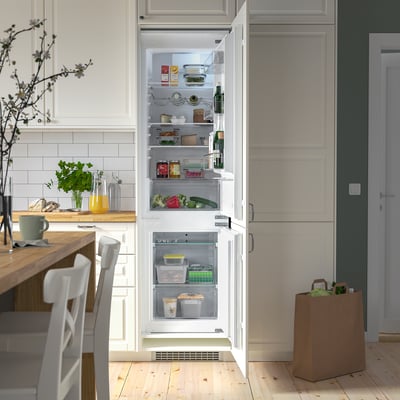
Renew kitchen appliances
A kitchen renovation is the perfect opportunity to upgrade your kitchen appliances – whether because they're getting old, you want to upgrade to more energy-efficient models, or because you want to integrate them into your new fitted kitchen.
What you need:
- Check whether your current appliances (which you want to keep) will fit your new kitchen – in terms of size, installation type (freestanding, semi-integrated or fully integrated) and style.
- When planning new appliances, think about the right accessories, the right place in the kitchen and the necessary connections nearby.
- Get inspired by our guide to kitchen appliances (German) and find out what's important when choosing.
- Plan your kitchen cleverly using the kitchen triangle —with short distances between cooking, washing, and storage. This will make your kitchen not only beautiful but also practical.
Step-by-step instructions
- Power off!
Turn off all old electrical devices and unplug them. - Let the water flow – but only to drain:
Turn off the water supply and let the remaining water from the dishwasher or washing machine drain away. - Keep it cold:
Empty your refrigerator or freezer and defrost it completely before replacing it. - Built-in appliances? No problem:
Carefully remove the front panel, loosen the mounting screws (usually on the side or above adjacent furniture), and remove the baseboard. - Get it out – but do it carefully:
Pull the device out slowly. If it's heavy, use a hand truck or ask for help. - Now it's time to get new:
Install your new devices according to the instructions – step by step. - Turn on the water, turn on the electricity – done!
Reconnect everything and enjoy your new kitchen.
- Product information page


Do you need help with your kitchen renovation?
Kitchen planning
Whether you plan it yourself or let our planning professionals do it for you – decide for yourself which path is right for you.
Learn more about kitchen planningDelivery
IKEA delivery saves you time and energy because we deliver your favorite products to a location of your choice throughout Austria.
Learn more about delivery and delivery costsKitchen assembly
We have the professionals who will completely assemble your kitchen so you can start cooking right away.
Learn more about kitchen installationYour 0% financing
Now you can also pay back conveniently with 0% financing at IKEA in monthly installments - starting from just € 1,000.
Learn more about financing