
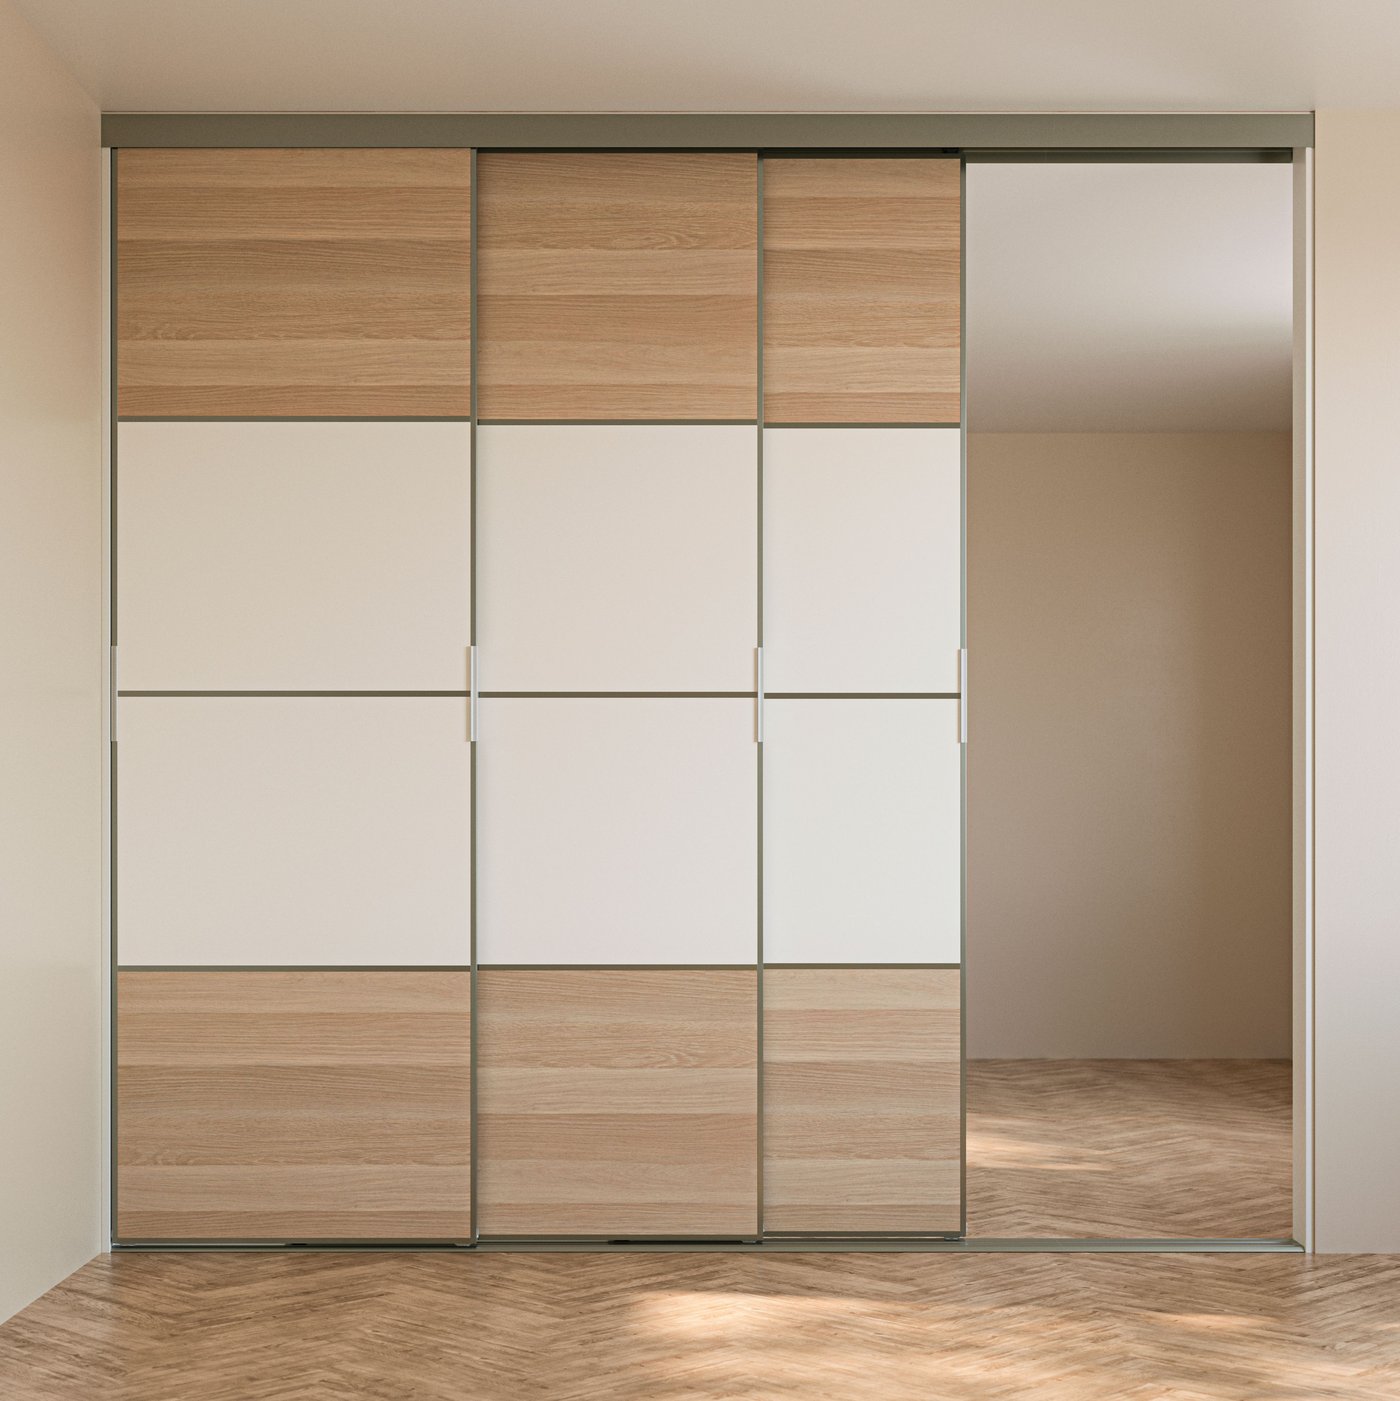
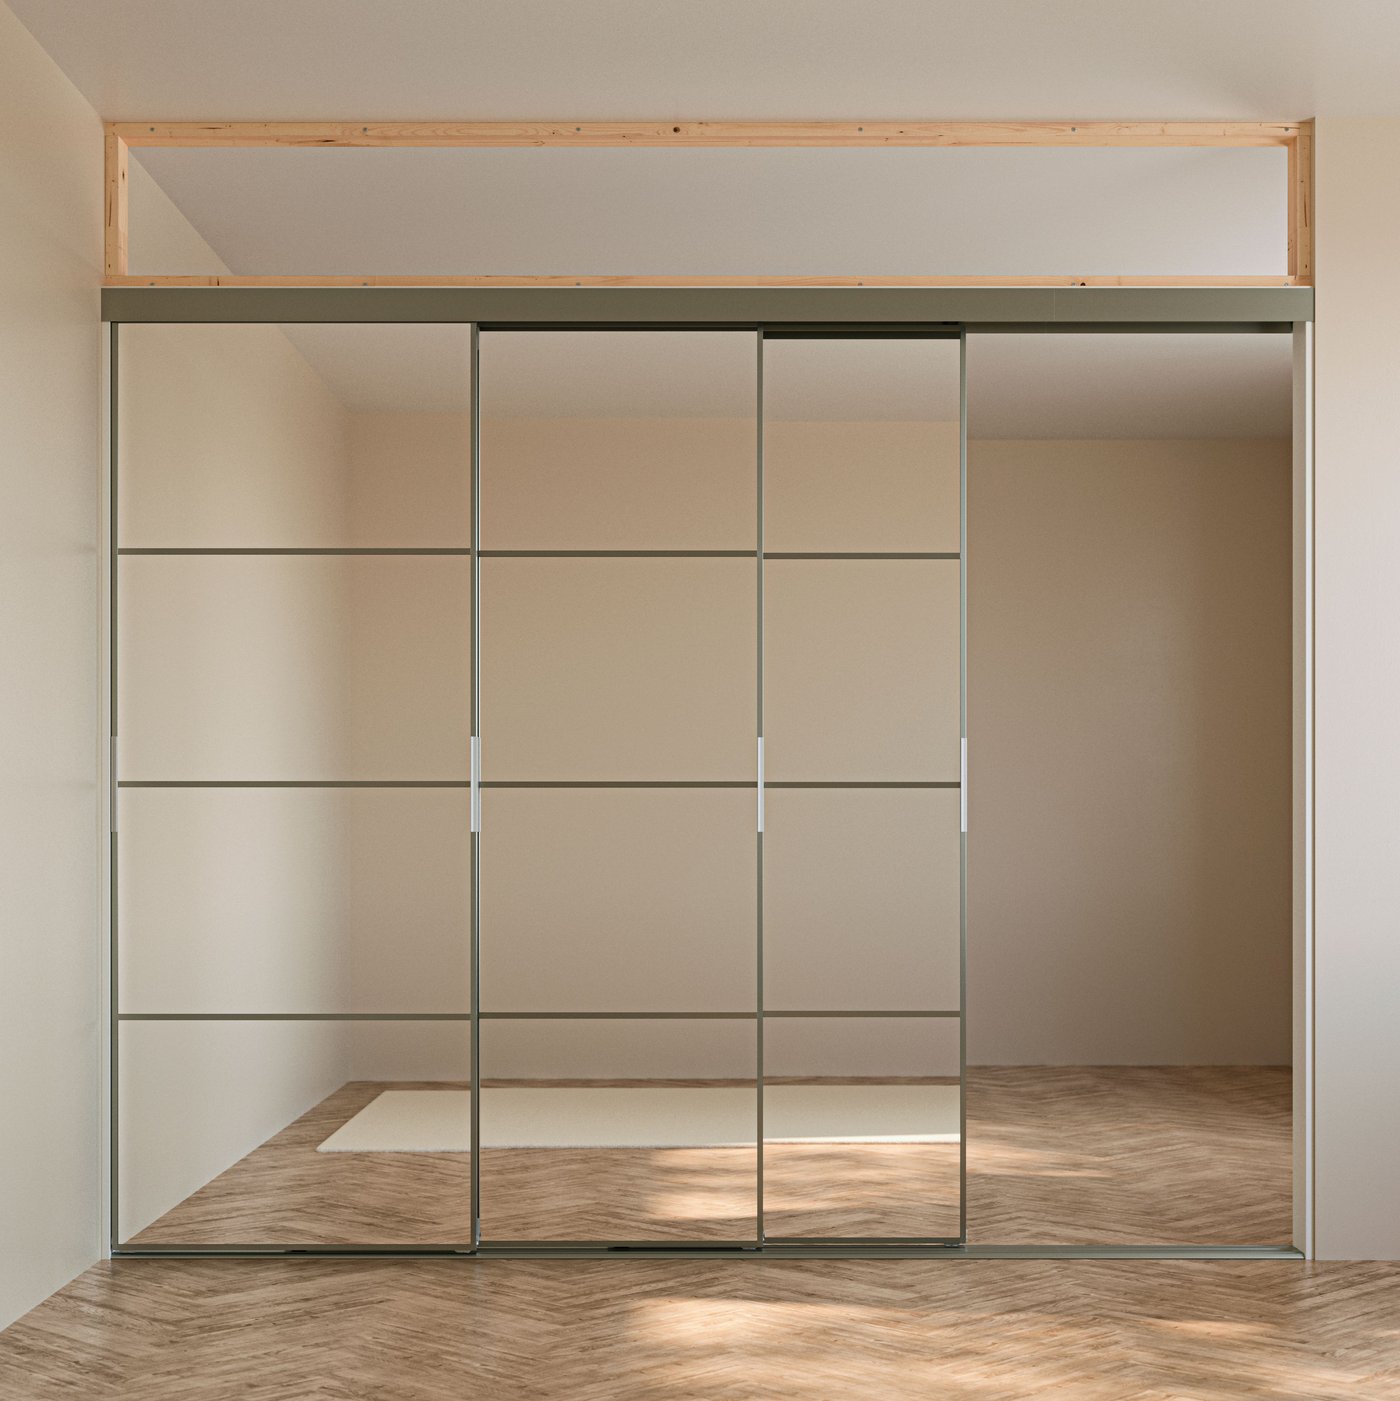
How to plan your perfect SKYTTA sliding door solution

SKYTTA is a customisable system with loads of opportunities to create solutions adapted to your needs and style. But because of the unique conditions of your space, installation can sometimes be a bit tricky. Preparation is key, but don’t worry! Our 8-step guide covers all you need to consider before using the SKYTTA planner – a great tool to help you complete your purchase. You’ve got this!

A SKYTTA sliding door solution in a bright bedroom. The doors are partly open, showing clothes and storage behind.

1. Measure. Measure again. And measure once more.

Tip: Spend some time here, and the rest will be easier.

Measure the width and height where your solution will be. Measure the height in at least three places, as the ceiling or floor may be slightly uneven.

Will you store things behind your doors? Measure the depth of what you’ll store and adapt your solution to it.

A SKYTTA sliding door solution with high, partly open doors, dividing a bright, unfurnished room with herringbone parquet.

2. Choose door layout and type of rails

There are two door frame widths (77 and 102 cm) and two types of rails (2-track and 3-track). Depending on the total width of your space, you may be able to choose different door layouts.

Depending on the door layout you prefer, you might also be able to choose between 2-track and 3-track rails. A benefit of a 3-track solution is that it increases the opening width.

Sounds complicated? Don’t worry - the SKYTTA planner will guide you!

A SKYTTA sliding door solution with high, partly open doors, dividing a bright, unfurnished room with herringbone parquet.

3. Choose door frame and rail colour

The SKYTTA door frames and rails come in black, white, or aluminium finish.

Pick the colour that best suits your style!

A SKYTTA sliding door solution with an aluminium sliding door frame and aluminium rails for sliding door frame.

4. Choose panel colour and design

Now – the fun part! There are plenty of panels in different colours, materials, and finishes to choose from, all designed to fit the SKYTTA door frames perfectly. Browse the options and choose your favourite in the SKYTTA planner.

Or mix and match! Just keep in mind that some panels have a different colour or finish on the backside. That’s good to know if your solution will be visible from both sides.

A SKYTTA sliding door solution with low sliding door frames and dark grey/grey-beige MEHAMN panels for sliding door frame.

5. Choose door frame height

There are two SKYTTA door frame heights (196 and 231 cm). Naturally, your choice depends on the height of your space, and the SKYTTA planner will suggest the best option for you.

A SKYTTA sliding door solution with low door frames and white stained oak effect/white MEHAMN panels for sliding door frame.
A SKYTTA sliding door solution with high door frames and white stained oak effect/white MEHAMN panels for sliding door frame.

6. Do I need a ceiling height reducer?

Is your ceiling higher than the door frame? A SKYTTA ceiling height reducer could help bridge the gap. The SKYTTA planner will suggest one if needed, along with SKYTTA top cover panels to be attached to both sides of the height reducer and painted to match.

What’s your gap?

Gap between solution and ceiling: up to 55 mm
Use spacers against the ceiling.

Gap: 56–365 mm
Use a ceiling height reducer. Cut to the right size.

Gap: 365+ mm
Install a custom-built ceiling-to-door structure.

Seems too complicated? Consider professional help!

A SKYTTA sliding door solution with a SKYTTA ceiling height reducer mounted between the door frames and the ceiling.

7. And what about stop bars?

SKYTTA stop bars are optional, but we recommend using them. They create a nice frame around your sliding doors and help protect the walls, too.

They come in white and are available in two widths to match the two rail widths.

There are different ways to install the stop bars depending on whether your space has skirting boards, crown mouldings, or neither. If it has skirting boards and crown mouldings, they can be kept, removed, or cut out where the sliding doors will run.

Check the SKYTTA planner for a detailed explanation of the different stop bar installation options!

A close-up of a bottom corner of a SKYTTA sliding door solution, mounted with white SKYTTA stop bars against the wall.

8. Finalise your preparations in the SKYTTA planner

So, you’ve made it through to the final step! Now, you should have a rough idea of how to plan your SKYTTA solution and be ready to use the planner, where the final choices are made. Once you’re done, you can add the products to a shopping list for purchase, either online or in an IKEA store.

Be sure to read the planner’s ‘Frequently asked questions’ section – it’s really helpful!

Happy shopping!

Go to the planner
A smiling person sitting at a table, resting their head on one hand, and looking at a tablet placed on the tabletop.
Go to the planner

Assembly videos

Installation is easier when you’re prepared and work methodically. Check out these videos to see the key steps!

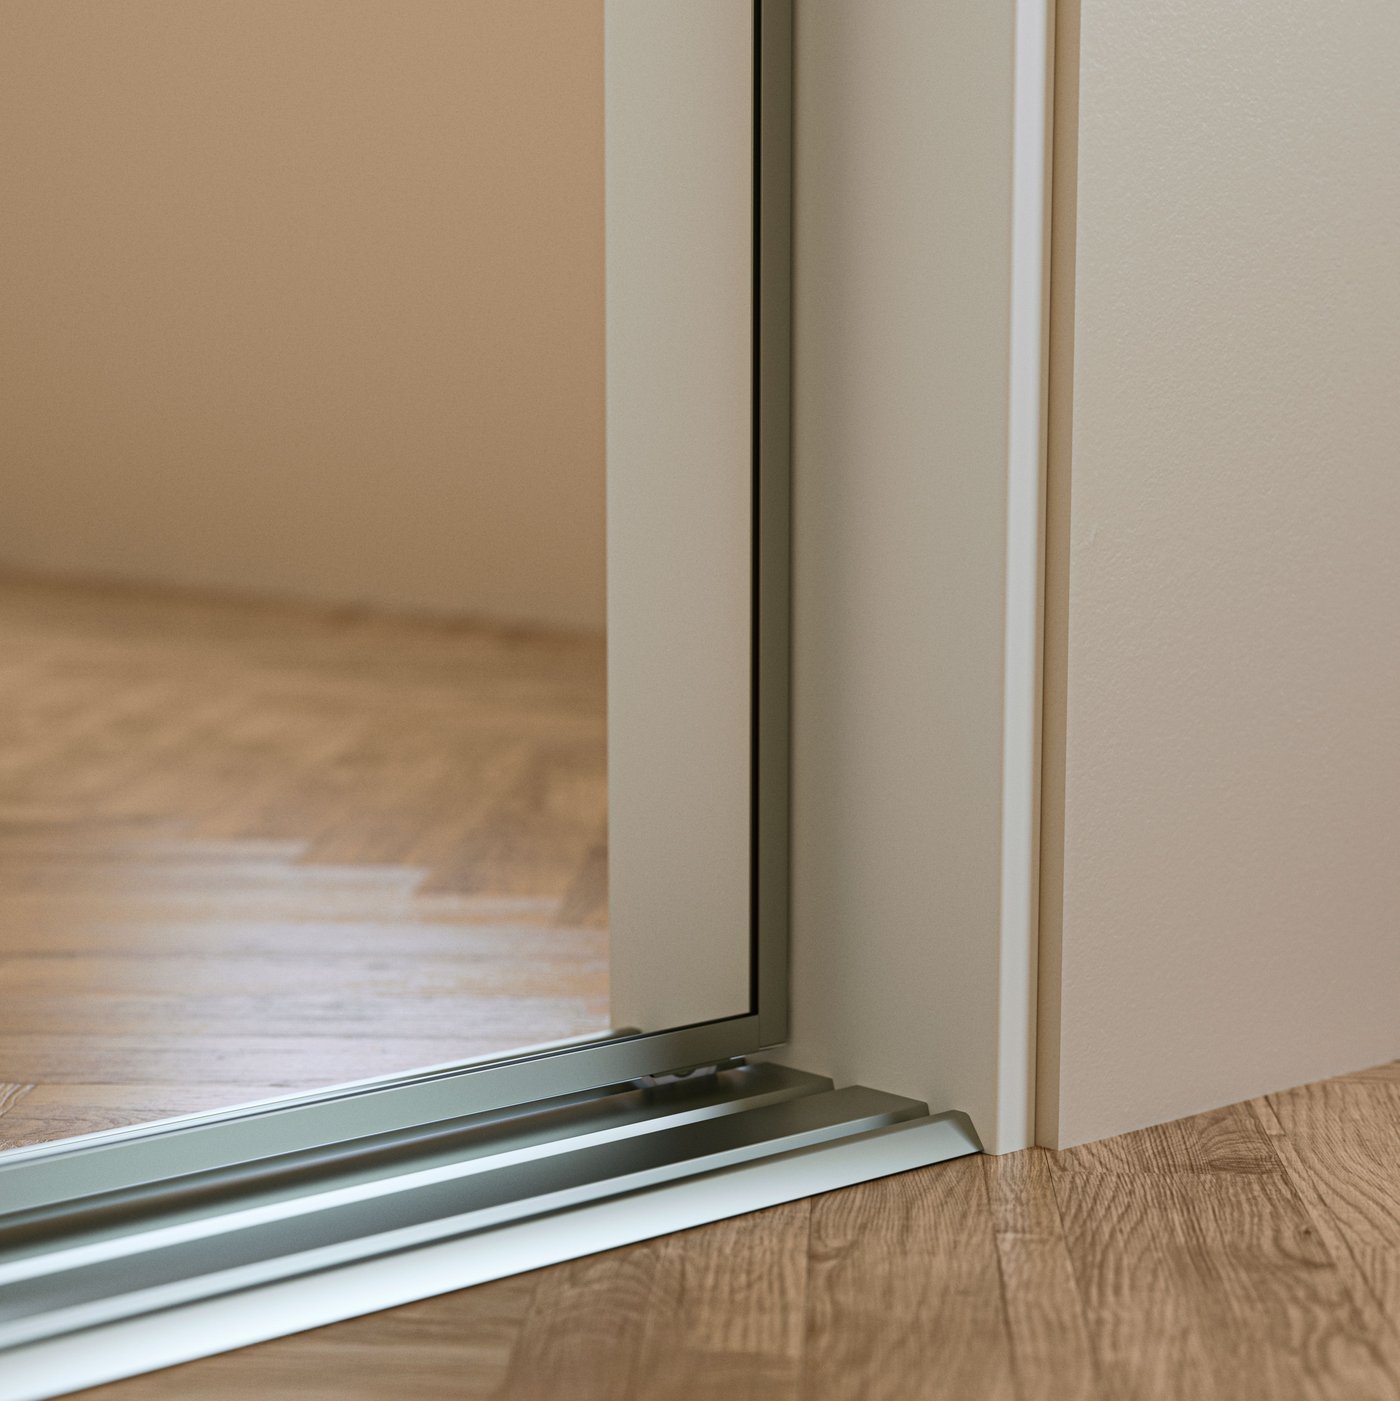
When installing, you’ll find the main SKYTTA assembly instructions in the small fitting box. It’s just the size of a notebook, so make sure not to lose it!

SKYTTA sliding door system - how to install rails

SKYTTA sliding door system - how to install doors

SKYTTA sliding door system - how to change panels